
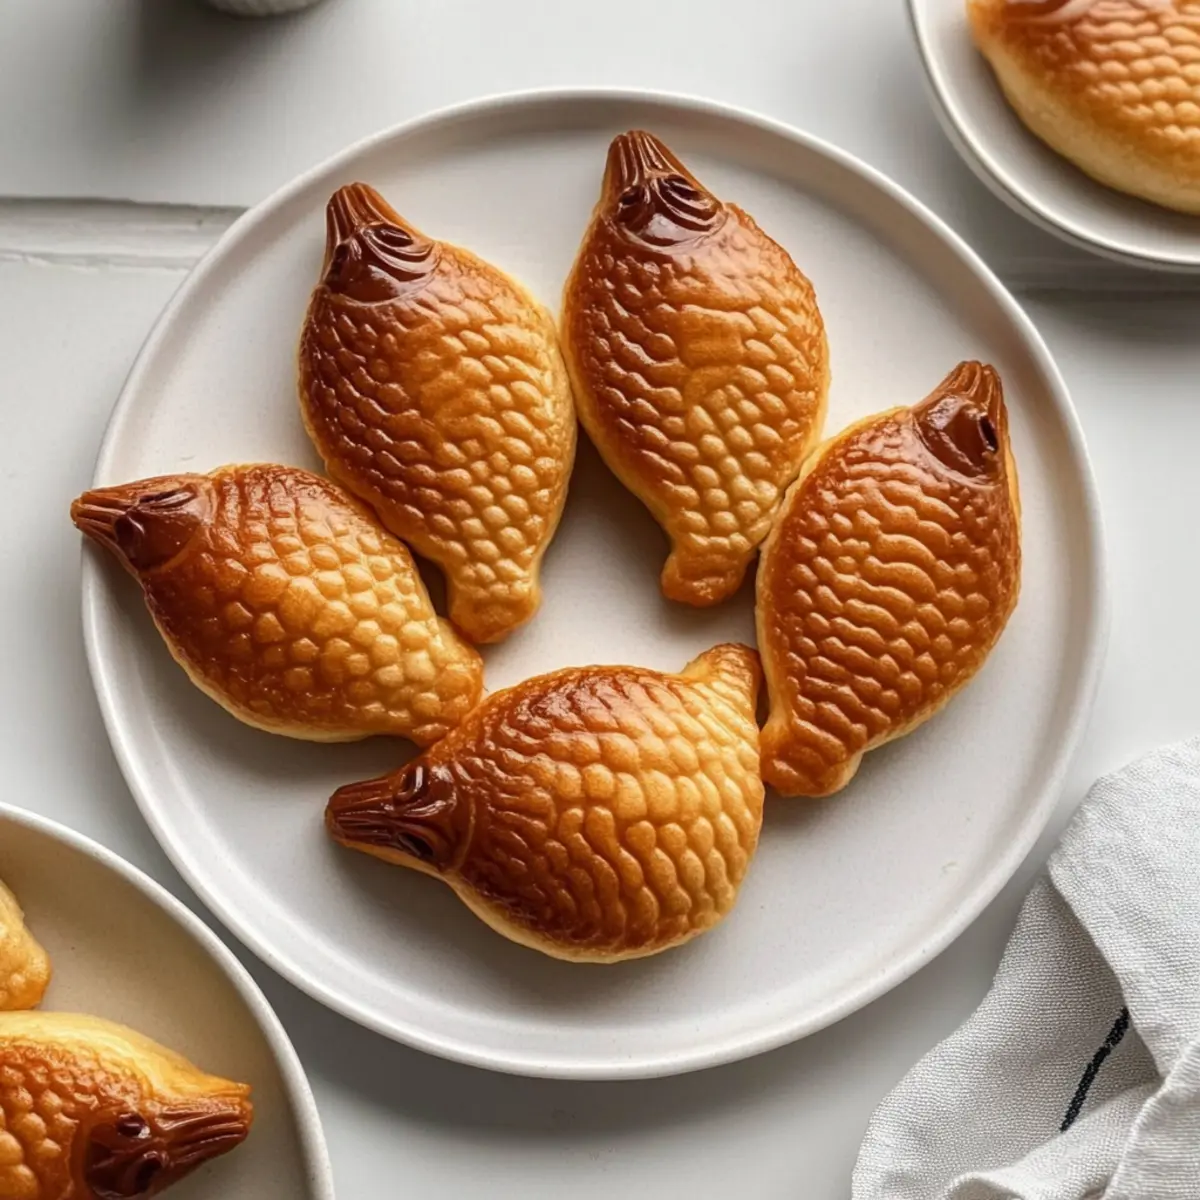
As I stepped into the kitchen, an enticing aroma wafted through the air, transporting me straight to the vibrant streets of Japan. That’s where I first encountered Taiyaki, the beloved Japanese fish dessert that marries a crispy exterior with a fluffy interior, all shaped like a charming little fish. What I adore most about this delightful treat is its customizable fillings—think red bean paste, creamy custard, or even a luscious chocolate surprise! This recipe is not only a fantastic way to impress your family and friends but also a fun project that invites creativity in the kitchen. So grab your ingredients, and let’s embark on this delectable journey together. Ready to dive into making your own Taiyaki?

Why is Taiyaki So Irresistible?
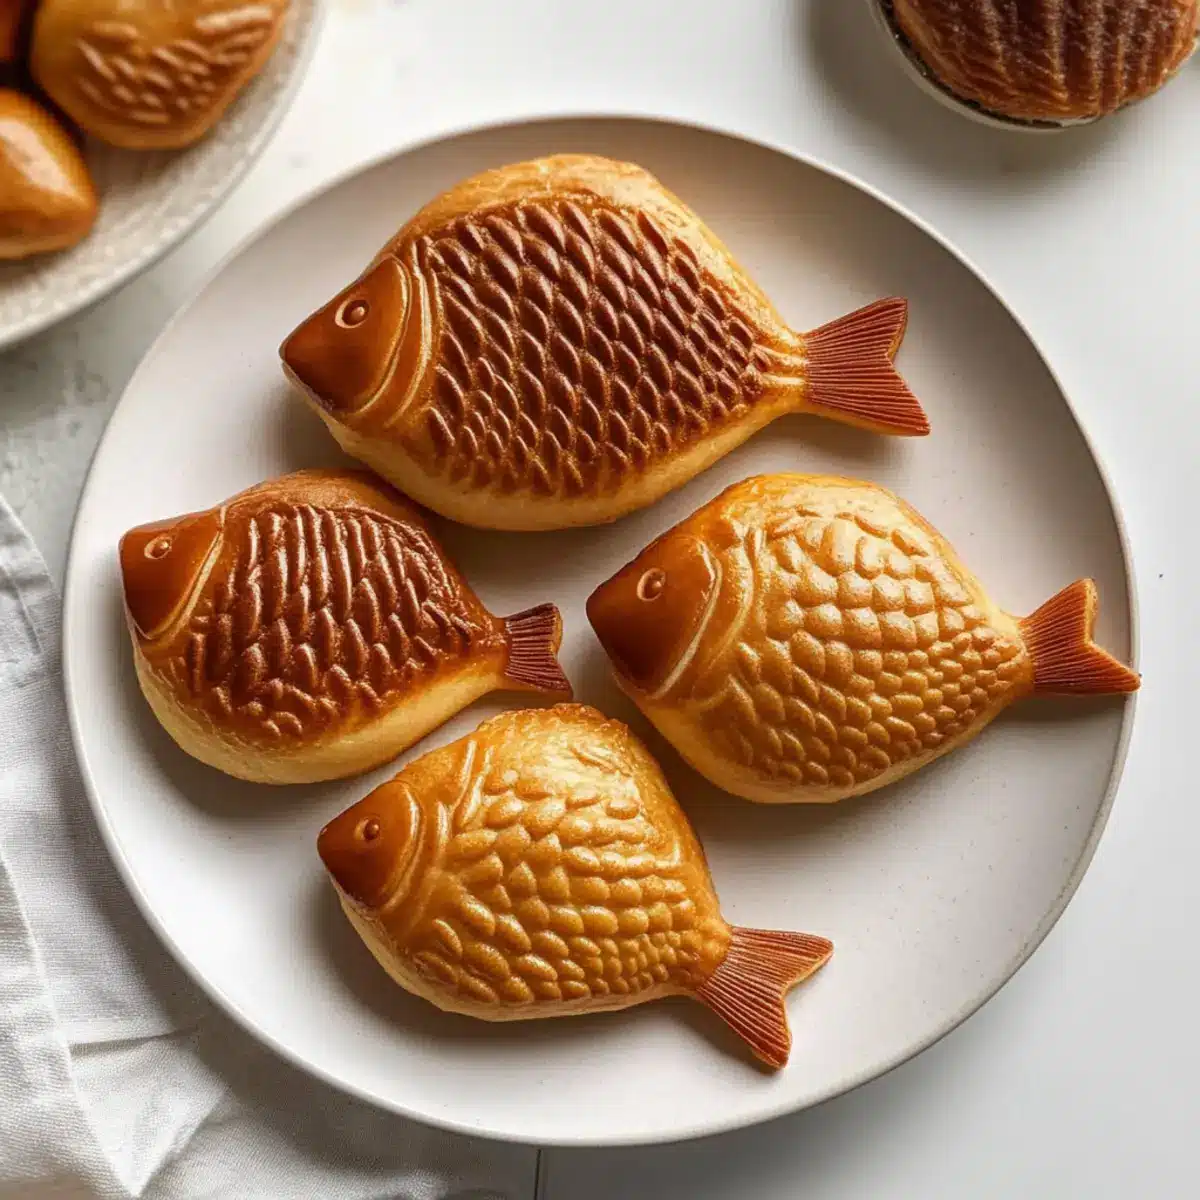
Unique Shape: Taiyaki’s charming fish shape makes it a delightful treat that’s visually appealing and perfect for sharing.
Customizable Fillings: Whether you’re a fan of traditional red bean paste or modern flavors like Nutella, the options are endless!
Crunchy on the Outside: Achieve that desired crispy exterior that contrasts beautifully with the soft, fluffy inside to create an unforgettable texture.
Quick and Fun: With just a few simple steps, you’ll have delicious Taiyaki in no time—ideal for a fun family activity or a creative cooking session.
Cultural Experience: Explore the essence of Japanese street food right in your kitchen, turning everyday moments into something special. If you’re looking to elevate your dessert game, consider checking out our Serving Suggestions for delightful pairings!
Taiyaki Ingredients
For the Batter
• Cake Flour – Creates a light, fluffy structure; substitute with all-purpose flour if necessary.
• Granulated Sugar – Adds sweetness; coconut sugar can lend a unique flavor.
• Baking Powder – Helps the batter rise; ensure it’s fresh for best results.
• Baking Soda – Works alongside baking powder to aerate the batter; no substitutes recommended.
• Salt – Enhances flavor; essential for a balanced sweet dough.
• Egg – Provides richness and acts as a binder; can substitute with a flaxseed egg for a vegan version.
• Whole Milk – Adds moisture and richness; unflavored plant-based milk can work as a dairy-free option.
• Vegetable Oil – Keeps the batter moist and improves texture; melted coconut oil can be used instead.
• Vanilla Extract – Adds flavor; almond extract can provide a unique twist.
For the Filling
• Red Bean Paste – A classic choice; offers a delightful sweetness that complements the batter.
• Nutella – For a chocolatey surprise; perfect for those with a sweet tooth.
• Custard – Creamy and rich; a soothing filling option that balances well with the crispy exterior.
• Cheese – If you prefer a savory version, cheese offers a delicious contrast to the sweet batter.
Now you’re equipped with all the essentials to create the perfect Taiyaki (Japanese Fish Dessert)!
Step‑by‑Step Instructions for Taiyaki (Japanese Fish Dessert)
Step 1: Prepare the Batter
In a large mixing bowl, sift together the cake flour, granulated sugar, baking powder, baking soda, and salt. In a separate bowl, whisk the egg, whole milk, vegetable oil, and vanilla extract until smooth. Gradually combine the wet and dry ingredients, being careful not to overmix—aim for a few lumps for airy texture. Allow the batter to rest in the refrigerator for at least 1 hour to enhance its fluffiness.
Step 2: Heat the Pan
While the batter rests, place your taiyaki pan on the stovetop over medium-low heat. Brush both sides of the molds lightly with vegetable oil, ensuring they’re well-coated to prevent sticking. Preheating the pan is crucial—after about 5 minutes, sprinkle a drop of batter into the mold; it should sizzle, indicating the pan is ready for the batter.
Step 3: Fill the Molds
Carefully pour batter into each half of the taiyaki mold, filling them about 60%. Make a small indentation in the center of the batter for your chosen filling—red bean paste, custard, or Nutella work wonderfully. Spoon about 1 tablespoon of your filling into the center, then cover with more batter until the mold is full, ensuring the filling is enclosed.
Step 4: Cook the Taiyaki
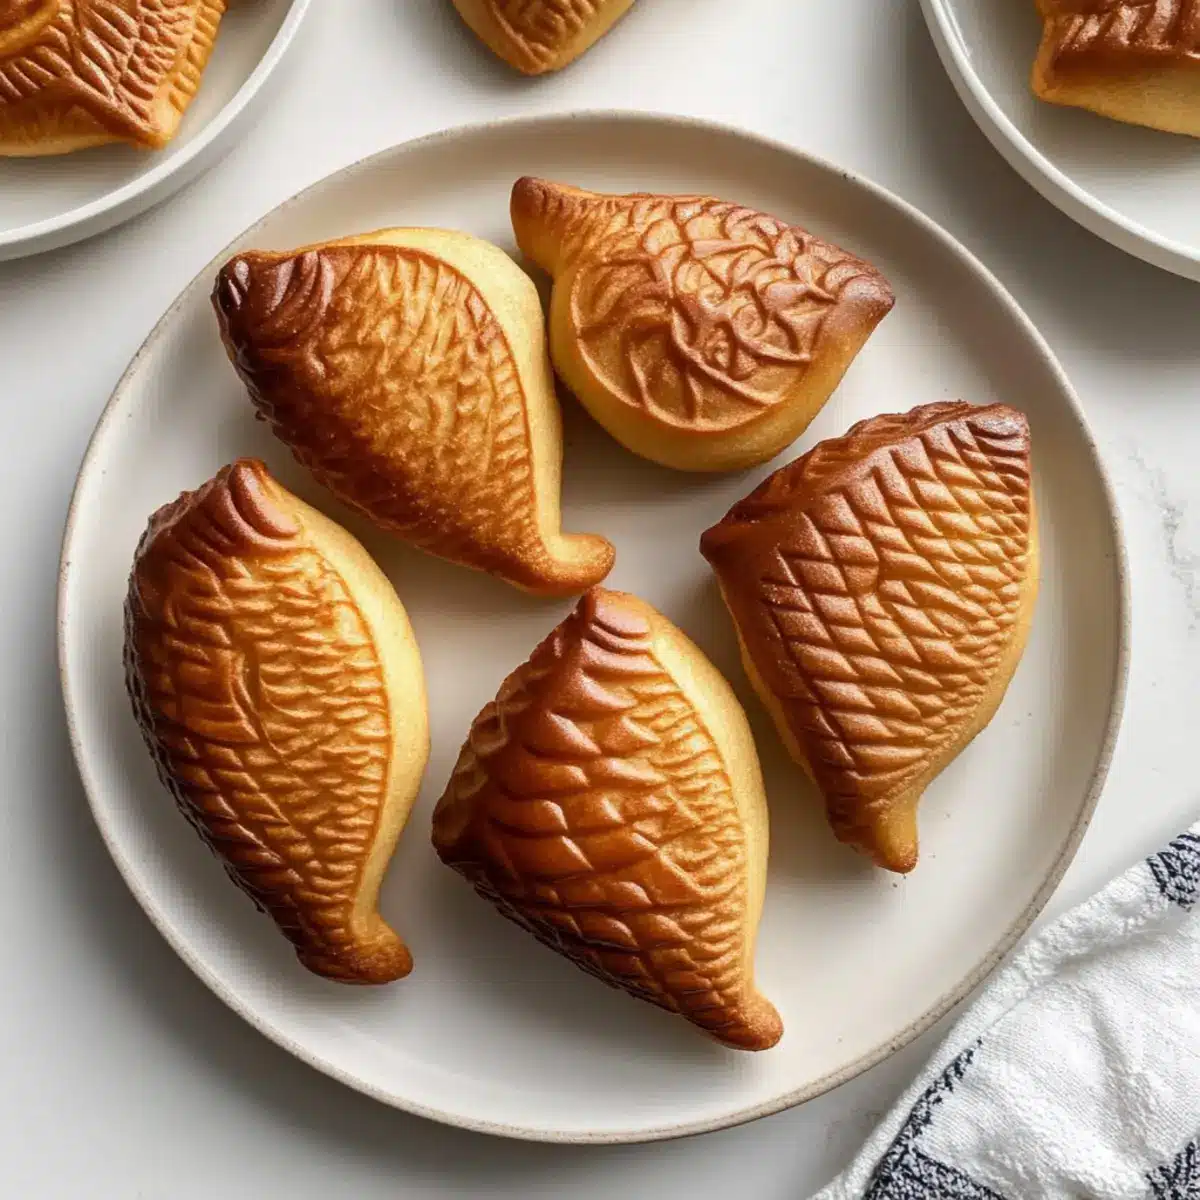
Close the taiyaki pan, and cook on the stovetop for 2-3 minutes. Carefully flip the pan to cook the other side, ensuring an even golden brown color throughout. Keep a close eye—when the taiyaki turns a lovely golden hue, they’re ready to be removed. This process gives the Japanese fish dessert its signature crispy exterior.
Step 5: Cool and Serve
Once cooked, remove your taiyaki from the mold and allow them to cool slightly on a wire rack. This prevents steam buildup, keeping that delightful crunch. Serve warm right away to appreciate the fluffy interior and gooey filling, or share with friends for a fun experience!
Expert Tips for Perfect Taiyaki
• Don’t Overmix Batter: Aim for a few lumps rather than a smooth batter to ensure a fluffy interior that delights with every bite.
• Preheat the Pan: Ensuring the taiyaki pan is well-heated is key to achieving that beautiful, crispy exterior. A drop of batter should sizzle when it’s ready.
• Mind the Fillings: Be cautious not to overfill with your chosen filling. About 1 tablespoon should do to prevent spilling out while cooking.
• Watch the Cooking Time: Cooking for 2-3 minutes on each side gives a perfect golden-brown color. Adjust timing based on your stove temperature for best results.
• Cool on Rack: After cooking, place the taiyaki on a wire rack to prevent condensation from making them soggy. Enjoy them warm for the best experience!
Remember, practice makes perfect, so enjoy your journey in creating this delightful Taiyaki (Japanese Fish Dessert)!
Storage Tips for Taiyaki
Room Temperature: Enjoy your Taiyaki fresh for the best taste, but if left out, they can stay at room temperature for up to 1 hour.
Fridge: Store leftovers in an airtight container in the refrigerator for up to 3 days. This keeps them fresh but can soften the crispy exterior.
Freezer: For longer storage, freeze your Taiyaki in a single layer on a baking sheet, then transfer to a zip-top bag for up to 2 months.
Reheating: To maintain that wonderful, crispy exterior, reheat in the oven at 350°F (175°C) for about 10 minutes, or until warmed through. Enjoy your delicious Taiyaki (Japanese Fish Dessert) just like fresh!
Make Ahead Options
These Taiyaki (Japanese Fish Dessert) are perfect for meal prep enthusiasts! You can prepare the batter up to 24 hours in advance by mixing the dry and wet ingredients separately, then combining them just before you’re ready to cook. Additionally, you can portion and fill the molds with your desired fillings (like red bean paste or Nutella) ahead of time, covering them with the batter right before cooking. To maintain quality, refrigerate the prepared batter in an airtight container, and ensure the taiyaki pan is preheated well before use for that signature crispy texture. When you’re ready to serve, simply cook as instructed, and enjoy the delightful flavors without the fuss!
What to Serve with Authentic Taiyaki: Crispy Japanese Fish Cakes
Imagine delightful bites of warm Taiyaki paired with complementary dishes and drinks that elevate your culinary experience!
- Matcha Green Tea: The earthy notes of matcha enhance the sweet filling of Taiyaki, creating a balanced flavor profile that feels soothing and relaxing.
- Whipped Cream: A dollop of freshly whipped cream adds a creamy lightness that perfectly contrasts with the crispy texture and warm filling of the Taiyaki.
- Fresh Strawberries: Juicy, bright strawberries bring a refreshing burst of sweetness and a vibrant color that pairs beautifully with the rich flavors of your Taiyaki.
- Ice Cream: Serve a scoop of vanilla or matcha ice cream beside the Taiyaki for a decadent treat; the cold creaminess complements the warm dessert delightfully.
- Sweet Red Bean Soup: This traditional accompaniment warms the soul and ties in the red bean filling, enhancing the overall experience of enjoying authentic Taiyaki.
- Coconut Milk Drink: This smooth, creamy beverage adds a tropical flair, harmonizing with the sweetness of the Taiyaki filling while providing a refreshing contrast.
- Mochi: Soft and chewy mochi complements the crispy exterior of Taiyaki, making every bite a delightful textural adventure. Plus, there’s something so fun about enjoying these two iconic Japanese treats together!
Taiyaki (Japanese Fish Dessert) Variations
Feel free to explore creative twists that will personalize your Taiyaki experience and delight your taste buds!
- Sweet Fillings: Use chocolate ganache for a rich filling or try sweet potato puree for a unique and vibrant taste.
- Savory Options: Swap the traditional sweet fillings for savory cheese or ham for an unexpected flavor adventure. It’s a wonderful way to reinvent this classic treat!
- Flavored Batters: Enhance the batter with matcha powder or cocoa powder to add a deliciously distinct flavor profile to your Taiyaki creations.
- Nut Butters: Spread a layer of peanut butter or almond butter into the filling for a nutty surprise that pairs beautifully with both sweet and savory batters. This adds a creamy depth that’s simply irresistible.
- Seasonal Fruits: Incorporate seasonal fruits like strawberries, bananas, or even apples for fresh, fruity fillings that burst with flavor. This variation adds a refreshing twist to your Taiyaki!
- Heat It Up: Add a pinch of chili powder or red pepper flakes to the batter for a delightful kick that contrasts with sweeter fillings. It’s a creative way to embrace a bit of heat!
- Glaze Options: Brush with a maple syrup or honey glaze after cooking for added sweetness and a glossy finish. This simple addition enhances flavor and elevates the presentation of your Taiyaki.
- Double Filling: Be adventurous by layering two fillings, like custard complemented with Nutella, to double the delight. This dual-layered treat will surely impress your family and friends!
With these delicious options, you can tailor your Taiyaki to suit any occasion, inviting joy and creativity into your kitchen. And if you’re looking for some inspiration on what to enjoy alongside your Taiyaki, check out our Serving Suggestions for delightful pairings!
Taiyaki (Japanese Fish Dessert) Recipe FAQs
What should I look for when selecting the right ingredients for Taiyaki?
Absolutely! When choosing your ingredients, especially the cake flour, look for a fine texture that ensures a light and airy batter. For the fillings, opt for fillings that are not too moist, as they can make the dough soggy. If you’re using red bean paste, ensure it’s smooth and not overly sweet, and for chocolate options like Nutella, check the expiry date for the freshest taste!
How should I store leftover Taiyaki, and how long will they last?
Very good question! If you have leftover Taiyaki, it’s best to store them in an airtight container in the refrigerator for up to 3 days. However, they may lose some of their crispy texture after a day. If you want them to stay fresh longer, place them in the freezer, where they can last for up to 2 months!
Can I freeze Taiyaki, and what’s the best way to do it?
Yes, you can absolutely freeze Taiyaki! First, allow the cooked Taiyaki to cool completely. Then, place them in a single layer on a baking sheet and freeze until solid. Once frozen, transfer them to a zip-top freezer bag, removing as much air as possible before sealing. Whenever you’re ready to enjoy, you can reheat them in the oven for about 10 minutes at 350°F (175°C).
What can I do if my Taiyaki batter doesn’t rise or gets too dense?
It happens to the best of us! If your batter isn’t rising, this could be due to older baking powder—the key is to check the expiration date. To fix dense batter, be careful not to overmix; aim for just combined ingredients to keep those air pockets intact. Remember, a little clumping is a good sign of fluffiness!
Are there any dietary considerations when making Taiyaki?
Absolutely! If you’re cooking for someone with egg allergies, you can substitute the egg with a flaxseed egg (1 tablespoon ground flaxseed mixed with 2.5 tablespoons water, let it sit for 5 minutes). For a dairy-free option, use plant-based milk instead of whole milk. Just ensure that your chosen fillings align with dietary needs, especially if serving to friends or family who may have allergies.
How important is it to let the batter rest before cooking?
Letting your batter rest is crucial! Refrigerating the batter for at least 1 hour enhances the texture, allowing the gluten to relax and resulting in a fluffier outer layer. This step truly elevates the quality of your Taiyaki, so don’t skip it—your taste buds will thank you later!
Irresistible Taiyaki: Your Guide to Perfect Japanese Fish Dessert
Ingredients
Equipment
Method
- Prepare the Batter: Sift together the cake flour, granulated sugar, baking powder, baking soda, and salt. Whisk the egg, whole milk, vegetable oil, and vanilla extract in a separate bowl until smooth. Gradually combine the wet and dry ingredients, aiming for a few lumps. Rest the batter in the refrigerator for at least 1 hour.
- Heat the Pan: Place your taiyaki pan on medium-low heat and brush the molds lightly with vegetable oil. Preheat the pan for about 5 minutes; a drop of batter should sizzle when ready.
- Fill the Molds: Pour batter into each half of the taiyaki mold, filling them about 60%. Add your chosen filling in the center and cover with more batter.
- Cook the Taiyaki: Close the pan and cook on the stovetop for 2-3 minutes. Flip to cook the other side until golden brown.
- Cool and Serve: Remove taiyaki from the mold and cool slightly on a wire rack before serving warm.
Leave a Reply