
As I stood in my kitchen, the tantalizing aroma of sizzling beef wafted through the air, instantly transporting me to my favorite Korean BBQ spot. There’s something truly magical about Korean Beef Bulgogi, a dish that combines the richness of marinated beef with a sweet and savory glaze that captures the essence of culinary comfort. This quick and easy dinner not only pleases the palate but also brings warmth to weeknight meals, making it perfect for busy lives. With its flavorful marinade and the ability to customize with fresh veggies or gluten-free options, you’ll delight in exploring this delicious recipe. Ready to dive into a mouthwatering adventure? Let’s get cooking!
Why is Korean Beef Bulgogi a Must-Try?
Irresistible flavors: The combination of tender beef marinated in a zesty, sweet sauce transforms your ordinary dinner into a gourmet experience.
Quick preparation: In just minutes, you can have a delicious meal ready, perfect for those hectic weeknights.
Versatile options: Customize your bulgogi with add-ins like bell peppers or serve wrapped in lettuce for a fresh twist!
Crowd-pleasing dish: It’s a fantastic way to impress family and friends—ideal for gatherings or celebrations!
Meal prep friendly: Make extra and store your marinated beef for a busy week or freeze leftovers to savor later. Pair this dish with sides like Cheesy Beef Potato or Korean Chicken Bao for an unforgettable feast!
Korean Beef Bulgogi Ingredients
• Discover the essential ingredients for your delectable Korean Beef Bulgogi!
For the Marinade
- Boneless rib eye steak – A tender and flavorful choice, perfect for marinating.
- Pear (½ small, peeled and coarsely grated) – Adds a subtle sweetness and tenderizes the meat; Korean pear is preferred but Bosc or Fuji apples work too.
- Reduced sodium soy sauce (¼ cup) – This is the umami-rich base of the marinade.
- Brown sugar (2 tablespoons) – Balances the salty flavor with sweetness, enhancing the overall taste.
- Toasted sesame oil (2 tablespoons) – Infuses the marinade with a rich and nutty flavor.
- Garlic (3 cloves, minced) – Provides a punch of fragrance and depth to your sauce.
- Freshly grated ginger (1 tablespoon) – Adds warmth and a delightful aroma to the dish.
- Gochujang (1 tablespoon) – Gives a spicy kick; adjust for your desired level of heat.
For Cooking
- Vegetable oil (2 tablespoons, divided) – Essential for cooking the beef to achieve that perfect browning.
For Garnishing
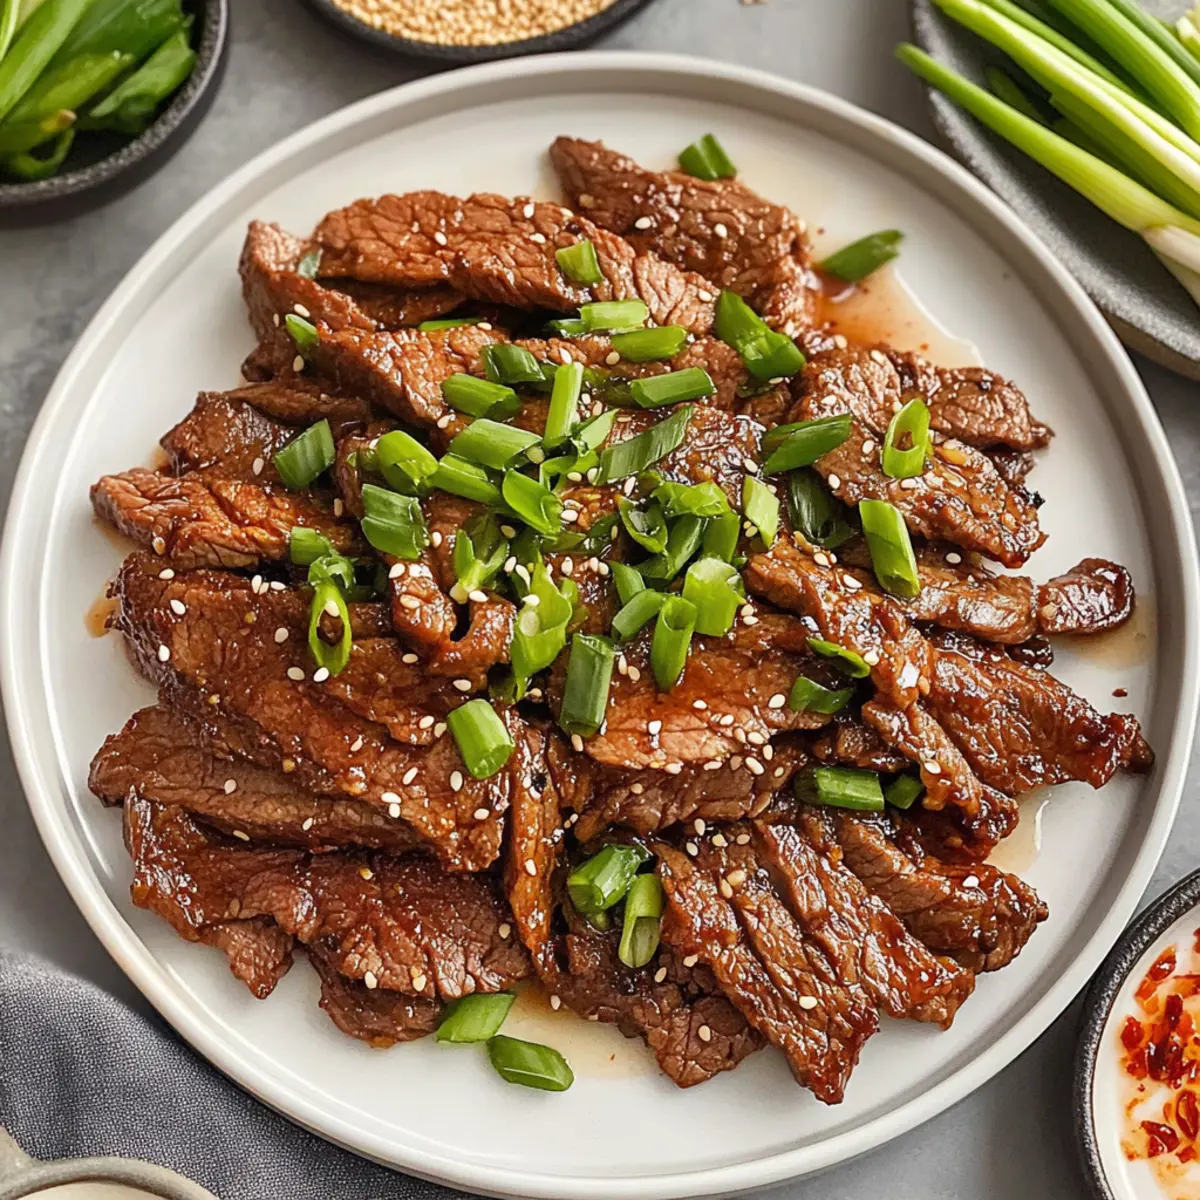
- Green onions (2, thinly sliced) – Adds freshness and a mild onion flavor, brightening the dish.
- Toasted sesame seeds (1 teaspoon) – Optional, but adds a delightful crunch and nutty undertones.
Explore the charm of Korean Beef Bulgogi as you create this incredible dish that offers comfort and taste all in one!
Step‑by‑Step Instructions for Korean Beef Bulgogi
Step 1: Prepare Meat
Start by placing your boneless rib eye steak in the freezer for about 30 minutes; this makes it easier to slice. Once slightly firm, remove it from the freezer and slice against the grain into ¼-inch thick pieces using a sharp knife, ensuring each piece is uniform for even cooking.
Step 2: Make Marinade
In a medium mixing bowl, combine the grated pear, reduced sodium soy sauce, brown sugar, toasted sesame oil, minced garlic, freshly grated ginger, and gochujang. Stir vigorously for about 2-3 minutes until all ingredients are well blended, resulting in a smooth and fragrant marinade that enhances the Korean Beef Bulgogi flavors.
Step 3: Marinate
Transfer the sliced beef into a resealable bag or shallow dish and pour the prepared marinade over it. Seal the bag or cover the dish tightly, then refrigerate for at least 2 hours, or ideally overnight. Aim to turn the beef occasionally to ensure every piece is beautifully infused with the marinade.
Step 4: Cook Beef
Heat 1 tablespoon of vegetable oil in a cast iron grill pan over medium-high heat until shimmering. In batches, add marinated beef slices, making sure not to overcrowd the pan. Cook for 2-3 minutes on each side until charred and deeply browned, ensuring the beef is tender and cooked through; this will create a delectable glaze for your Korean Beef Bulgogi.
Step 5: Garnish & Serve
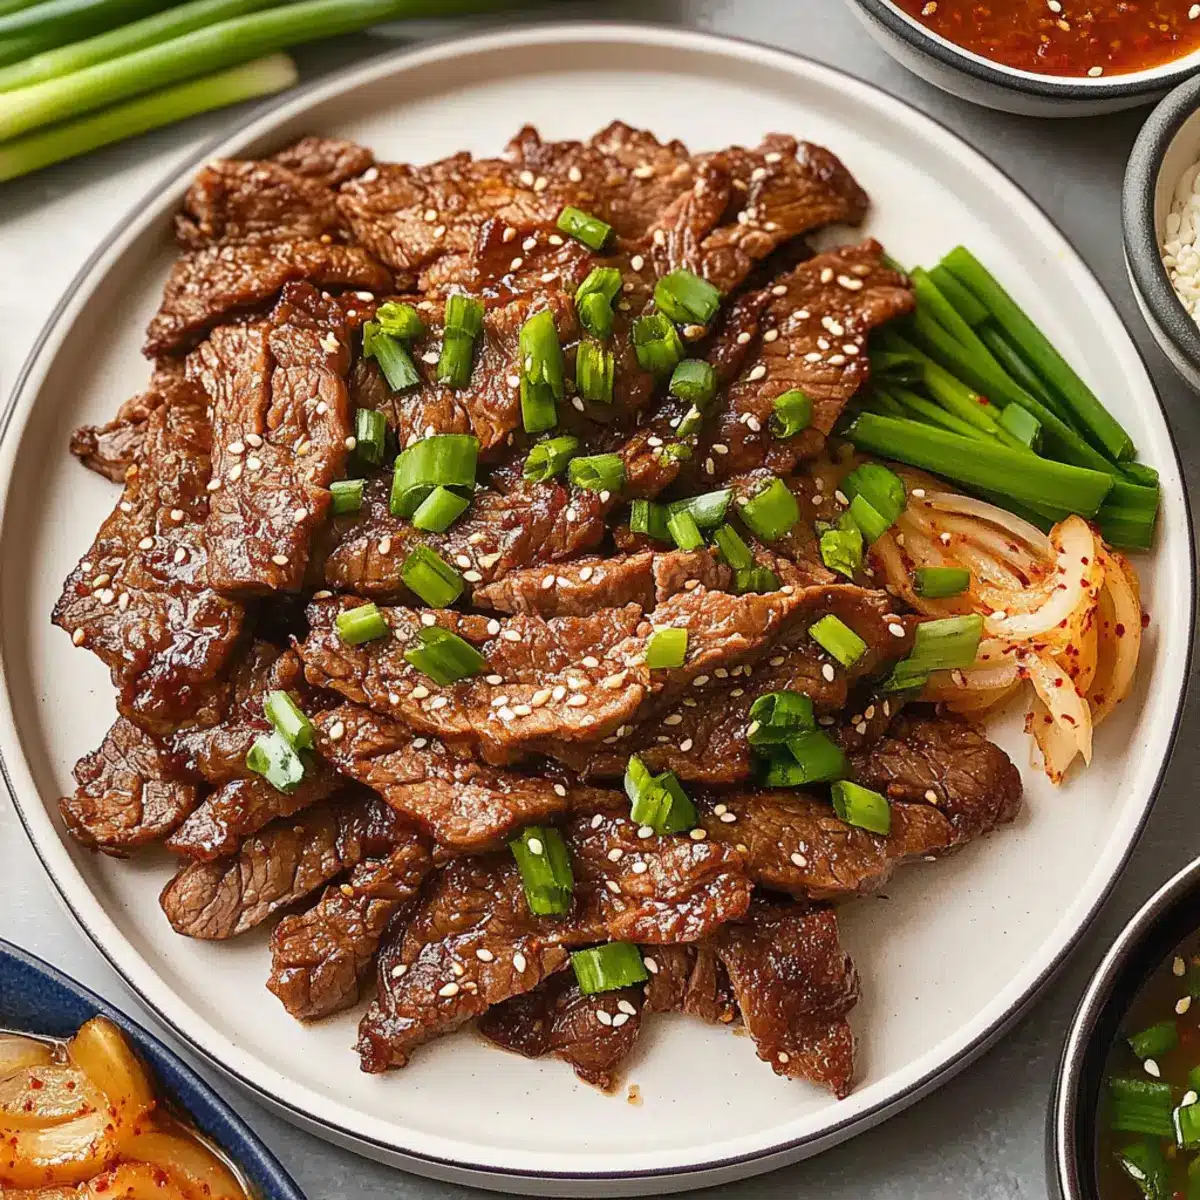
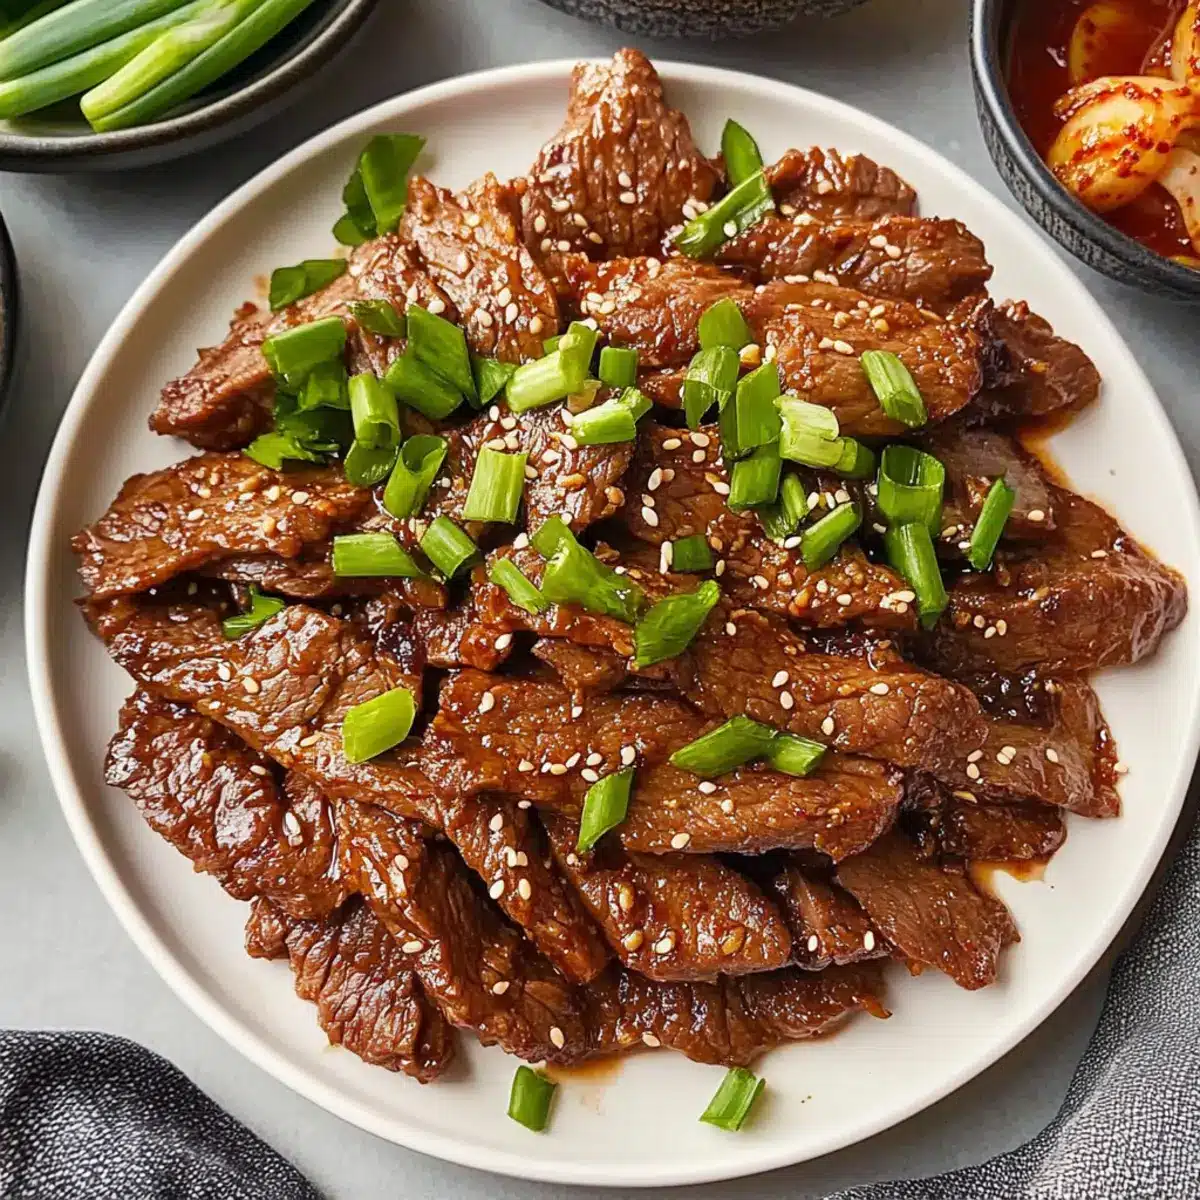
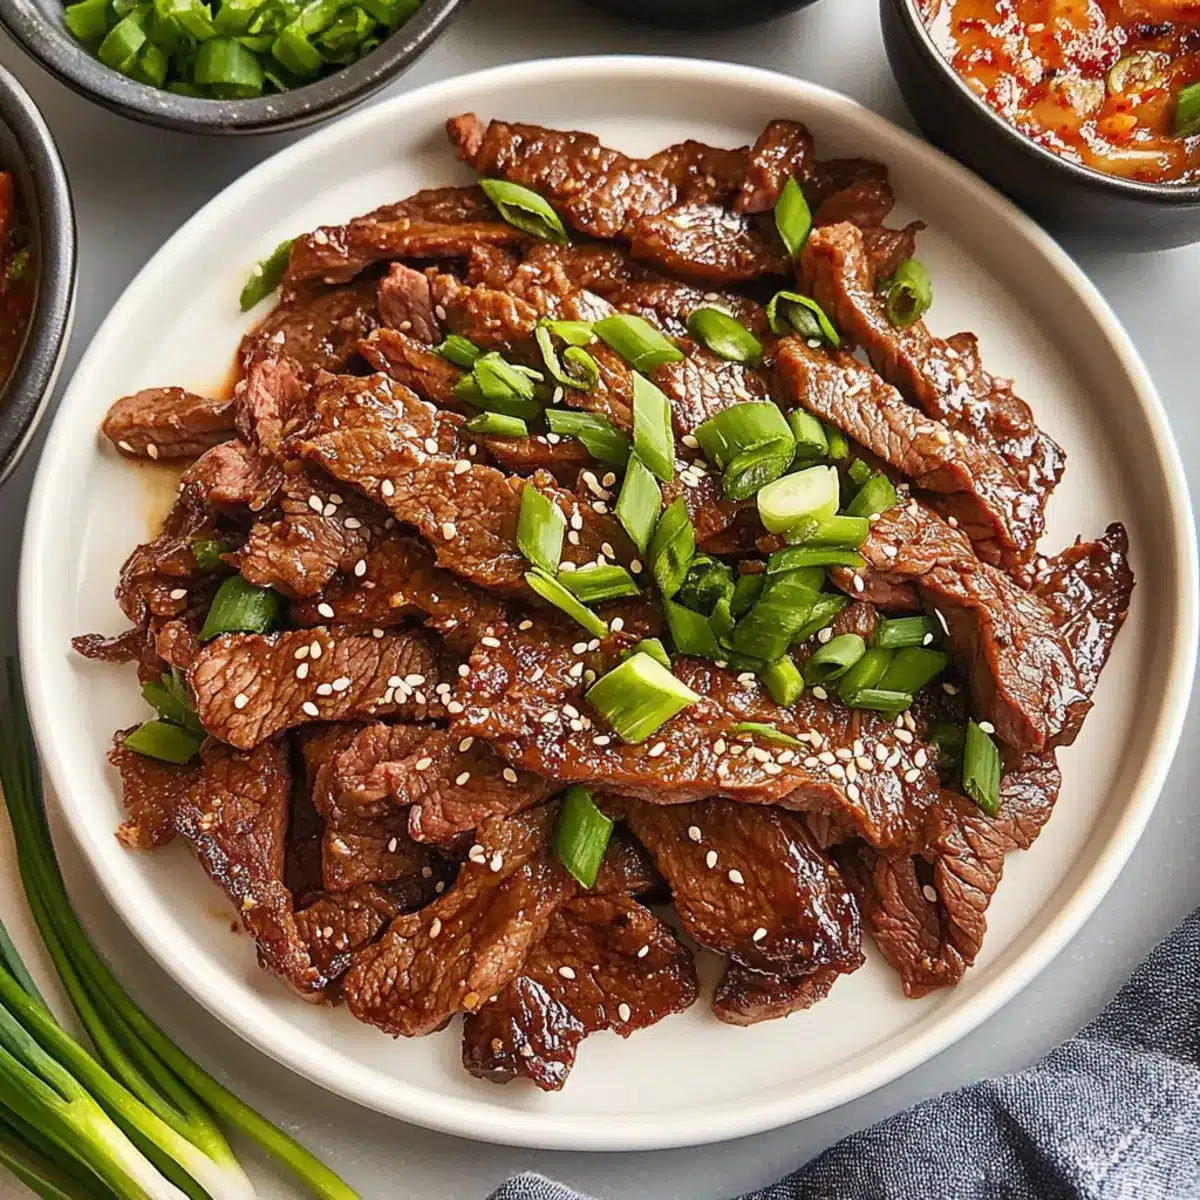
Once your beef is cooked to perfection, transfer it to a serving platter. Sprinkle fresh green onions and toasted sesame seeds on top for a delightful crunch and finishing touch. Serve your hot, mouthwatering Korean Beef Bulgogi immediately with steamed rice and your favorite side dishes for a complete meal.
Storage Tips for Korean Beef Bulgogi
Fridge: Store marinated Korean Beef Bulgogi in an airtight container for up to 2-3 days. Ensure the beef is completely covered in marinade for optimal freshness.
Freezer: Freeze cooked Korean Beef Bulgogi in a resealable freezer bag or container for up to 2 months. Remove as much air as possible to prevent freezer burn.
Reheating: Thaw frozen bulgogi overnight in the fridge. Reheat in a skillet over medium heat for 5-7 minutes, stirring occasionally until heated through. Alternatively, use the microwave for a quick option.
Marinade Storage: If making extra marinade, it can be refrigerated for up to a week. However, avoid marinating meat in the same batch that has been used unless cooked first.
Make Ahead Options
Korean Beef Bulgogi is a fantastic dish for meal prep, allowing you to enjoy all its deliciousness with minimal fuss during the week. You can marinate the sliced beef up to 24 hours in advance, ensuring the meat absorbs all those wonderful flavors. To maintain its quality, store the marinated beef in an airtight container in the refrigerator, turning occasionally if possible. If you’re planning to make it further ahead, you can also freeze the marinated beef for up to 3 months; just allow it to thaw overnight in the refrigerator before cooking. When you’re ready to serve, simply heat a skillet with vegetable oil and cook the beef for 2-3 minutes per side until tender and caramelized—bringing restaurant-quality Korean Beef Bulgogi to your table in no time!
Korean Beef Bulgogi Variations & Substitutions
Ready to switch it up? The beauty of Korean Beef Bulgogi lies in its versatility, allowing you to tailor the dish to your taste and dietary needs!
- Lean Cuts: Swap rib eye for top sirloin or flank steak for a leaner option that still packs flavor.
- Vegan Delight: Use tofu or tempeh in place of beef for a plant-based version; marinate and grill until golden.
- Gluten-Free: Opt for tamari instead of soy sauce as a gluten-free alternative without sacrificing taste.
- Heat It Up: Add extra gochujang or sliced chili peppers to bring more heat to your bulgogi; adjust to your spice level.
- Veggie Boost: Toss in sliced bell peppers, carrots, or zucchini during the last minute of cooking for added nutrition and color.
Imagine how delightful it would be to serve this bulgogi over a fluffy bed of jasmine rice or nestled in a crispy lettuce wrap. For unique twists, consider pairing it with Gochujang Korean Tofu for a delicious flavor fusion. The possibilities are endless, all while enjoying the essence of classic Korean BBQ!
Expert Tips for Korean Beef Bulgogi
-
Slice Against the Grain: For optimal tenderness, ensure you slice the rib eye steak against the grain. This small technique makes a big difference in the final texture of the Korean Beef Bulgogi.
-
Don’t Rush the Marinade: While marinating for at least 2 hours is acceptable, overnight marination truly intensifies the flavors. Avoid skipping this step for the best results.
-
Avoid Crowding the Pan: When cooking, work in batches to prevent overcrowding your pan. This allows the beef to brown nicely instead of steaming, ensuring a deliciously caramelized finish.
-
Use Fresh Ingredients: Fresh garlic and ginger are key to a vibrant marinade. Avoid using powdered versions for the best flavor and aromatic profile that enhances your Korean Beef Bulgogi.
-
Watch the Heat: Cook the beef over medium-high heat for the perfect sear. Too low might not develop that sought-after char, but too high can quickly burn it.
What to Serve with Easy Korean Beef Bulgogi
Savor the delightful flavors of your bulgogi by pairing it with perfect side dishes that enhance your meal experience.
- Steamed White Rice: Fluffy rice is the ideal canvas to soak up the savory-sweet marinade, making every bite a harmonious blend of flavor.
- Kimchi: This fermented side brings a spicy, tangy crunch that balances the richness of the beef, elevating the meal with traditional Korean flair.
- Cucumber Salad: A light, refreshing dish offering a crisp contrast to the tender bulgogi. Its coolness complements the dish beautifully.
- Vegetable Stir-Fry: A medley of colorful veggies adds nutrition and texture, making for a vibrant, well-rounded plate.
- Lettuce Wraps: Use crisp leaves to create fresh wraps with bulgogi, offering a fun and interactive dining experience.
- Cold Noodle Salad: Serve a chilled noodle dish dressed in sesame oil for an exciting twist, harmonizing flavors and textures.
- Soojaek (Steamed Egg): This fluffy, savory custard is comforting beside bold bulgogi, providing a gentle flavor contrast to the meal.
- Peach Iced Tea: Refreshing and slightly sweet, it perfectly balances the meal, keeping your palate zesty and engaged.
- Mochi Dessert: Conclude your meal on a sweet note with chewy, delightful mochi that complements the savory flavors of the bulgogi.
Korean Beef Bulgogi Recipe FAQs
What type of beef works best for Korean Beef Bulgogi?
For Korean Beef Bulgogi, I recommend using boneless rib eye steak as it offers great flavor and tenderness. If you’re looking for a leaner option, top sirloin or flank steak will also work well. Always slice against the grain to ensure the meat remains tender.
How long can I store marinated Korean Beef Bulgogi in the fridge?
You can store marinated Korean Beef Bulgogi in an airtight container in the refrigerator for up to 2-3 days. Make sure the beef remains fully immersed in the marinade for optimal flavor and freshness.
Can I freeze Korean Beef Bulgogi?
Absolutely! You can freeze cooked Korean Beef Bulgogi in a resealable freezer bag or an airtight container for up to 2 months. To maintain the best quality, try to remove as much air as possible from the bag. When ready to enjoy, thaw it in the fridge overnight before reheating.
What should I do if the beef is tough after cooking?
If you find that your Korean Beef Bulgogi is tough, it may be due to slicing against the grain incorrectly or overcooking. To avoid this, always slice the beef thinly and against the grain before marinating. Cook in small batches to keep it tender and juicy.
Can I modify the recipe for gluten-free needs?
Certainly! To make Korean Beef Bulgogi gluten-free, simply substitute the reduced sodium soy sauce with a gluten-free soy sauce or tamari. Be sure to check all other ingredients for gluten content if you’re managing sensitivities.
How can I incorporate vegetables into my Korean Beef Bulgogi?
If you’d like to add vegetables, I recommend slicing bell peppers or bok choy and adding them to the pan during the last minute of cooking. This not only enhances the nutritional profile but also adds delightful colors to your dish.
Savory Korean Beef Bulgogi: Quick & Easy BBQ Delight
Ingredients
Equipment
Method
- Start by placing your boneless rib eye steak in the freezer for about 30 minutes; this makes it easier to slice.
- Once slightly firm, slice against the grain into ¼-inch thick pieces using a sharp knife.
- In a medium mixing bowl, combine the grated pear, reduced sodium soy sauce, brown sugar, toasted sesame oil, minced garlic, freshly grated ginger, and gochujang. Stir vigorously for about 2-3 minutes until well blended.
- Transfer the sliced beef into a resealable bag or shallow dish and pour the marinade over it. Seal the bag or cover the dish tightly, then refrigerate for at least 2 hours, or ideally overnight.
- Heat 1 tablespoon of vegetable oil in a cast iron grill pan over medium-high heat. Add marinated beef slices in batches, cooking for 2-3 minutes on each side until charred and browned.
- Once cooked, transfer the beef to a serving platter and sprinkle fresh green onions and toasted sesame seeds on top. Serve immediately with steamed rice and side dishes.
Leave a Reply