
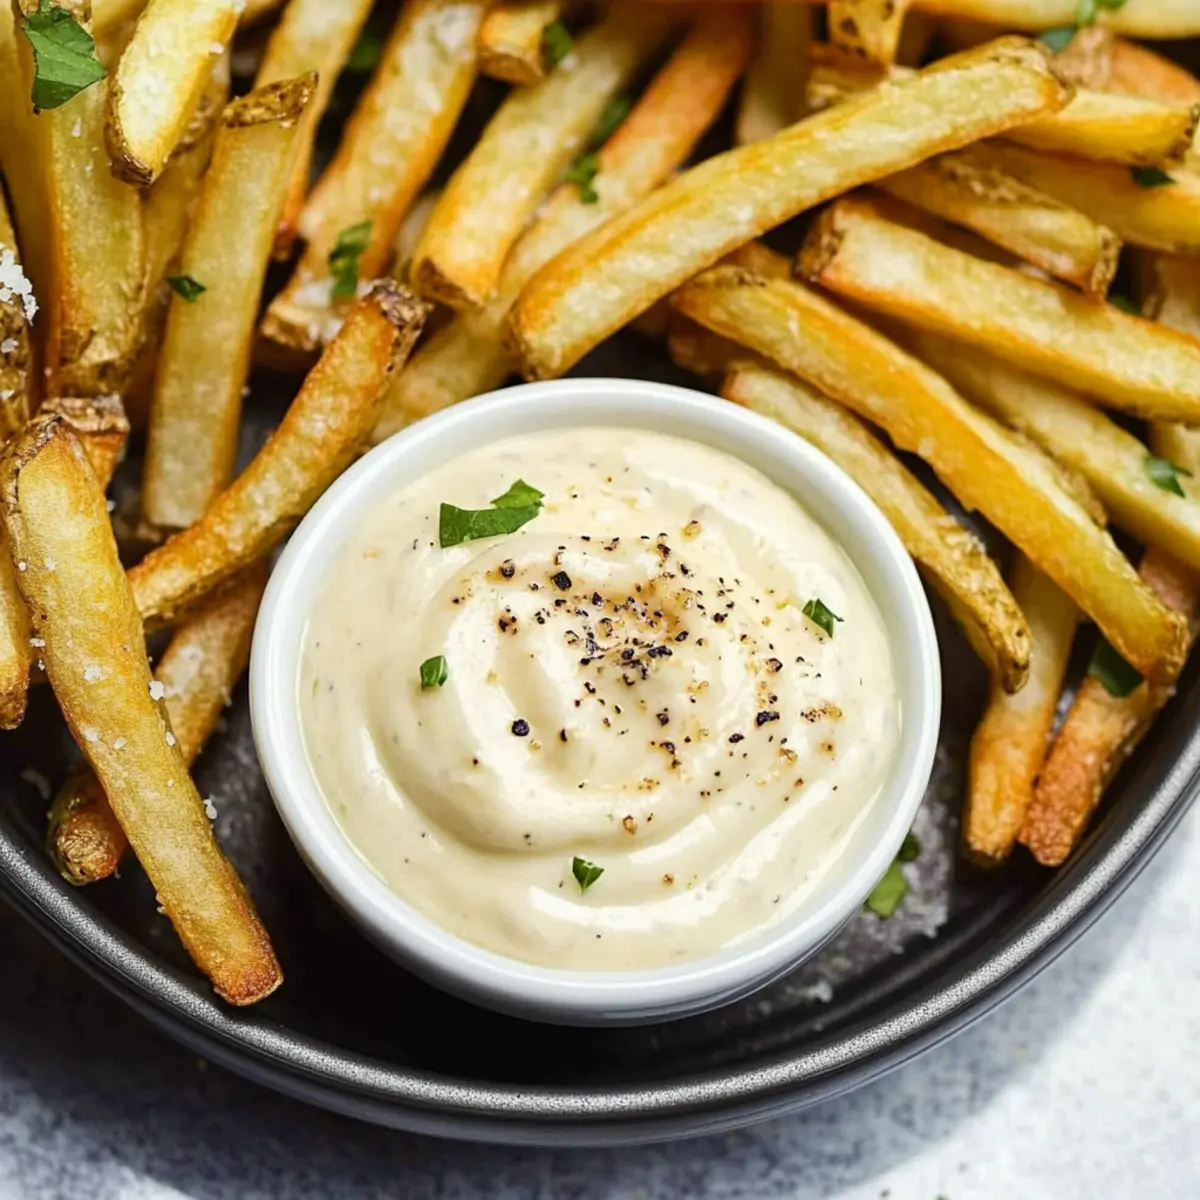
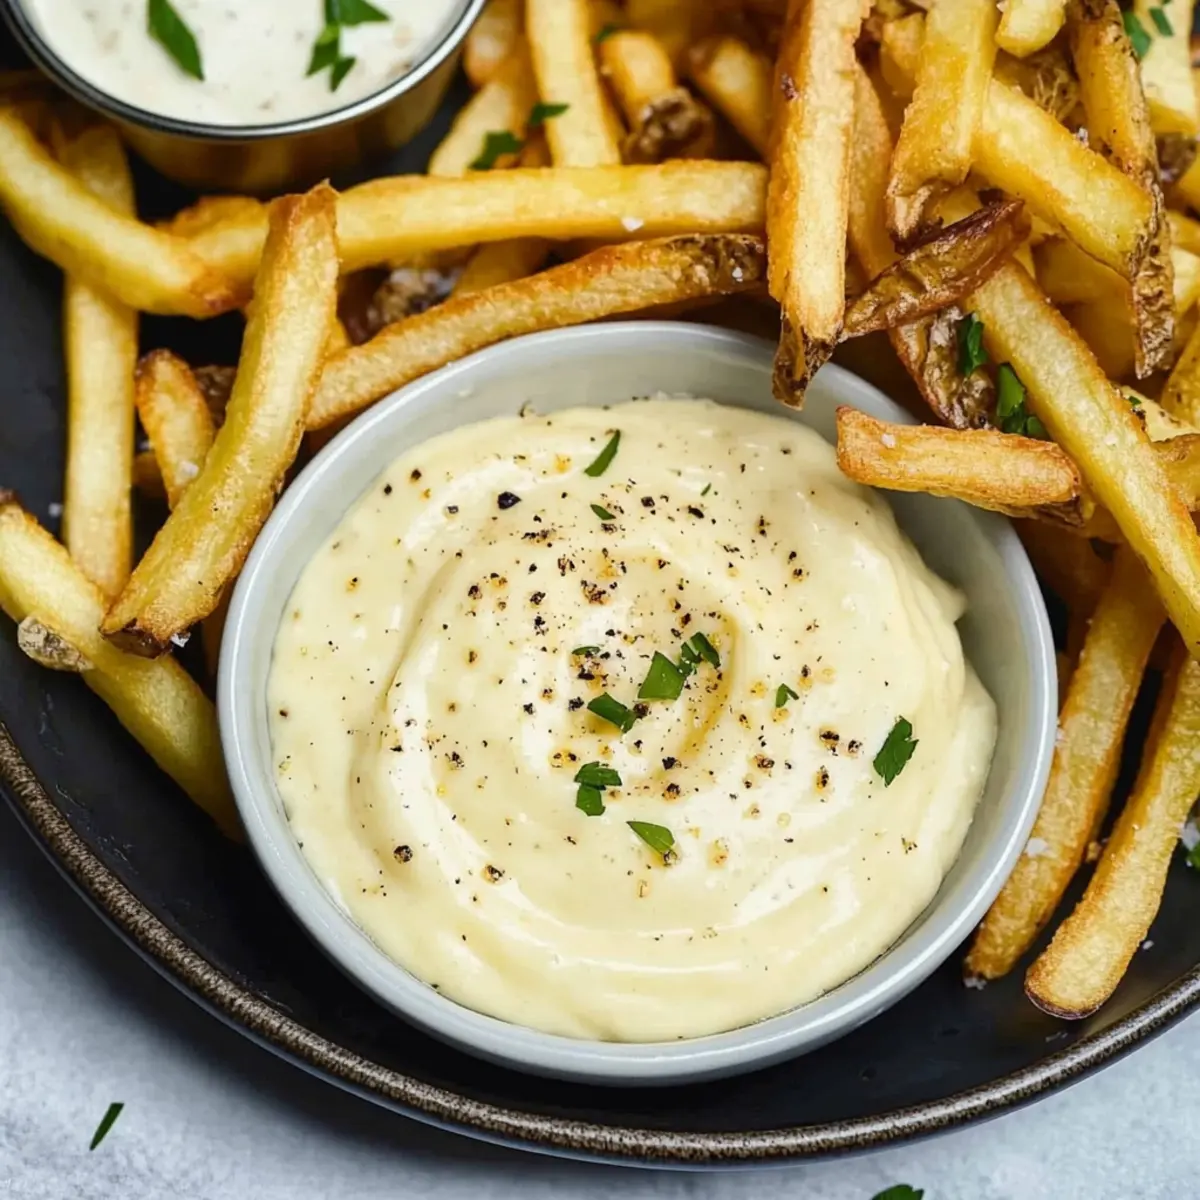
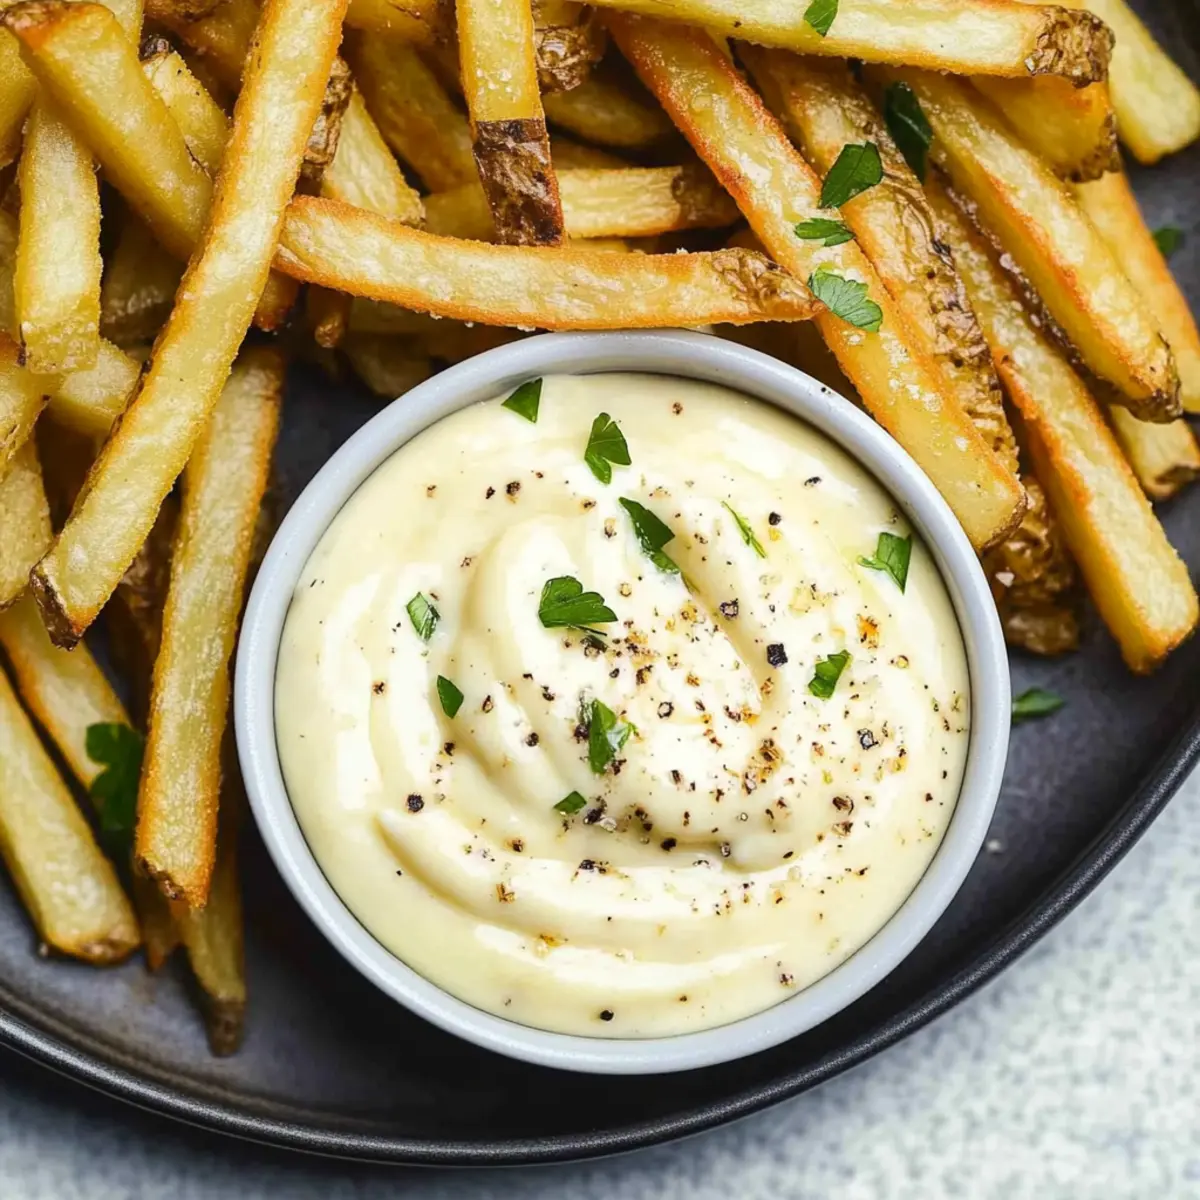
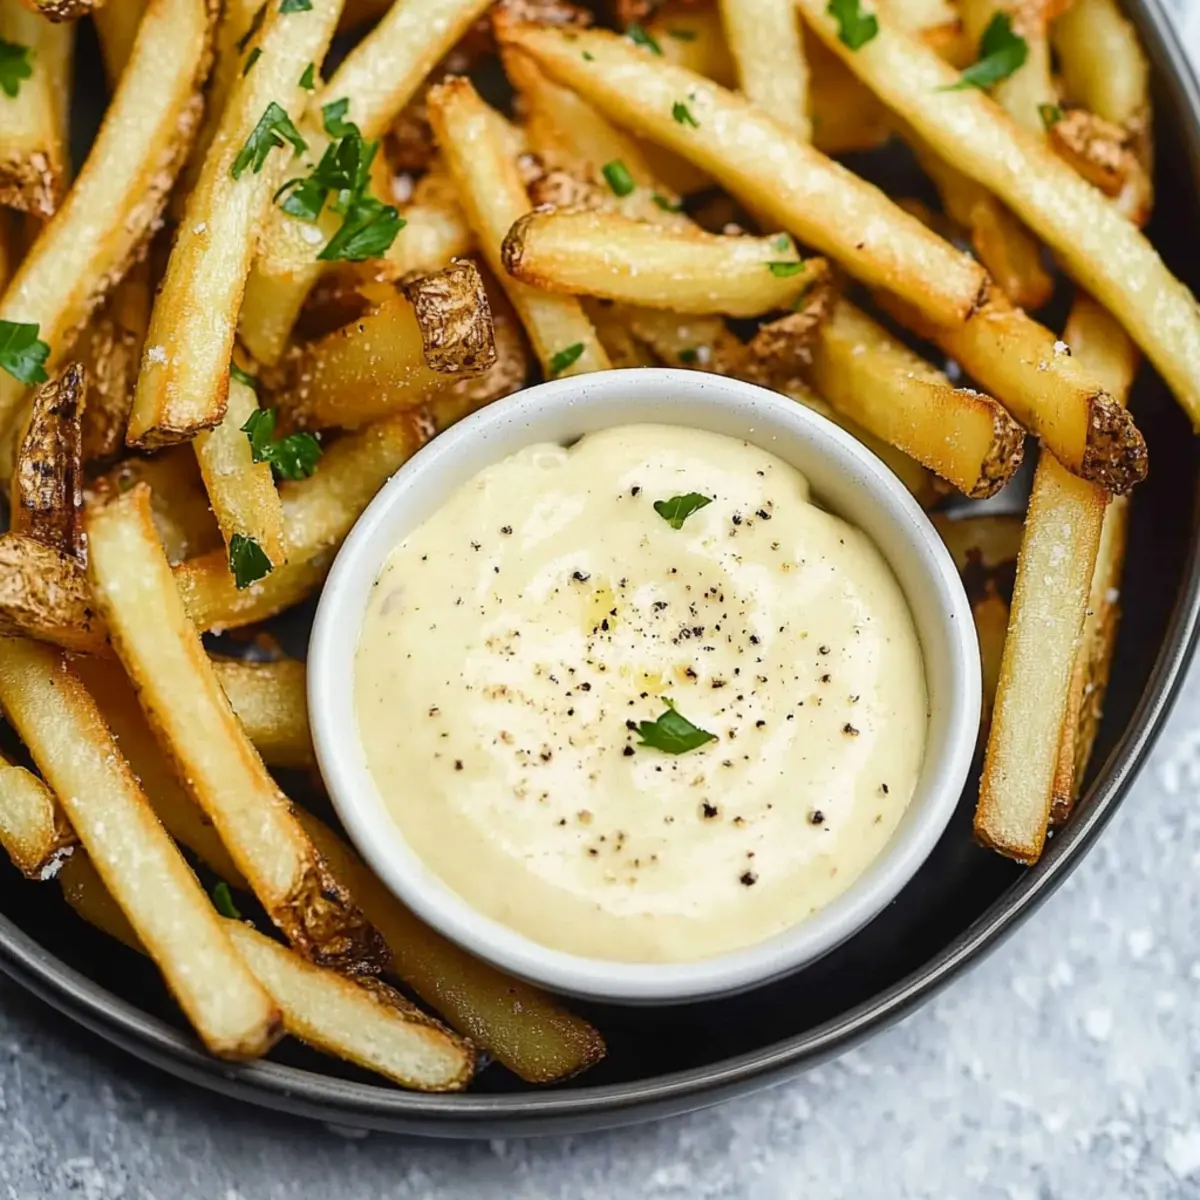
As I whipped up my latest culinary delight, the aroma of fresh garlic sailed through the kitchen, drawing me in like a warm hug. That’s right, today we’re diving into the world of 5-Minute Homemade Garlic Aioli—a simple yet mesmerizing sauce that elevates any meal from mundane to magnificent. Made with just five ingredients, this gluten-free, chef-tested gem transforms everything from crispy fries to grilled seafood into restaurant-quality dishes right at home. In just five quick minutes, you’ll have a creamy condiment that not only beats any store-bought version but also opens the door to countless flavor variations, like spicy or herb-infused options. Are you ready to revolutionize your dips and spreads? Let’s get started!
Why Homemade Aioli Will Delight You
Simplicity at its finest: With just five everyday ingredients, you can whip up this creamy garlic aioli in a mere five minutes!
Endless variations: Customize your aioli by adding ingredients like fresh herbs, sriracha, or even truffle oil to match any occasion.
Restaurant-quality: Elevate your culinary creations to gourmet status, impressing family and friends with your homemade sauce.
Perfect pairing: This versatile condiment compliments everything from crispy fries to grilled seafood, enhancing every bite with its rich flavor.
Healthier alternative: Say goodbye to store-bought options and embrace a gluten-free, chef-tested recipe that’s both delicious and satisfying.
Homemade Aioli Ingredients
For the Base
• Large Egg – Essential for creating a rich emulsion; make sure it’s at room temperature.
• Fresh Lemon Juice – Provides acidity that balances the richness; can be substituted with vinegar for a twist.
• Garlic Clove (finely chopped) – Infuses the aioli with a bold garlic flavor; adjust based on your love for garlic.
For the Oils
• Canola Oil (½ cup) or Neutral Oil – Forms the bulk of the emulsion, allowing other flavors to shine; use grapeseed oil as an alternative.
• Extra Virgin Olive Oil (½ cup) – Adds peppery notes and enhances flavor, crucial for authentic homemade aioli; opt for a high-quality oil.
Seasoning
• Kosher Salt (½ tsp) – A must for enhancing all the flavors in your homemade aioli.
• Freshly Ground Black Pepper (¼ tsp) – Adds a subtle kick to the sauce.
Optional Add-ins
• Fresh Herbs (like tarragon, 2 Tbsp) – Incorporate for an herbaceous note that pairs beautifully with various dishes; feel free to experiment!
Step‑by‑Step Instructions for Homemade Aioli
Step 1: Combine Ingredients
In a food processor or a sturdy blender, add the large room-temperature egg, finely chopped garlic, and the fresh lemon juice. Pour in the canola oil to create a solid base for your homemade aioli. Secure the lid tightly and pulse the mixture for about 10 seconds until everything is combined and frothy, giving it that luscious start.
Step 2: Blend for Emulsion
With your processor or blender running, carefully drizzle in the extra virgin olive oil slowly over about 30 seconds. This gradual incorporation is crucial for achieving a stable emulsion. Keep blending until the aioli becomes thick and creamy, which should take around 1-2 minutes. Scrape the sides of the bowl as needed to ensure all ingredients are fully combined.
Step 3: Season
Once your aioli reaches a silky, luscious texture, it’s time to enhance the flavors. Add the kosher salt, freshly ground black pepper, and any optional fresh herbs like tarragon if you desire. Blend for another 15-20 seconds, allowing the seasonings to evenly distribute throughout your homemade aioli, and take a moment to savor the delightful aroma.
Step 4: Serve or Store
Your homemade aioli is now ready to shine! You can serve it immediately as a dip for crispy fries, a spread for sandwiches, or a drizzle over grilled seafood. If you plan to save it for later, transfer the aioli into an airtight container and store it in the refrigerator, where it will keep well for up to four days.
How to Store and Freeze Homemade Aioli
Fridge: Store aioli in an airtight container in the refrigerator for up to 4 days. Make sure the lid is sealed tightly to preserve its flavor and freshness.
Freezer: It is not recommended to freeze homemade aioli, as the emulsion may break upon thawing, resulting in an unappetizing texture.
Reheating: If serving leftovers, gently mix or blend the aioli to restore creaminess before use. Avoid heating, as it can alter the flavor and texture.
Room Temperature: Homemade aioli should not be left out at room temperature for more than 2 hours to prevent spoilage. Always refrigerate any leftovers promptly.
Homemade Aioli: Variations & Substitutions
Get ready to explore the delightful world of customization as you elevate your homemade aioli experience!
-
Spicy Aioli: Add 1-2 teaspoons of sriracha or your favorite hot sauce for a flavorful kick that ignites your taste buds. The heat pairs beautifully with crispy fries or roasted veggies, turning any ordinary dish into something extraordinary.
-
Herb Aioli: Blend in fresh herbs like basil, parsley, or dill to infuse your aioli with bright, garden-fresh flavors. Herbaceous notes enhance the taste and add an inviting aroma, giving a delightful twist that pairs wonderfully with grilled meats.
-
Truffle Aioli: Mix in a drizzle of truffle oil for a luxurious and earthy flavor. This gourmet touch turns everyday meals into decadent treats, perfect for impressing dinner guests or simply treating yourself.
-
Smoky Chipotle Aioli: Stir in smoked paprika and adobo sauce to create a smoky flavor that adds depth to your aioli. This variation complements grilled dishes fantastically and is an absolute must for anyone who loves barbecue flavors.
-
Zesty Lemon Herb: Swap out the lemon juice for lime and add a tablespoon of chopped cilantro for a vibrant and refreshing taste. This zesty version brightens tacos, seafood, and salads, bringing a burst of sunshine to your plate.
-
Roasted Garlic Aioli: For a sweeter and mellower garlic flavor, roast the garlic cloves before blending. This creates a creamy consistency bursting with rich flavors, turning your aioli into a sophisticated spread for bread or dip for veggies.
-
Curry Aioli: Incorporate a teaspoon of curry powder for an intriguing twist that adds warmth and spice. This is perfect for pairing with roasted cauliflower or as a dipping sauce for naan bread, making your meals a journey of international flavors.
-
Cilantro-Lime Aioli: Blend in cilantro and lime juice for a bright, fresh flavor perfect for tacos or grilled chicken. This refreshing twist lets you travel to a sunny beach with every bite!
Don’t forget, you can experiment and mix these variations to create your perfect aioli masterpiece! Consider trying out some luscious homemade garlic aioli with crispy fries or grilled seafood for the perfect pairing. Enjoy the process of creating something uniquely yours!
What to Serve with 5-Minute Homemade Garlic Aioli
Transform your meals into delightful experiences with these exciting pairings that perfectly complement your creamy condiment.
-
Crispy French Fries: The classic choice! The crunchy texture and salty flavor enhance the rich creaminess of aioli.
-
Grilled Seafood: A match made in heaven; aioli elevates the fresh taste of fish or shrimp, adding a zesty punch.
-
Roasted Vegetables: Add depth to veggies like asparagus or bell peppers, with aioli bringing a tangy flair and luscious texture.
-
Savory Sandwiches: Whether it’s a turkey club or a veggie wrap, aioli makes the perfect spread for an upscale twist on classic bites.
-
Crunchy Chips: Dip crispy potato or vegetable chips for a fun, indulgent snack that brings out the garlic’s bold notes.
-
Fresh Garden Salad: Use aioli as a dressing alternative, adding a creamy richness that transforms simple salads into gourmet dishes.
-
Wine Pairing: A chilled Sauvignon Blanc or light Pinot Grigio balances the richness of the aioli, enhancing the meal’s overall flavor experience.
-
Decadent Desserts: Serve a light mousse or fruit tart to cleanse the palate after enjoying your savory delights – a perfect end to a delicious meal!
Make Ahead Options
These 5-Minute Homemade Garlic Aioli are a dream come true for busy home cooks! You can prepare the aioli up to four days in advance, which makes it ideal for meal prep. To do this, simply follow the blending instructions until your aioli is thick and creamy, then immediately store it in an airtight container in the refrigerator. This method keeps the flavors fresh and vibrant! When you’re ready to serve, just give the aioli a quick stir and it’s ready to elevate your dishes. Not only does making aioli ahead save you precious time during a busy week, but it also allows the flavors to meld beautifully, ensuring a delicious condiment that’s just as delightful as when freshly made.
Expert Tips for Homemade Aioli
-
Egg Temperature Matters: Always use a room-temperature egg for a successful emulsion; cold eggs may lead to a broken aioli.
-
Slowly Incorporate Oil: Drizzle in the olive oil gradually while blending to ensure your homemade aioli thickens properly and doesn’t split.
-
Fixing Splits: If your aioli separates, no need to panic! Simply whisk in a little water slowly and blend until smooth again.
-
Customize Wisely: Experiment with herbs or spices but avoid overloading; start small and gradually add to maintain balance in your homemade aioli.
-
Storage Secrets: Keep your aioli in an airtight container in the fridge for up to four days for optimal freshness; avoid freezing to maintain texture.
Homemade Aioli Recipe FAQs
What type of egg should I use for homemade aioli?
Absolutely, always use a large egg at room temperature. This is crucial for creating a successful emulsion. Cold eggs may cause your homemade aioli to split, leading to a frustrating experience.
How long can homemade aioli be stored?
You can store your homemade aioli in an airtight container in the refrigerator for up to 4 days. Just make sure the lid is sealed tightly to preserve its rich flavor and creamy texture. Do remember to give it a quick stir before using again, as it might separate slightly during storage.
Can I freeze homemade aioli?
Unfortunately, it’s not recommended to freeze homemade aioli, as the emulsion could break during thawing, leading to an unappetizing texture. Instead, enjoy it fresh or ensure you make just enough to use within four days for the best flavor.
What should I do if my aioli splits?
If your homemade aioli separates, don’t worry at all! You can rescue it by whisking in a teaspoon of water slowly while blending. This helps to bring everything back together. If it remains a little wobbly, blend again until it reaches that desired smooth consistency.
Can I customize my homemade aioli for dietary restrictions?
Certainly! This recipe is naturally gluten-free, making it a fantastic option for those with gluten sensitivities. However, if you have allergies, always double-check your ingredient labels. For instance, you can use different oils or omit certain flavors to accommodate various dietary needs.
What variations can I try for my homemade aioli?
The more the merrier! You can easily adapt the flavor of this homemade aioli with ingredients like fresh herbs such as tarragon or basil for a fresh twist, spicy components like sriracha for a kick, or luxurious truffle oil for an elevated touch. Start with small amounts and adjust to your taste!
Elevate Your Meals with Homemade Aioli in Just 5 Minutes
Ingredients
Equipment
Method
- In a food processor or sturdy blender, add the egg, finely chopped garlic, and lemon juice. Pour in the canola oil and pulse the mixture for about 10 seconds until everything is combined and frothy.
- With the processor or blender running, drizzle in the olive oil slowly over about 30 seconds. Keep blending until the aioli becomes thick and creamy, scraping the sides of the bowl as needed.
- Add the kosher salt, black pepper, and optional herbs if desired. Blend for another 15-20 seconds to distribute the seasonings evenly.
- Serve the aioli as a dip, spread, or drizzle over dishes. Transfer to an airtight container for storage in the refrigerator for up to four days.
Leave a Reply