
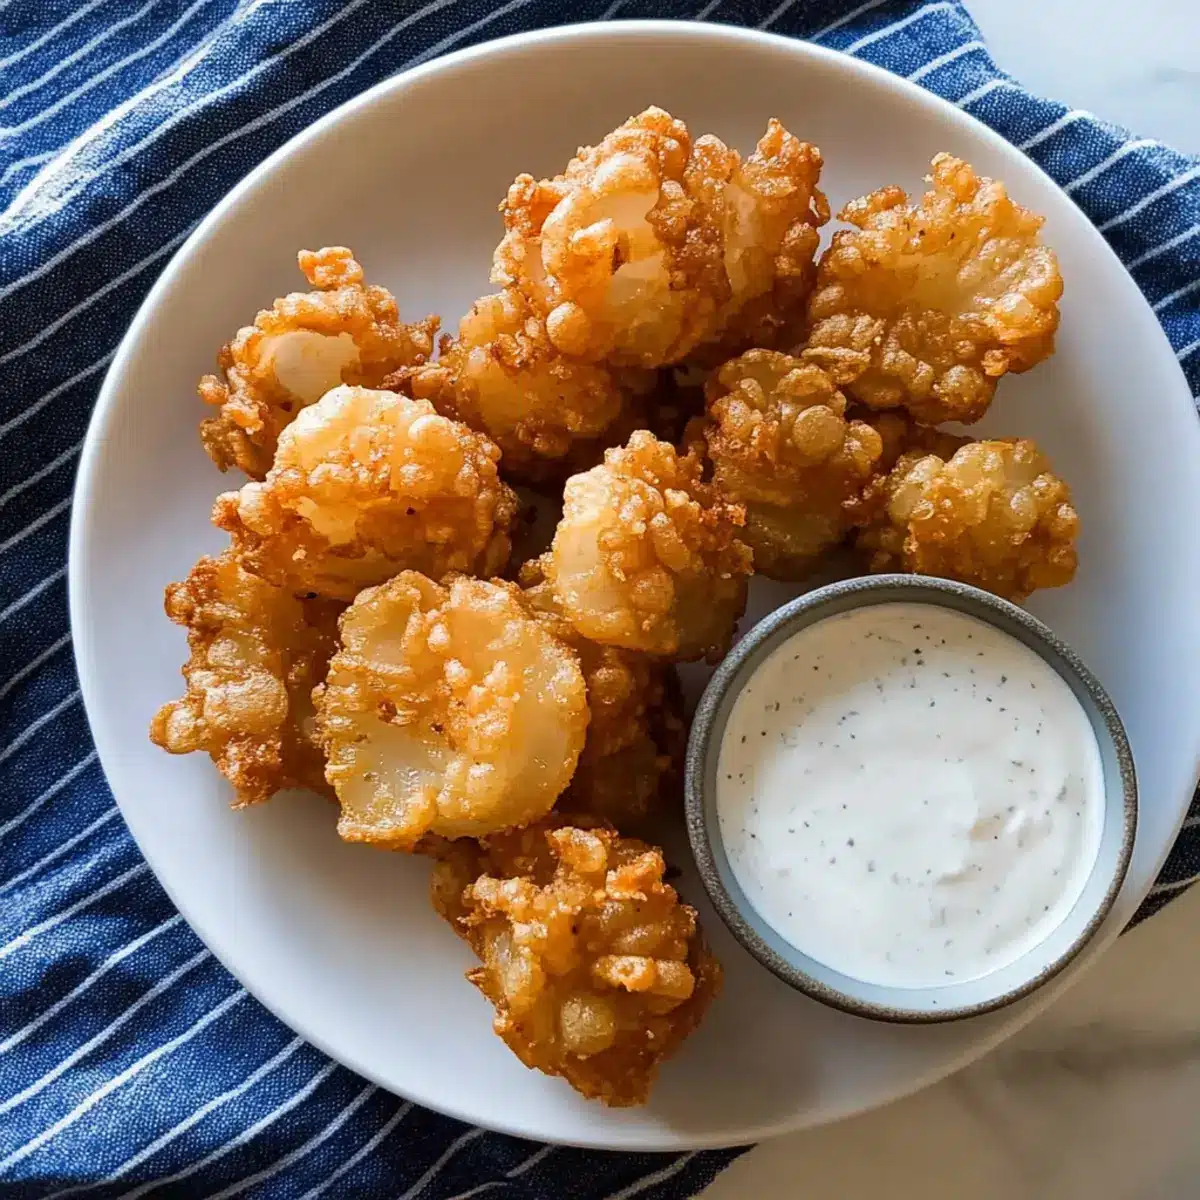
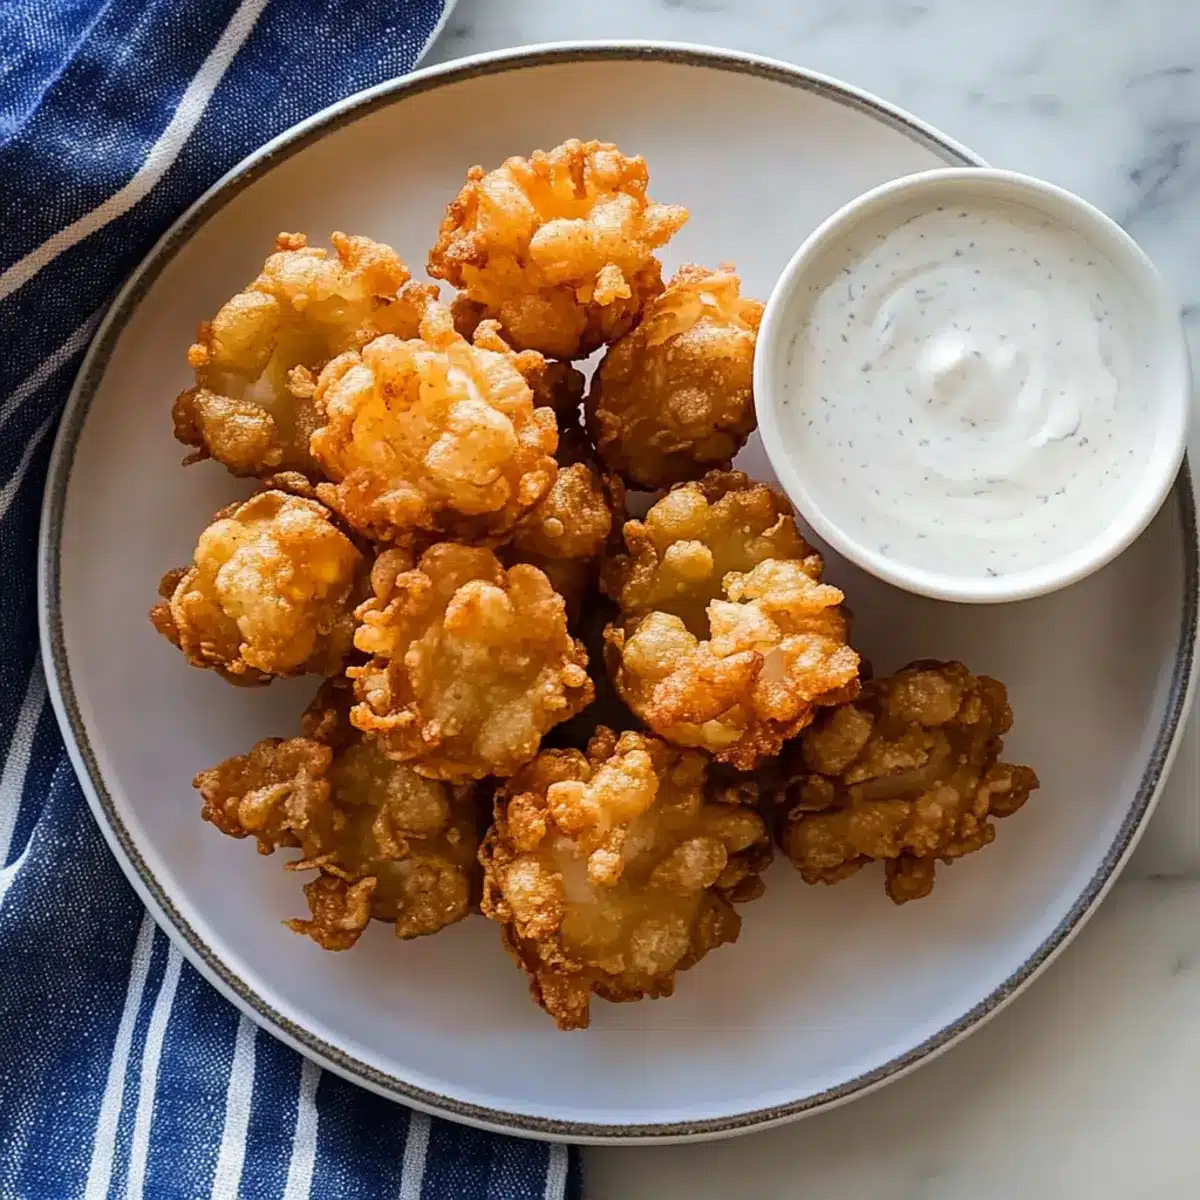
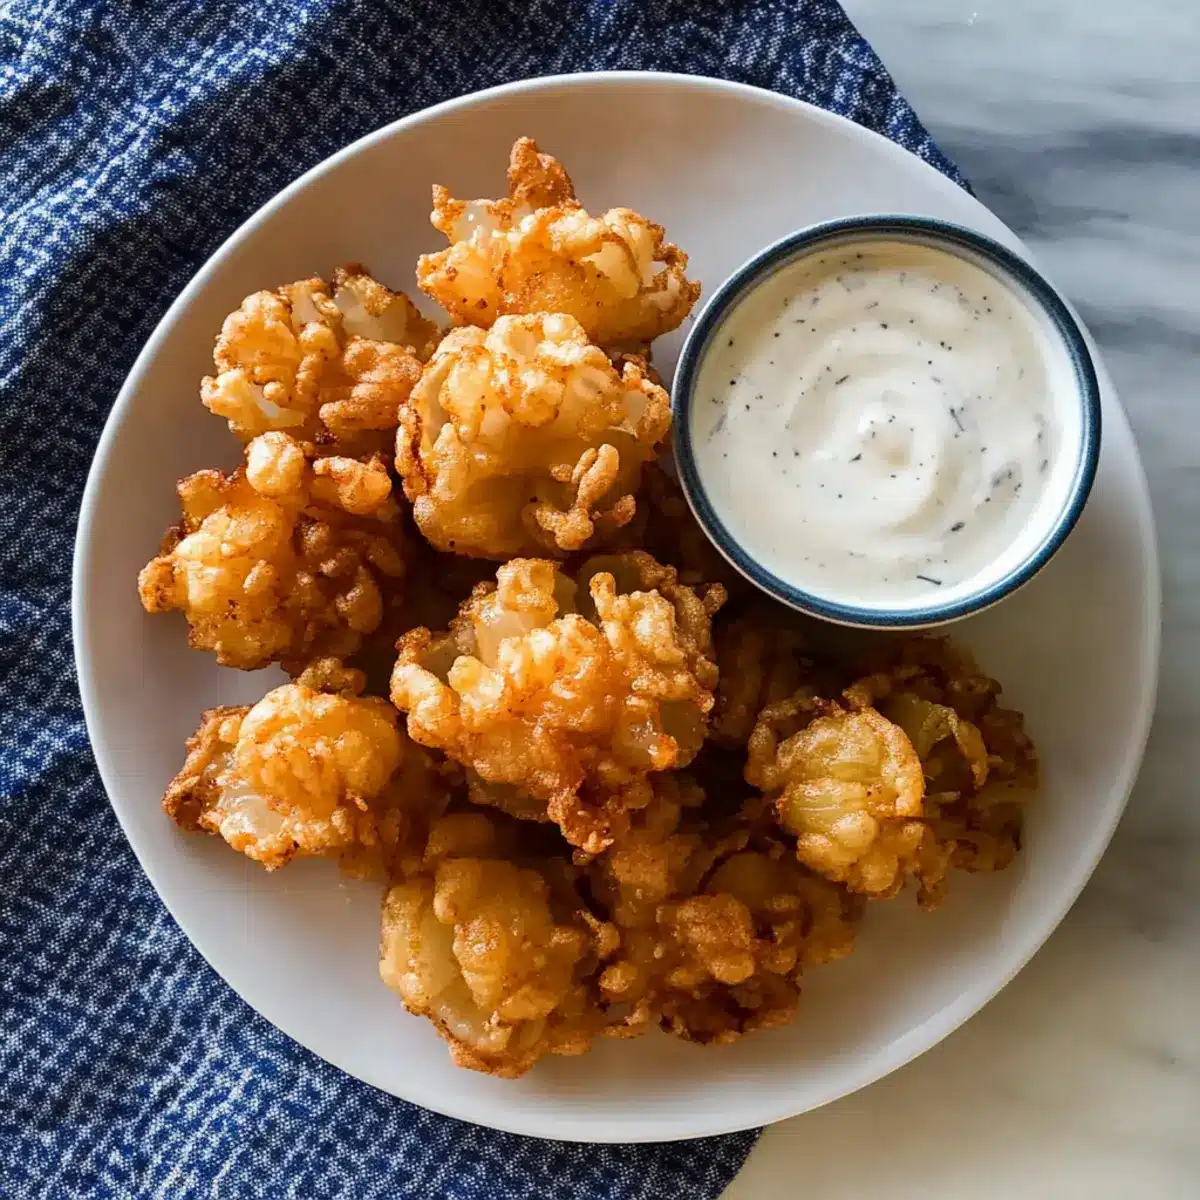
The aroma of sizzling onions fills the air as these Baby Bloomin’ Onions take center stage, inviting everyone to gather around. This playful twist on a classic fried appetizer elevates any gathering, creating not just a dish, but a shared experience filled with laughter and flavor. With a crispy, golden exterior that gives way to tender, caramelized onion goodness, these delights are destined to be a hit among family and friends. Plus, they’re surprisingly simple to whip up, making them perfect for busy home chefs seeking a satisfying, crowd-pleasing appetizer. As you serve them with a creamy buttermilk ranch dip, will you experiment with alternative dipping sauces, or do you have a favorite that you can’t resist?
Why Are Baby Bloomin’ Onions So Special?
Unique Twist: These Baby Bloomin’ Onions are not just a fried snack; they transform plain onions into a show-stopping appetizer that everyone will admire.
Easy to Make: The process is straightforward, meaning you won’t need to be a seasoned chef to create this masterpiece.
Crowd Favorite: With their crispy texture and sweet, tender center, these onions are sure to be a hit at any party or game day spread.
Versatile Dipping: Serve them with our buttermilk ranch dip or mix it up with spicy ketchup, aioli, or even creamy blue cheese for varied flavors.
Customizable: Substituting different onions or adapting the recipe for dietary needs keeps things exciting, allowing you to personalize your dish with ease.
Baby Bloomin’ Onions Ingredients
For the Onions
• Cipollini Onions – These tender, small onions create the signature bloom; feel free to substitute small yellow onions or pearl onions for a different flavor.
For the Buttermilk Mixture
• Buttermilk – This helps the flour coating adhere and adds moisture; regular whole milk can be a suitable alternative.
For the Coating
• All-Purpose Flour – This forms the crispy coating; you can use gluten-free flour if needed.
• Garlic Powder – Adds depth to the coating; fresh minced garlic works well for a bolder kick.
• Onion Powder – Enhances the onion flavor in the batter; omit this if you’re sensitive to onion taste.
• Smoked Paprika – Imparts a mild smokiness; sweet paprika can substitute if desired.
• Salt – This enhances overall flavor; opt for kosher salt for less intensity.
• Dry Mustard – Adds a touch of tang; consider mixing Dijon with the buttermilk as an alternative.
• Black Pepper – Adds flavor and heat; use white pepper for a more subtle taste.
For Frying
• Peanut or Vegetable Oil – Necessary for frying; you can also choose canola or sunflower oil for convenience.
These ingredients will help you achieve perfectly crispy Baby Bloomin’ Onions that steal the show at any gathering!
Step‑by‑Step Instructions for Baby Bloomin’ Onions
Step 1: Preheat the Oil
Begin by filling a tall pot with peanut or vegetable oil, ensuring it’s deep enough for frying. Heat the oil over medium-high heat until it reaches 350˚F (175˚C). Use a kitchen thermometer for accuracy because the right temperature is crucial for achieving that crispiness in your Baby Bloomin’ Onions.
Step 2: Prepare the Onions
While the oil is heating, take your cipollini onions, trimming off the stem ends and peeling away the skin. Make a series of about 12 carefully spaced cross-cuts down to the root without cutting all the way through, allowing the onion layers to bloom during frying. This step sets the stage for the visually stunning presentation of your finished dish.
Step 3: Soak in Buttermilk
Once your onions are prepped, place them in a bowl of buttermilk to soak. Let them soak for about 10-15 minutes as this helps the flour coating adhere better while adding moisture. The buttermilk also enhances the flavor, making your Baby Bloomin’ Onions even more delicious when fried.
Step 4: Mix the Coating
In another mixing bowl, combine all-purpose flour, garlic powder, onion powder, smoked paprika, salt, dry mustard, and black pepper. Whisk together until well blended, which will create a flavorful coating for your blooming onions. This spiced flour mix gives each bite an inviting taste, balancing the sweetness of the onions perfectly.
Step 5: Dredge the Onions
Take each soaked onion and dredge it in the flour mixture, ensuring an even coating on all sides. Shake off any excess flour and return the dredged onion to the buttermilk briefly before dredging it in the flour mix again for a double coating. This extra layer guarantees a delightfully crispy texture on your Baby Bloomin’ Onions when fried.
Step 6: Fry the Onions
Once the oil is hot, carefully add the coated onions cut side down into the pot. Fry them for about 3-4 minutes, or until they turn a beautiful golden brown. Use tongs to gently flip the onions and let them fry for another 2 minutes. Monitor the color closely; they should be crispy and golden to ensure a perfect bloom.
Step 7: Drain and Serve
After frying, remove the bloomin’ onions from the oil and place them on a plate lined with paper towels to absorb any excess oil. While they’re still hot, sprinkle with additional salt for extra flavor. Serve your Baby Bloomin’ Onions immediately with a side of creamy buttermilk ranch dip to enhance the crispy, savory experience for your guests.
How to Store and Freeze Baby Bloomin’ Onions
Fridge: Store any leftover Baby Bloomin’ Onions in an airtight container in the refrigerator for up to 2 days. Reheat in the oven to maintain crispiness.
Freezer: For longer storage, freeze the un-fried coated onions on a baking tray until firm, then transfer to a freezer-safe bag for up to 3 months.
Reheating: When ready to enjoy leftover or frozen Baby Bloomin’ Onions, reheat them in an oven at 375˚F (190˚C) for about 10-15 minutes until heated through and crispy again.
Make-Ahead Tip: You can prepare and coat the onions in advance, then fry them just before serving for a fresher taste and optimal crunch.
What to Serve with Crispy Baby Bloomin’ Onions
Serving up these delightful bites is just the beginning of a flavorful feast. They’re not just tasty on their own, but now it’s time to create a meal that will have everyone smiling and satisfied.
-
Creamy Buttermilk Ranch Dip: This is the classic pairing, enhancing the crispy texture and savory flavor of the onions with its creamy goodness.
-
Spicy Chicken Sliders: Finger-licking chicken sliders add heartiness, while their spice complements the sweetness of the bloomin’ onions.
-
Fresh Garden Salad: A light, crisp salad balances the richness of the fried onions, bringing refreshing textures and vibrant colors to the table.
-
Cheesy Nachos: The gooey cheese and crunchy tortilla chips create a crowd-pleasing snack that pairs perfectly with the onion flavor while adding a fun touch.
-
Loaded Potato Skins: These potato delights add a satisfying crunch and savory toppings that enhance the flavor profile alongside your bloomin’ onions.
-
Mini Corn Dogs: Sweet and savory, mini corn dogs offer a playful, carnival-style treat that pairs well with the crispy and tender onions, making every bite a joy.
-
Beverage: Pair with a chilled craft beer or a zesty lemonade for a refreshing drink that complements the indulgent flavors of the onion appetizer.
-
Dessert Nachos: Sweet, cinnamon-sugar-dusted dessert nachos finished with chocolate and caramel drizzle give a delightful dessert option to end on a sweet note.
Let your imagination run wild as you mix and match these pairings, creating a dinner spread that will keep your friends and family gathered around the table.
Expert Tips for Baby Bloomin’ Onions
Oil Temperature: Ensure the oil is at 350˚F before frying to achieve the perfect crispy texture. Use a thermometer for best results.
Double Coating: Don’t skip the second dredge in the flour mixture; it enhances the crunchiness of your Baby Bloomin’ Onions.
Onion Prep: Cut evenly spaced cross-cuts but avoid slicing through the root. This helps the onions bloom beautifully while frying.
Soaking Time: Be patient while soaking the onions in buttermilk for 10-15 minutes; it’s key for moisture and adhesion of the coating.
Alternative Methods: For a healthier option, air fry these gems at 400˚F, spritz with a bit of oil, and fry for an extra minute for crunch.
Dipping Sauces: Feel free to experiment with various dips like spicy ketchup or creamy blue cheese to elevate the flavor experience!
Make Ahead Options
These Baby Bloomin’ Onions are perfect for meal prep, making them an ideal choice for busy weeknights or last-minute gatherings! You can peel and slice the onions, making those essential cross-cuts, up to 24 hours in advance. Simply store them submerged in buttermilk in the refrigerator to maintain moisture and prevent browning. Additionally, you can prepare the flour coating and keep it in an airtight container for up to 3 days. When it’s time to serve, just dredge the prepped onions in the flour mixture and fry them fresh for crispy results. This way, you’ll enjoy delightful, freshly fried Baby Bloomin’ Onions with minimal effort, ensuring they’re just as delicious as if made from scratch!
Baby Bloomin’ Onions Variations
Feel free to add your personal touch to these delightful Baby Bloomin’ Onions – your creativity can make this dish even more mouthwatering!
-
Onion Swap: Substitute cipollini onions with small yellow onions or pearl onions for a different flavor and experience. You’ll still enjoy a lovely bloom with unique taste notes!
-
Dairy-Free Option: Use plant-based milk instead of buttermilk, such as almond or cashew milk. Add a splash of lemon juice to mimic buttermilk’s tangy flavor.
-
Spicy Twist: Spice up your coating with cayenne pepper or crushed red pepper flakes for a zesty kick. This will give each bite a delightful heat that tantalizes your taste buds.
-
Gluten-Free: Swap all-purpose flour for gluten-free flour or a mix to make these crispy treats suitable for those with gluten sensitivities. They’ll be just as delicious!
-
Extra Flavor: Incorporate fresh minced garlic or chopped herbs like parsley or chives into the flour mix for a tasty upgrade. Each onion will burst with vibrant flavor that your guests will love.
-
Vegetable Air-Fry: Instead of frying, you can air fry the onions at 400˚F, spritz them with oil, and get that desired crispiness while cutting down on calories.
-
Dipping Sauce Variety: Don’t limit yourself to buttermilk ranch! Try serving with cilantro lime yogurt or sriracha mayo for a fun twist that will cater to varying palates.
Feel inspired by these variations to create a Baby Bloomin’ Onions masterpiece that fits your style! After all, cooking should be about enjoying the flavors and making memories. For more ideas on sauces, explore our spicy ketchup or creamy blue cheese dip recipes!
Baby Bloomin’ Onions Recipe FAQs
What type of onions are best for Baby Bloomin’ Onions?
Absolutely! Cipollini onions are the star of this recipe thanks to their tender texture and ability to bloom beautifully. However, small yellow onions or pearl onions can be excellent substitutes if you’re looking to switch things up. Keep in mind that some onions may not bloom as effectively as cipollini, so do a little experimentation!
How should I store leftover Baby Bloomin’ Onions?
Very! Store any leftover Baby Bloomin’ Onions in an airtight container in the refrigerator for up to 2 days. When you’re ready to enjoy them again, reheat in the oven at 375˚F (190˚C) for about 10-15 minutes to regain that delightful crispiness.
Can I freeze Baby Bloomin’ Onions?
Of course! If you’d like to freeze them, first flash freeze the un-fried coated onions on a baking tray until they are firm. Transfer them to a freezer-safe bag, where they’ll keep for up to 3 months. When you’re ready to fry, simply follow the frying instructions without thawing for the best texture!
What if my Baby Bloomin’ Onions don’t bloom properly?
Absolutely! If you find that your onions are not blooming as expected, it may be due to not cutting deep enough or the oil not being hot enough. Make sure your cross-cuts are evenly spaced and deep yet anchored at the root to allow for blooming. Verify the oil temperature with a thermometer—it should be at 350˚F (175˚C) before frying!
Are Baby Bloomin’ Onions suitable for special diets?
Certainly! If you have dietary restrictions, you can use gluten-free flour to adapt the coating for a gluten-free version. Additionally, consider using vegetable oil instead of peanut oil if you have allergies. Always check each ingredient’s packing for specific dietary information to ensure everyone can enjoy this tasty treat!
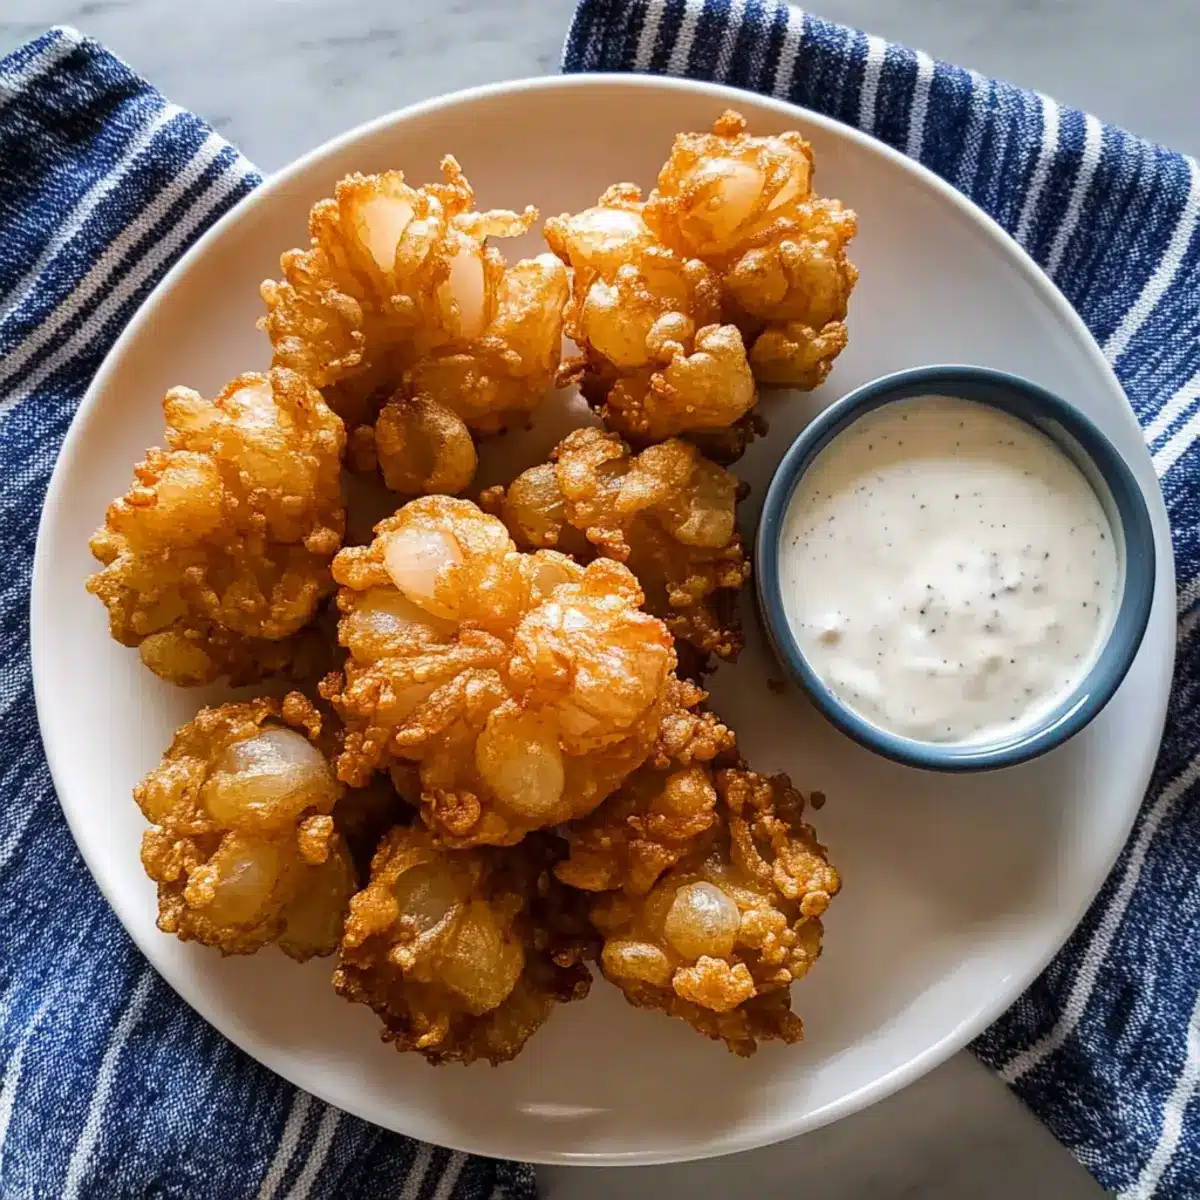
Crispy Baby Bloomin’ Onions That Steal the Show at Parties
Ingredients
Equipment
Method
- Preheat the oil by filling a tall pot with peanut or vegetable oil and heat over medium-high until it reaches 350˚F (175˚C).
- Prepare the onions by trimming off the stem ends and peeling the skin. Make about 12 cross-cuts down to the root without cutting through.
- Soak the prepared onions in buttermilk for 10-15 minutes.
- Mix the coating by combining all-purpose flour, garlic powder, onion powder, smoked paprika, salt, dry mustard, and black pepper in a bowl.
- Dredge the soaked onions in the flour mixture and shake off excess, then return to buttermilk before dredging again for double coating.
- Fry the onions cut side down in hot oil for 3-4 minutes until golden brown; flip and fry for another 2 minutes.
- Drain the fried onions on a paper towel-lined plate and sprinkle with salt before serving with a creamy buttermilk ranch dip.
Leave a Reply