
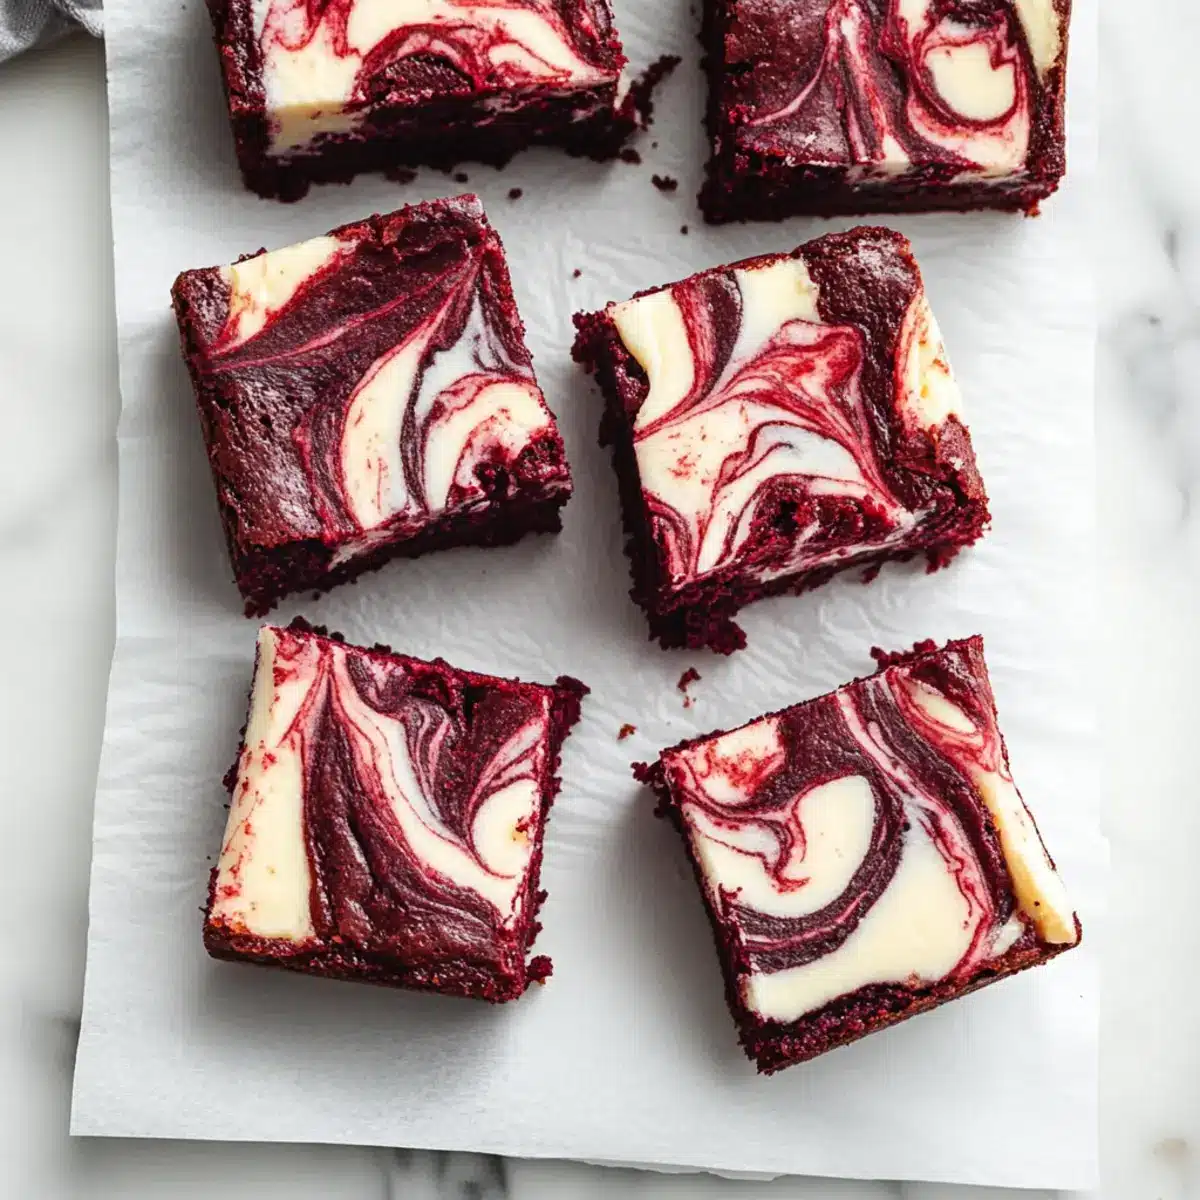
“Just one bite of these fudgy red velvet cheesecake brownies, and you’ll understand why they’re a must-have for any chocolate lover. They marry the lushness of classic red velvet cake with the creamy texture of cheesecake, creating a dessert that’s as comforting as it is indulgent. These irresistible treats are not only quick to make but also perfect for impressing friends at a gathering or sweetening up a cozy night in. Whether you’re celebrating Valentine’s Day or simply treating yourself, these brownies promise a delightful explosion of flavor with every mouthful. So, are you ready to dive into the world of fudgy goodness? Let’s get baking!”
Why Are These Brownies a Must-Try?
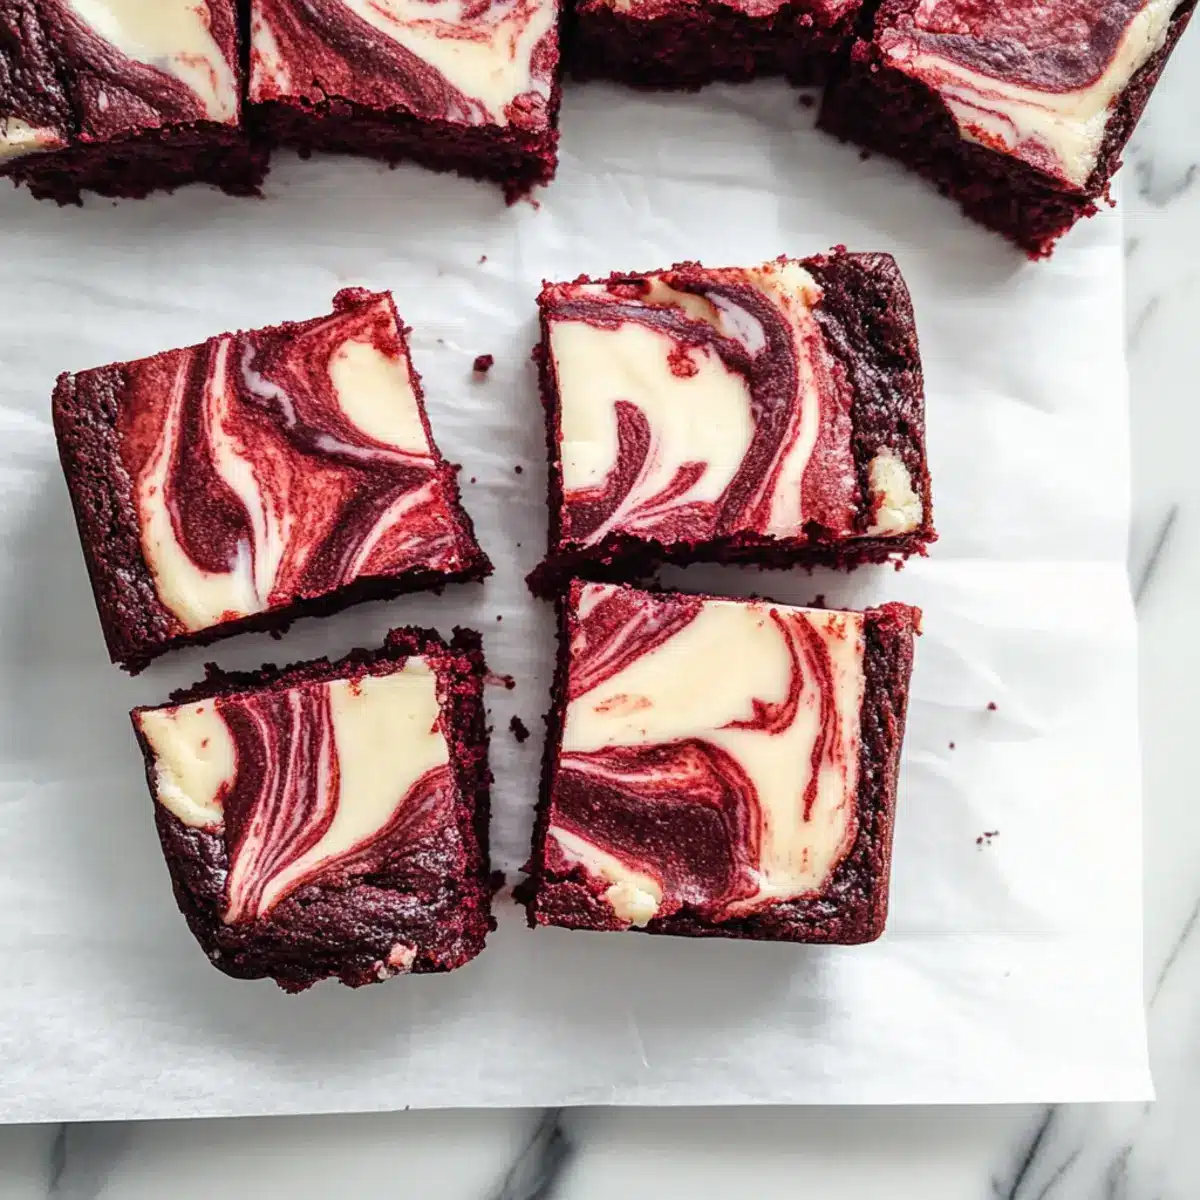
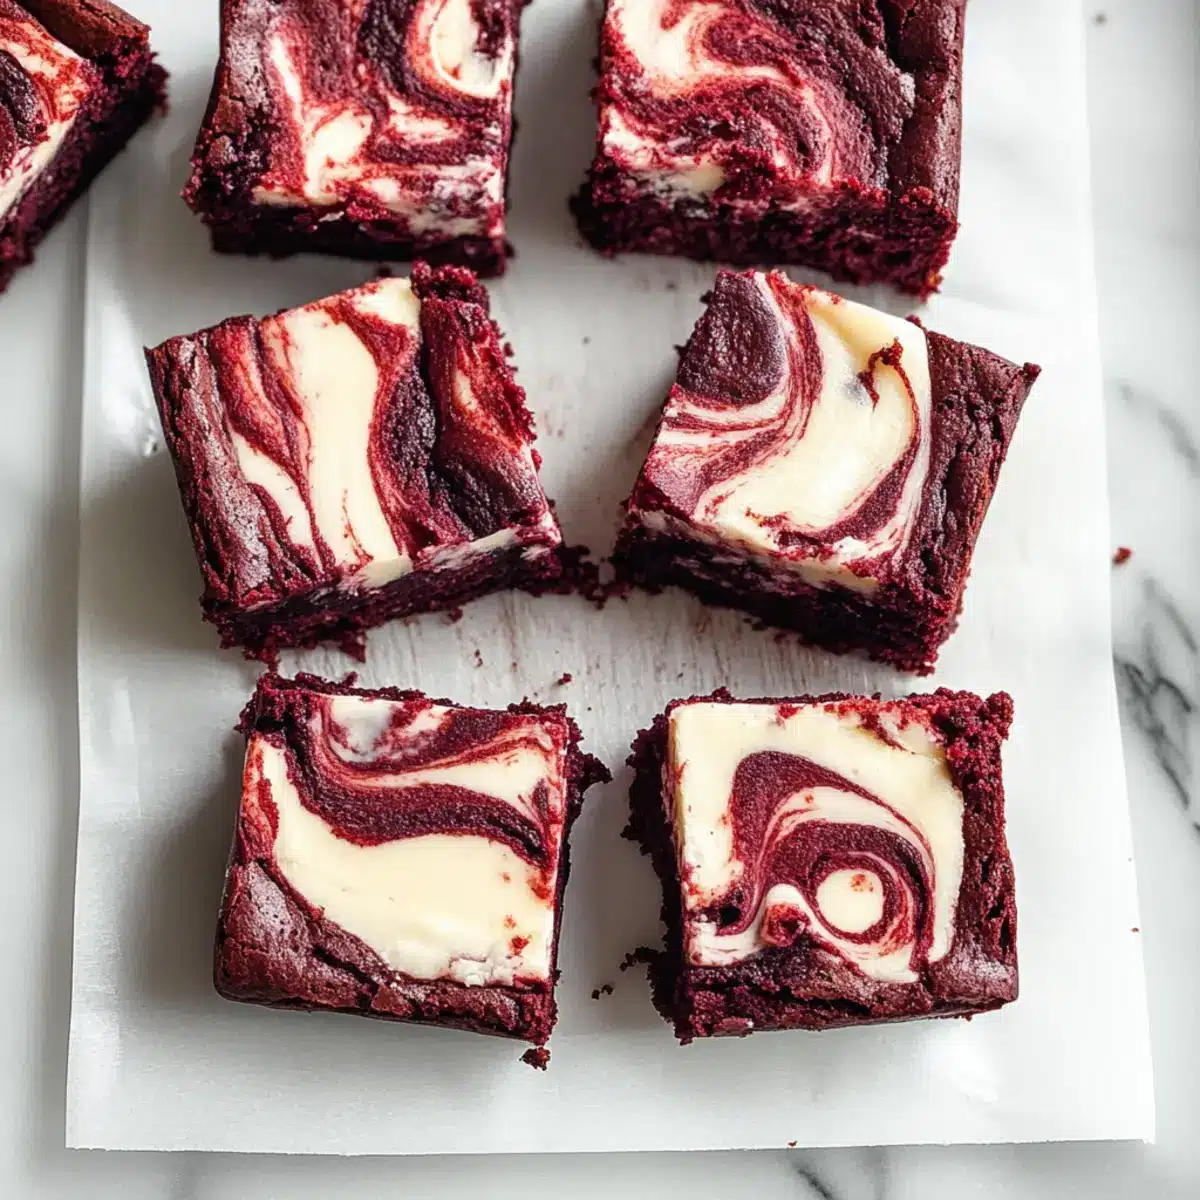
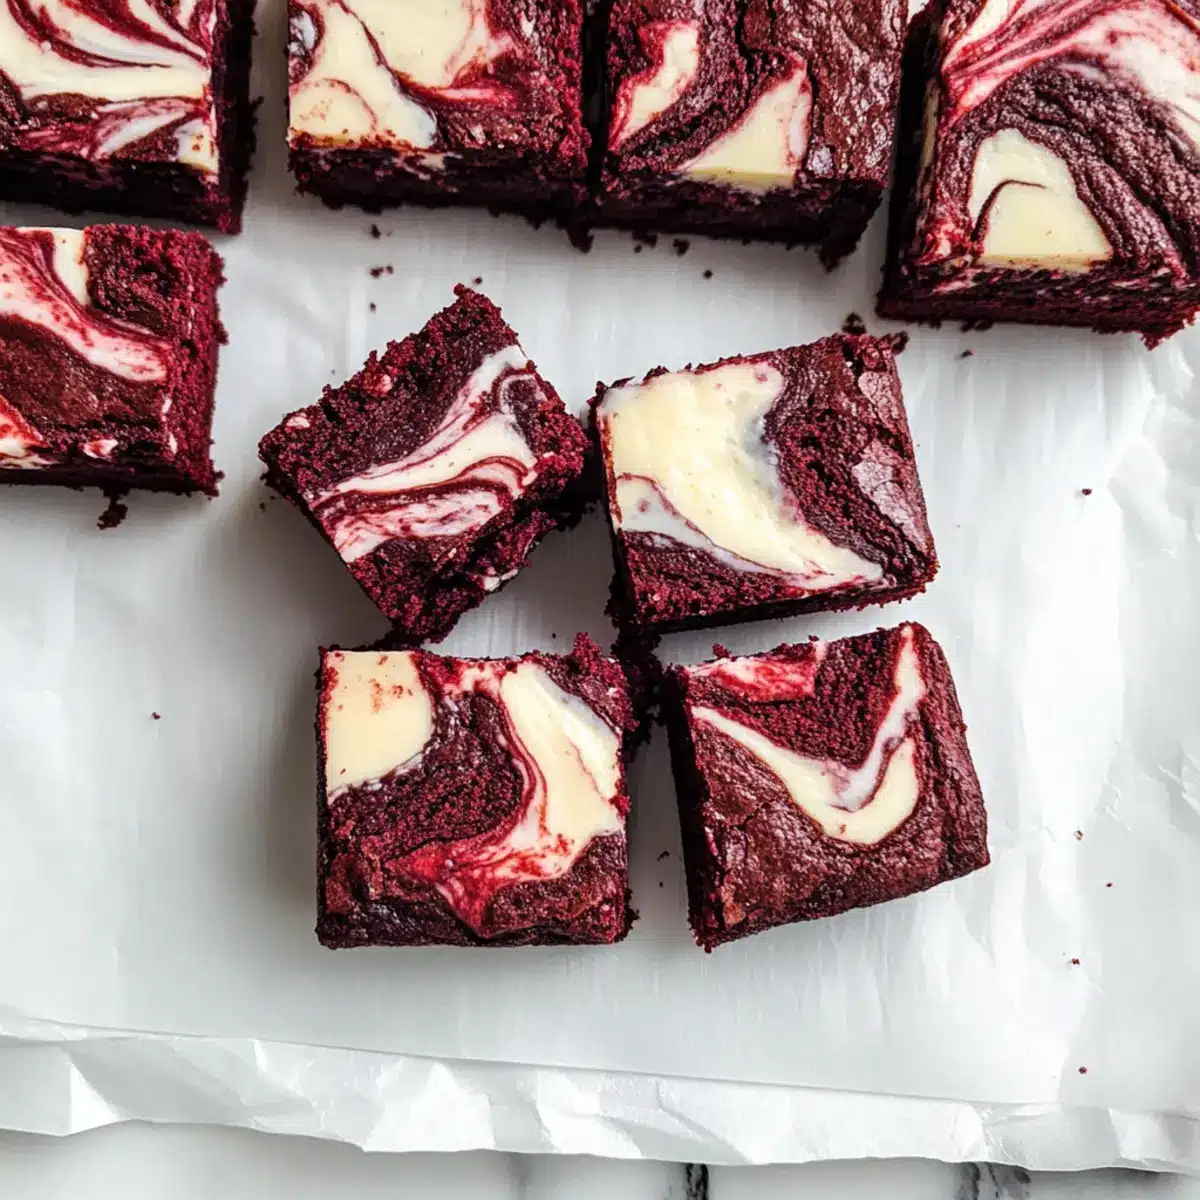
Irresistible Flavor: Every bite offers a fudgy delight, blending the rich chocolate background with a smooth, tangy cheesecake swirl. This combination is truly dreamy!
Quick Preparation: With just a handful of ingredients and simple steps, you’ll have these beauties ready in no time. Perfect for those busy days!
Impressive Presentation: The vibrant red color makes these brownies a standout at any gathering, ensuring they catch everyone’s eye.
Versatile Treats: Pair them with fresh berries or a scoop of ice cream for added decadence, or enjoy them solo!
Perfect for Any Occasion: Whether for Valentine’s Day or a cozy night in, these brownies are a crowd-pleaser, making each moment sweeter!
Red Velvet Cheesecake Brownies Ingredients
For the Brownie Base
- Unsalted Butter – Essential for moisture and richness; substitute with coconut oil for a dairy-free option.
- Granulated Sugar – Adds sweetness and helps create a chewy texture; consider using brown sugar for a deeper flavor.
- Large Eggs – Provide structure and moisture; ensure they are at room temperature for better emulsification.
- Red Food Coloring – Essential for that signature red velvet hue; use gel food coloring for a vibrant result.
- Vanilla Extract – Enhances overall sweetness; for the best flavor, opt for pure vanilla.
- Salt – Balances sweetness and enhances flavors; avoid if using salted butter.
- All-Purpose Flour – Provides structure; substitute with a gluten-free flour blend for a gluten-free version.
- Dutch Process Cocoa Powder – Adds rich chocolate flavor; you can substitute with other cocoa types, but taste and color may vary.
For the Cheesecake Swirl
- Cream Cheese – Creates the luscious cheesecake swirls; full-fat is recommended for best flavor, while low-fat may not yield the same creaminess.
- Granulated Sugar (for Cream Cheese Swirl) – Sweetens the cheesecake filling; adjust the amount to taste for the perfect balance.
Step‑by‑Step Instructions for Red Velvet Cheesecake Brownies
Step 1: Preheat the Oven
Begin by preheating your oven to 350°F (175°C). This ensures that the brownies will bake evenly and develop that classic fudgy texture. While the oven heats up, line an 8×8 inch baking pan with parchment paper for easy removal later. Make sure the parchment hangs over the edges to create handles.
Step 2: Create the Brownie Base
In a medium mixing bowl, whisk together melted unsalted butter and granulated sugar until the mixture appears glossy and well combined. This process should take about 2-3 minutes. Once ready, this mixture sets the stage for your rich red velvet cheesecake brownies, adding moisture and sweetness.
Step 3: Add Eggs and Flavorings
Crack in the large eggs, whisking until the mixture is slightly foamy and well combined. Next, add the pure vanilla extract and red food coloring, mixing until your batter is vibrant and homogenous. This step is essential for achieving that signature red velvet hue, so don’t skip on the coloring!
Step 4: Incorporate Dry Ingredients
Gently sift in the all-purpose flour, Dutch process cocoa powder, and a pinch of salt. Using a spatula or wooden spoon, fold the dry ingredients into the wet mixture just until no flour streaks remain. Overmixing can lead to dense brownies, so be gentle here to preserve that fudginess in your red velvet cheesecake brownies.
Step 5: Pour the Brownie Batter
Pour and spread the brownie batter evenly into the prepared baking pan. Use a spatula to smooth out the top, ensuring an even surface for the cheesecake swirl that’s to come. This step helps achieve a uniform bake, leading to perfectly fudgy brownies with a delightful tangy swirl.
Step 6: Prepare the Cheesecake Swirl
In a separate bowl, mix the cream cheese with an egg and granulated sugar until the mixture is smooth and creamy. This creates the luscious cheesecake swirl that perfectly complements your red velvet brownie base. Take your time to ensure that there are no lumps for a velvety finish in each bite.
Step 7: Add the Cheesecake Swirl
Dollop the cream cheese mixture onto the brownie batter in the pan. Using a knife or a toothpick, gently swirl the cream cheese mixture into the brownie batter. Aim for beautiful swirls while avoiding over-mixing, as you want distinct cheesecake pockets within your brownies.
Step 8: Bake to Perfection
Carefully place the pan in your preheated oven and bake for 30-35 minutes. The brownies are done when a knife inserted into the center comes out clean or with a few moist crumbs. Keep a close eye on them; overbaking may lead to a dry texture, so check around 30 minutes.
Step 9: Cool and Slice
Once baked, remove the pan from the oven and let it cool completely at room temperature. This cooling period is crucial for achieving clean slices when cutting your red velvet cheesecake brownies. Once cooled, lift the brownies out using the parchment handles and slice them into squares or rectangles.
Step 10: Serve and Enjoy
Now that you have your beautifully baked brownies, serve them to friends or family—or keep them all for yourself! These red velvet cheesecake brownies are perfect as is, or pair them with fresh berries or whipped cream for an extra special treat.
How to Store and Freeze Red Velvet Cheesecake Brownies
Fridge: Store the brownies in an airtight container for up to 7 days. This helps maintain their fudgy texture and prevents them from drying out.
Freezer: For longer storage, wrap individual brownies in plastic wrap and place them in a freezer-safe container. They can be frozen for up to 3 months without losing flavor.
Reheating: To enjoy your brownies warm, let them thaw in the fridge overnight, then reheat in the microwave for 10-15 seconds. This gives you that fresh-out-of-the-oven taste that’s hard to resist!
Serving Tip: For an extra special treat, pair your brownies with fresh berries or a scoop of ice cream right after reheating. Enjoy!
What to Serve with Red Velvet Cheesecake Brownies
Sink into the decadent experience of a full meal paired perfectly with these sumptuous delights—every bite is a fiesta of flavor!
-
Creamy Vanilla Ice Cream: A scoop of ice cream melts beautifully against warm brownies, adding a comforting creaminess that enhances every mouthful.
-
Fresh Berries: Strawberries or raspberries provide a tart contrast that cuts through the richness, offering an inviting freshness that brightens up the dessert.
-
Whipped Cream: Light and airy, a dollop of freshly whipped cream adds a fluffy texture that balances the fudgy elements of the brownies perfectly.
-
Chocolate Sauce: Drizzling rich chocolate sauce amplifies the chocolatey flavor, deepening the indulgence for those who crave an extra dose of sweetness.
-
Coffee or Espresso: A steaming cup balances the sweetness and complements the chocolate with its rich, robust notes, making it a perfect pairing for dessert.
Indulge in the supreme bliss of these combinations as they enhance your fudgy red velvet cheesecake brownies, creating a memorable dining experience that everyone will love!
Make Ahead Options
These Red Velvet Cheesecake Brownies are perfect for busy home cooks looking to save time! You can prepare the brownie batter up to 24 hours in advance by mixing the wet and dry ingredients separately and refrigerating them, tightly covered. The cheesecake swirl can also be made ahead of time and stored in the fridge for the same duration. When you’re ready to bake, simply bring both mixtures to room temperature, pour the brownie batter into the prepared pan, and swirl in the cream cheese mixture before baking. This way, you’ll enjoy less hands-on time before serving, with these decadent brownies being just as delicious as if made fresh on the spot!
Red Velvet Cheesecake Brownies Variations
Feel free to customize these delicious brownies to match your taste and dietary needs!
-
Dairy-Free: Substitute cream cheese with a non-dairy cream cheese alternative and use coconut oil instead of butter for a completely dairy-free treat.
-
Double Chocolate: Add chocolate chips to the brownie batter for an extra chocolatey kick. The melty chips will provide a delightful surprise in every bite.
-
Gluten-Free: Use a gluten-free flour blend instead of all-purpose flour to make this recipe suitable for gluten-intolerant friends, without sacrificing flavor!
-
Nutty Texture: Fold in some chopped nuts, like walnuts or pecans, for added texture and flavor. The crunchiness beautifully complements the fudgy brownies.
-
Flavor Infusion: Replace vanilla extract with almond or hazelnut extract in the cheesecake swirl for a unique twist that deepens the flavor experience.
-
Berry Swirl: Incorporate a fruit puree, such as raspberry or strawberry, into the cheesecake filling. This will create a fruity contrast that bursts with flavor, enhancing the indulgence of each bite.
-
Little Heat: Add a sprinkle of cayenne pepper to the brownie batter for an unexpected kick of heat that beautifully contrasts the dessert’s sweetness.
-
For even more delightful desserts, don’t miss out on making delectable Salted Caramel Cheesecake or Strawberry Swirl Cheesecake to satisfy your sweet tooth!
Expert Tips for Red Velvet Cheesecake Brownies
-
Cool Completely: Allow the brownies to cool thoroughly before slicing. This prevents messy cuts and ensures clean edges for that perfect presentation.
-
Don’t Overmix: Mix the batter just until combined. Overmixing can lead to dense brownies instead of the desired fudgy texture that makes red velvet cheesecake brownies so irresistible.
-
Swirling Technique: When adding the cheesecake swirl, use a gentle hand. Aim for beautiful swirls without over-swirling, which lets the rich flavors shine through distinctly in every bite.
-
Check for Doneness: Start checking for doneness around 30 minutes. Ovens can vary, and overbaking will result in dry brownies instead of fudgy perfection.
-
Use Quality Ingredients: Opt for high-quality cream cheese and pure vanilla extract for the best flavor. The quality of your ingredients dramatically influences these decadent treats!
Red Velvet Cheesecake Brownies Recipe FAQs
How do I select the best red food coloring?
Absolutely! For that vibrant red hue, I recommend using gel food coloring rather than liquid. Gel coloring offers more intensity, allowing you to achieve that signature red velvet look without altering the batter’s consistency. Simply add a few drops to your egg mixture, and you’ll notice the gorgeous color radiate!
How should I store my brownies for optimal freshness?
Very simple! Store your fudgy red velvet cheesecake brownies in an airtight container at room temperature for up to 3 days, or refrigerate them for up to 7 days. Just make sure they are cooled completely before storing to preserve their delightful texture.
Can I freeze red velvet cheesecake brownies?
Absolutely! To freeze, wrap individual brownies tightly in plastic wrap and place them in a freezer-safe container. They can be stored for up to 3 months. When you’re ready to indulge, allow them to thaw in the fridge overnight and reheat in the microwave for 10-15 seconds.
What can I do if my cheesecake swirl isn’t turning out?
If you find your cream cheese mixture too lumpy, make sure you are mixing it at room temperature. To achieve a smooth texture, beat the cream cheese with an egg and sugar until silky, ensuring there are no lumps. If swirling isn’t working, don’t worry! Just drop spoonfuls of the mixture directly onto the brownie batter and use a knife to create swirls without over-mixing.
Do these brownies contain allergens?
Yes, the main ingredients include eggs and cream cheese, which are common allergens. For a dairy-free version, substitute cream cheese with a dairy-free alternative. If you have nut allergies, ensure your baking ingredients are free from cross-contamination. Always read labels carefully to ensure safety!
What’s the best way to know if my brownies are done baking?
I recommend checking for doneness around the 30-minute mark. Insert a toothpick or knife in the center; it should come out with a few moist crumbs. If it comes out clean, the brownies are done. Remember, a little underbaking can keep them fudgy!
Irresistibly Fudgy Red Velvet Cheesecake Brownies Recipe
Ingredients
Equipment
Method
- Preheat your oven to 350°F (175°C) and line an 8x8 inch baking pan with parchment paper.
- In a medium mixing bowl, whisk together melted unsalted butter and granulated sugar until glossy and combined.
- Add the large eggs and whisk until slightly foamy, then mix in the vanilla extract and red food coloring.
- Sift in the all-purpose flour, Dutch process cocoa powder, and a pinch of salt; fold until no flour streaks remain.
- Pour and spread the brownie batter evenly into the prepared baking pan.
- In a separate bowl, mix cream cheese with an egg and granulated sugar until smooth and creamy.
- Dollop the cream cheese mixture onto the brownie batter and swirl gently with a knife or toothpick.
- Bake for 30-35 minutes until a knife inserted comes out clean or with a few moist crumbs.
- Cool completely at room temperature, then lift out using parchment and slice into squares.
- Serve as is or with fresh berries or whipped cream.
Leave a Reply