
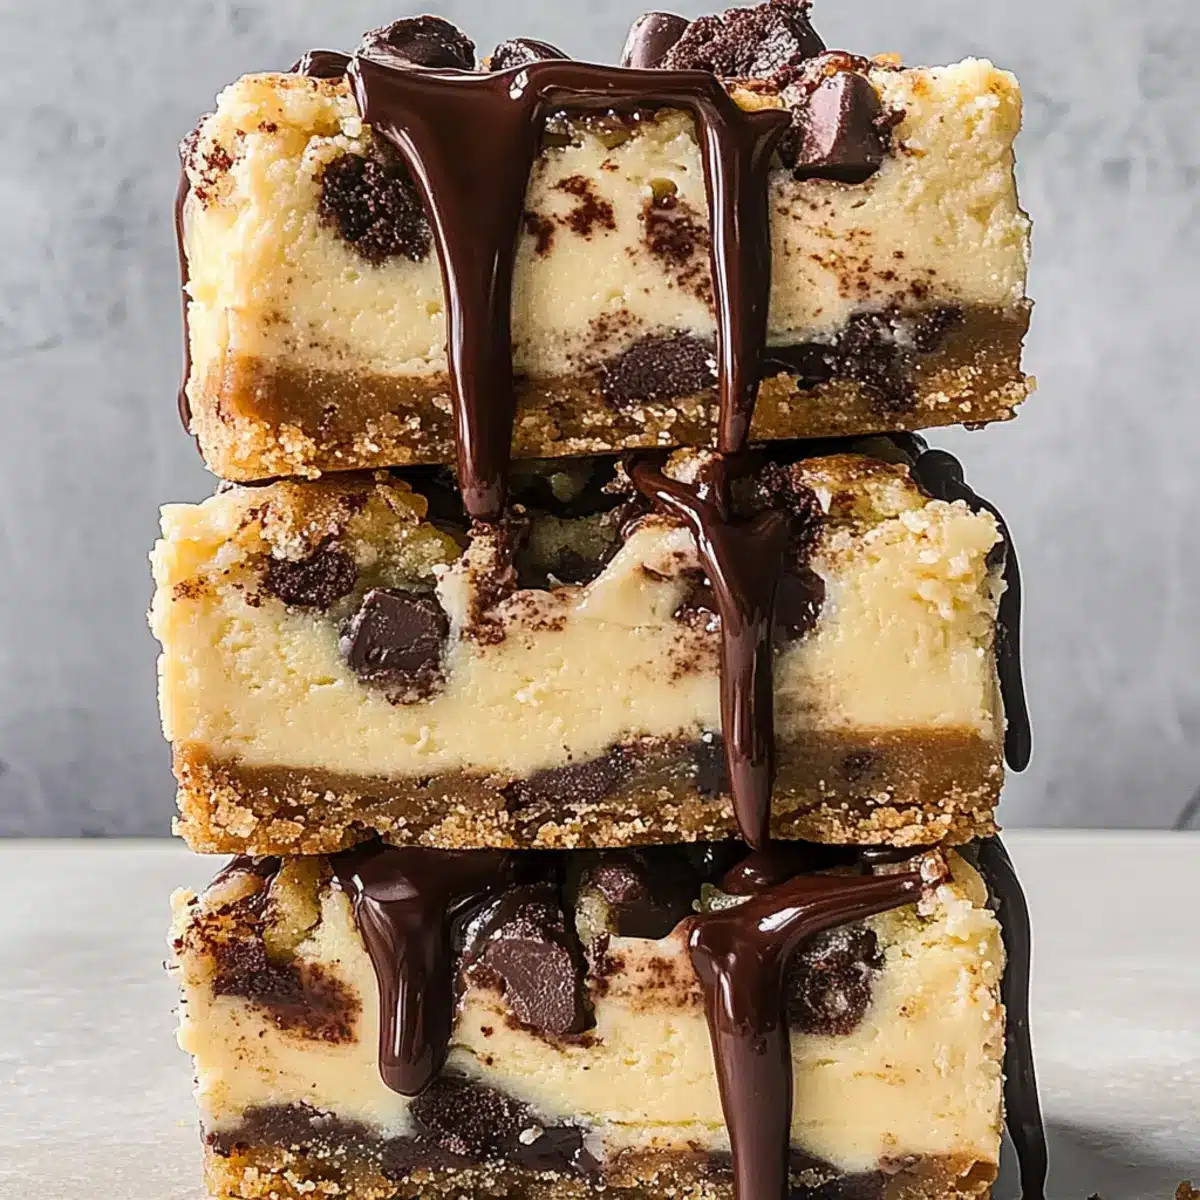
Stepping into my kitchen, I was greeted by the sweet aroma of nostalgia—classic cookie dough mingling with creamy cheesecake. These Cookie Dough Cheesecake Bars are a twist on beloved flavors that will sweep you off your feet. Not only do they strike the perfect balance between rich and smooth, but they also come together effortlessly, making them a go-to dessert for both seasoned bakers and busy home chefs alike. Imagine serving these delectable bars at your next gathering and watching as family and friends marvel at each luscious bite. Whether you’re celebrating a special occasion or simply craving a sweet indulgence, these bars are bound to become your new favorite crowd-pleaser. Curious to get started? Let’s dive into the recipe!
What Makes These Cheesecake Bars Irresistible?
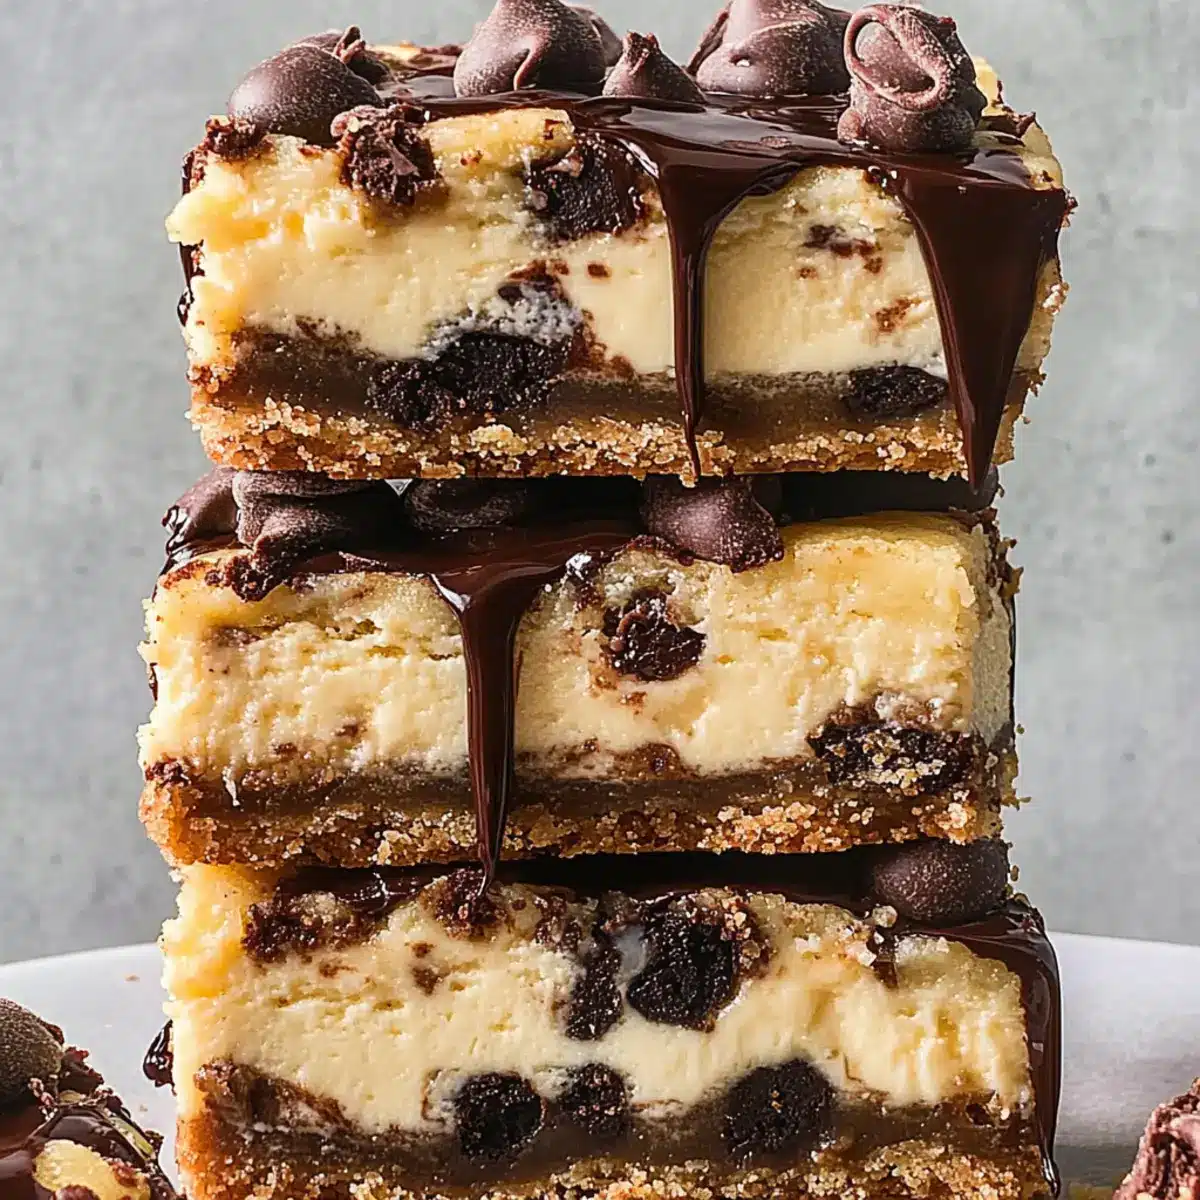
Decadent Layers: Richness from the creamy cheesecake combines beautifully with the sweet, crunchy cookie dough base, creating a taste sensation that delights every palate.
Easy Preparation: Simplicity reigns! Anyone can whip these up, making them a perfect option for a quick yet impressive dessert.
Crowd-Pleaser: Ideal for gatherings, these bars are sure to steal the spotlight. Pair with fresh berries or a scoop of vanilla ice cream for an even more memorable treat.
Versatility: Unique variations are just a twist away! Experiment with different flavored extracts or chocolate types to create your ideal dessert.
To dive deeper into other treats, check out my delicious Caramel Cheesecake Cookies or the charming Strawberry Swirl Cheesecake for more sweet inspiration.
Cookie Dough Cheesecake Bars Ingredients
For the Cookie Dough Base:
- Unsalted Butter – Adds richness and moisture; margarine works for a dairy-free version.
- All-Purpose Flour – Provides structure; substitute with gluten-free flour for a gluten-free option.
- Kosher Salt – Enhances flavors and balances sweetness; use sea salt as an alternative.
- Baking Soda – Helps achieve the right texture; baking powder can be used in a pinch but may alter texture slightly.
- Dark Brown Sugar – Adds depth and moisture; light brown sugar offers a milder flavor.
- Granulated Sugar – Sweetens both the cookie and cheesecake layers; no substitutions needed.
- Large Egg – Binds ingredients together; swap with a flax egg for a vegan version.
- Pure Vanilla Extract – Infuses aromatic flavor; imitation vanilla is acceptable if needed.
- Semisweet Chocolate Chips – Provides a rich chocolate flavor; feel free to substitute with milk or dark chocolate chips.
For the Creamy Cheesecake Filling:
- Cream Cheese – Forms the base of the filling, creating creaminess; Neufchâtel cheese can be a lighter option.
- Sour Cream – Enhances creaminess with a slight tang; Greek yogurt can swap for a healthier alternative.
- Large Eggs (for filling) – Essential for structure and creamy texture; for a dairy-free option, mix silken tofu or use a vegan egg alternative.
Now that you’re equipped with these ingredients, get excited to create your own Cookie Dough Cheesecake Bars that will wow everyone!
Step‑by‑Step Instructions for Cookie Dough Cheesecake Bars
Step 1: Preheat the Oven
Preheat your oven to 350°F (175°C). While it warms up, prepare your baking pan by greasing it with butter or cooking spray and lining it with parchment paper for easy removal later. This preparation sets the stage for your Cookie Dough Cheesecake Bars, ensuring a smooth baking experience.
Step 2: Mix the Dry Ingredients
In a medium mixing bowl, whisk together the all-purpose flour, kosher salt, and baking soda until well combined. This step is crucial as it uniformly distributes the baking soda and helps create a balanced cookie dough base. Set the dry mixture aside while you focus on the creamy layers ahead.
Step 3: Cream the Butter and Sugars
In a large bowl, use an electric mixer to beat the unsalted butter, dark brown sugar, and granulated sugar together until the mixture is light and fluffy—about 3-4 minutes. Add in the large egg and pure vanilla extract, mixing until fully combined. This fluffy mixture will be the delicious foundation of your Cookie Dough Cheesecake Bars.
Step 4: Combine Wet and Dry Mixtures
Gradually incorporate the dry flour mixture into the buttery mixture, stirring until just combined. Be careful not to overmix, as it can make the dough tough; you want it to remain soft and pliable. Gently fold in the semisweet chocolate chips, adding an extra layer of delight to your cookie base.
Step 5: Bake the Cookie Layer
Press two-thirds of the cookie dough into the bottom of the prepared baking pan evenly. Bake in the preheated oven for about 10-12 minutes, or until the edges are pale golden and slightly puffed. This base will be the sturdy holding layer for your luscious cheesecake filling.
Step 6: Prepare the Cheesecake Filling
While the cookie crust is baking, prepare the cheesecake filling. In a large bowl, beat the cream cheese until smooth, then gradually add the granulated sugar, all-purpose flour, sour cream, and large eggs. Mix on low speed until everything is well combined and creamy, avoiding air bubbles that can cause cracks in your filling.
Step 7: Assemble the Bars
Once the cookie base has cooled slightly, pour the creamy cheesecake filling evenly over the baked cookie layer. Smooth the top with a spatula to ensure an even surface. To add a touch of cookie joy, crumble the remaining cookie dough over the cheesecake filling, distributing it evenly.
Step 8: Bake the Cheesecake Bars
Return the pan to the oven and bake for an additional 25-30 minutes. Keep an eye out for the filling to set, but it should still have a slight jiggle in the center when done. This means your Cookie Dough Cheesecake Bars will be perfectly creamy once chilled.
Step 9: Cool and Refrigerate
After removing the bars from the oven, let them cool to room temperature. Then, cover the pan with plastic wrap or foil and refrigerate for at least 4 hours, or overnight for best results. Chilling ensures the dessert firms up nicely, allowing for clean cuts when slicing.
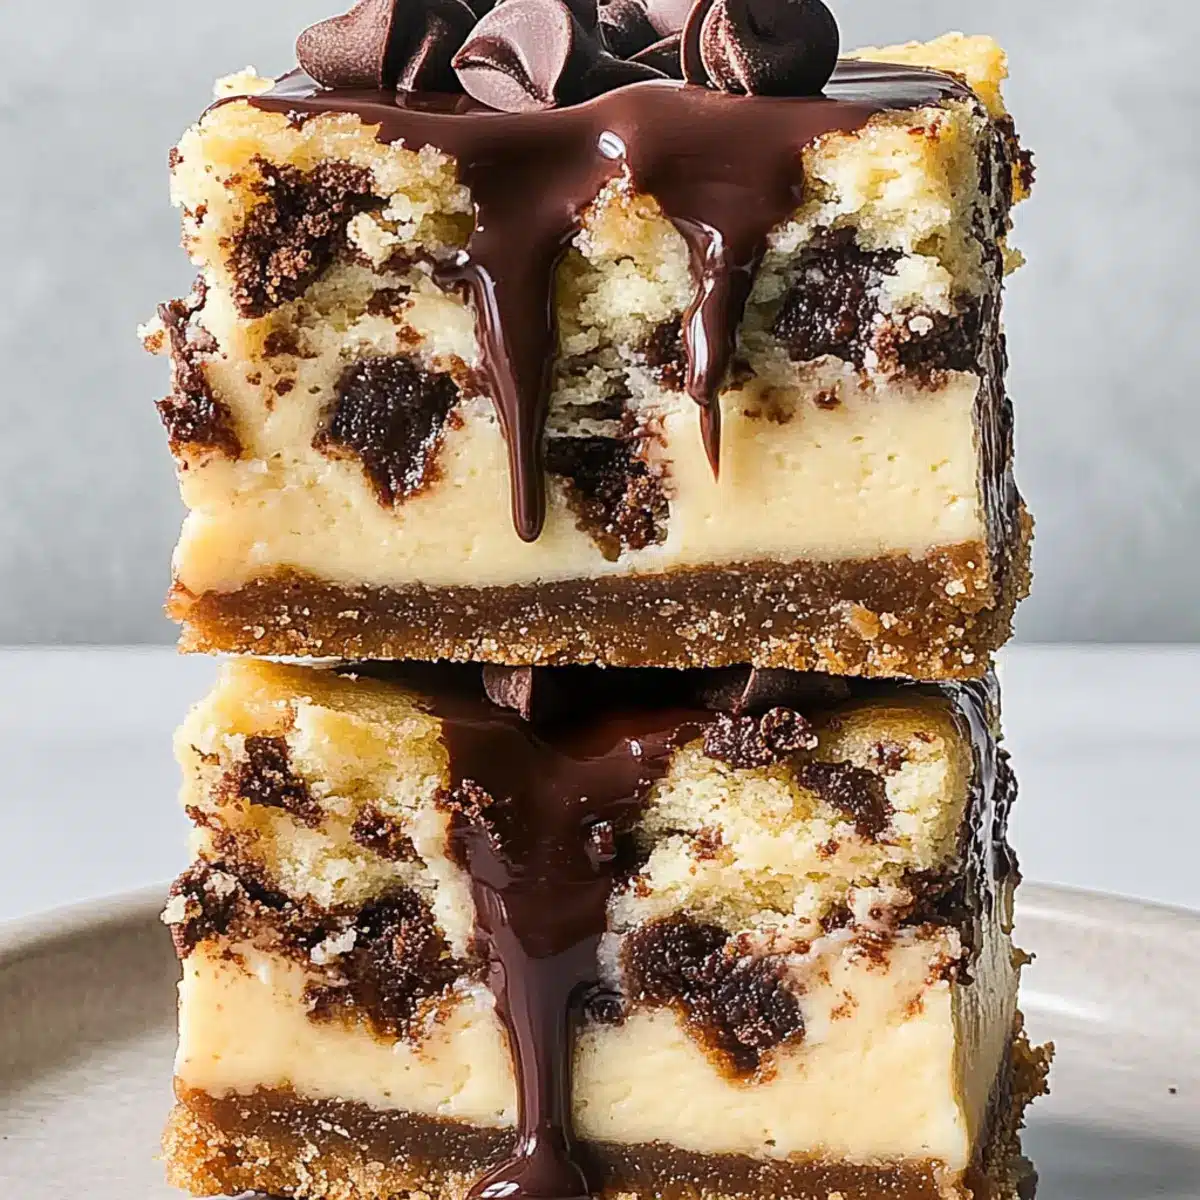
Step 10: Drizzle and Serve
Before serving, melt your favorite chocolate and drizzle it over the chilled cheesecake bars. Allow it to set for a few minutes in the refrigerator again. Once set, slice the bars into squares and serve chilled. These Cookie Dough Cheesecake Bars are now ready to impress your guests!
What to Serve with Cookie Dough Cheesecake Bars
Indulge your senses as you explore delightful additions to elevate your dessert experience!
-
Fresh Berries: Juicy strawberries or tart raspberries provide a refreshing contrast that balances the bars’ rich sweetness. Their vibrant colors add visual appeal too!
-
Vanilla Ice Cream: A scoop of creamy vanilla ice cream creates a deliciously smooth pairing, enhancing the overall dessert experience while cooling down the sweetness.
-
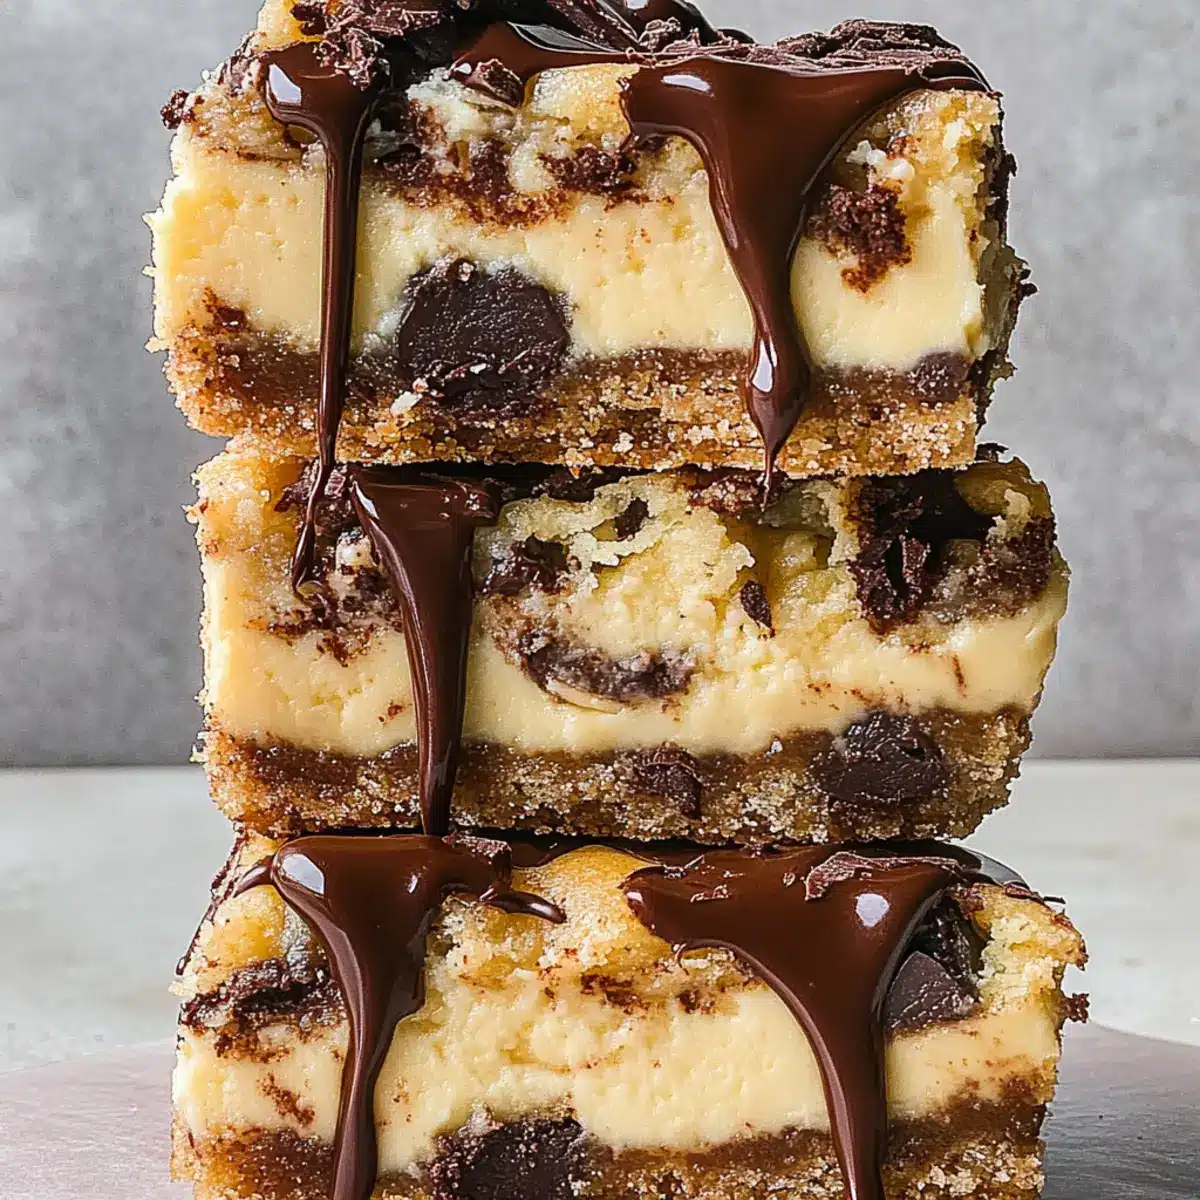
Chocolate Drizzle: Complement the rich flavors with an extra layer of melted chocolate drizzled on top. It’s a chocolate lover’s dream and adds elegance to each bite.
-
Caramel Sauce: For a touch of added indulgence, drizzle warm caramel sauce over the bars. The gooey sweetness perfectly harmonizes with the rich textures of the cheesecake.
-
Whipped Cream: Light and airy whipped cream adds a fluffy texture that cuts through the creaminess of the cheesecake, making each mouthful feel heavenly.
-
Coffee or Espresso: Serve a nice cup of coffee or a shot of espresso alongside the bars for a delightful caffeine kick that enhances the dessert flavors.
-
Nutty Biscotti: For the perfect crunchy texture, consider pairing the cheesecake bars with nutty biscotti. This blend offers a lovely contrast that enhances the overall dessert experience.
How to Store and Freeze Cookie Dough Cheesecake Bars
Fridge: Keep leftover Cookie Dough Cheesecake Bars in an airtight container in the refrigerator for up to 1 week. This will maintain their luscious flavor and creamy texture.
Freezer: For longer storage, freeze the bars in a single layer wrapped in plastic wrap and then in foil for up to 3 months. Thaw overnight in the fridge before enjoying.
Reheating: If you prefer warm, slightly gooey bars, gently reheat individual servings in the microwave for about 10-15 seconds, being careful not to overheat.
Make-Ahead: You can prepare the Cookie Dough Cheesecake Bars a day in advance. Just make sure to store them in the fridge after cooling to allow the flavors to meld beautifully.
Make Ahead Options
These Cookie Dough Cheesecake Bars are a fantastic choice for meal prep! You can prepare the cookie dough base up to 24 hours in advance; simply cover and refrigerate it until you’re ready to bake. Additionally, the cheesecake filling can be made up to 3 days ahead—just store it in an airtight container in the fridge. When you’re ready to finish your Cookie Dough Cheesecake Bars, bake the cookie base, pour in the chilled cheesecake filling, and crumble the remaining dough on top. After baking, allow the bars to cool before refrigerating them again. This way, they’ll stay just as delicious and fresh for your gathering!
Expert Tips for Cookie Dough Cheesecake Bars
-
Softened Cream Cheese: Ensure your cream cheese is at room temperature for a smooth cheesecake filling. Cold cream cheese can lead to lumps in your filling.
-
Avoid Overmixing: When combining the flour mixture with the wet ingredients, mix just until combined. Overmixing can create tough cookie dough, affecting the texture of your Cookie Dough Cheesecake Bars.
-
Watch the Bake Time: Keep an eye on the cheesecake layer as it bakes. It should have a slight jiggle in the center when finished; overbaking can lead to cracks in the final product.
-
Chill Time is Key: Allow the bars to chill for at least 4 hours, or overnight if possible. This enhances flavor and provides a clean slice when cutting.
-
Customize Flavors: Feel free to experiment with different extracts or types of chocolate for unique twists in your Cookie Dough Cheesecake Bars.
Cookie Dough Cheesecake Bars Variations
Get ready to unleash your creativity in the kitchen by customizing these delightful cheesecake bars to match your taste!
- Dairy-Free: Substitute cream cheese and sour cream with vegan versions made from cashews or coconut for a rich, creamy taste without dairy.
- Gluten-Free: Use gluten-free flour in place of all-purpose flour to ensure everyone can indulge without worries.
- Nutty Delight: Add chopped pecans or walnuts to the cookie dough for a delightful crunch that pairs perfectly with the cheesecake.
- Fruity Twist: Fold in fresh or freeze-dried strawberries into the cheesecake filling for a refreshingly fruity flavor.
- Spice It Up: Add a pinch of cinnamon or pumpkin spice to your cookie dough for an extra layer of warmth and aroma.
- Chocolate Lovers: Swap semisweet chocolate chips for dark chocolate or even white chocolate for a decadent twist.
- Salted Caramel Drizzle: Top with a homemade or store-bought salted caramel sauce for a sweet and salty flavor explosion.
- Colorful Sprinkles: For a festive touch, fold in some colorful sprinkles into the cookie dough or sprinkle them on top before serving.
If you’re interested in more sweet ideas, consider making my Soft Batch Cookies for an equally delightful treat or explore the layers of flavor in Caramel Cheesecake Cookies. Each variation here invites you to tailor your own Cookie Dough Cheesecake Bars to your heart’s desire!
Cookie Dough Cheesecake Bars Recipe FAQs
What type of butter should I use for the Cookie Dough Cheesecake Bars?
I recommend using unsalted butter for the best flavor and moisture in your bars. If you’re looking for a dairy-free option, margarine works wonderfully as a substitute!
How should I store leftover Cookie Dough Cheesecake Bars?
Store your leftover bars in an airtight container in the refrigerator for up to 1 week. Be sure to keep them chilled to maintain their rich and creamy texture.
Can I freeze the Cookie Dough Cheesecake Bars?
Absolutely! To freeze, wrap the bars tightly in plastic wrap and then in foil to prevent freezer burn. They can be safely stored for up to 3 months. When you’re ready to enjoy them, just thaw them overnight in the fridge!
What can I do if my cheesecake filling is lumpy?
To avoid lumps, make sure your cream cheese is softened at room temperature before mixing. Beat it thoroughly until smooth before adding any other ingredients. If you still find lumps, try using a hand mixer for a few more seconds to combine everything smoothly.
Are these bars safe for people with nut allergies?
Yes! The basic recipe for Cookie Dough Cheesecake Bars does not contain nuts. However, if you choose to add nuts for extra flavor or texture, be sure to let your guests know, as cross-contamination can occur during preparation.
How can I avoid overbaking the cheesecake?
Watch closely as your cheesecake bakes—aim for it to have a slight jiggle in the center when done. The residual heat will continue to cook it a little after removing it from the oven. Trust me, the perfect creamy texture is worth it!
Irresistible Cookie Dough Cheesecake Bars That Wow Every Time
Ingredients
Equipment
Method
- Preheat your oven to 350°F (175°C). Grease your baking pan with butter or cooking spray and line it with parchment paper.
- In a medium mixing bowl, whisk together the all-purpose flour, kosher salt, and baking soda until well combined.
- In a large bowl, beat the unsalted butter, dark brown sugar, and granulated sugar until light and fluffy, about 3-4 minutes. Mix in the egg and vanilla extract.
- Gradually add the dry mixture into the buttery mixture, stir until just combined. Gently fold in the chocolate chips.
- Press two-thirds of the cookie dough into the bottom of the prepared baking pan. Bake in the preheated oven for about 10-12 minutes.
- In a large bowl, beat the cream cheese until smooth. Gradually add the sugar, flour, sour cream, and eggs. Mix on low until creamy.
- Pour the cheesecake filling over the baked cookie layer. Crumble the remaining cookie dough over the top.
- Bake for an additional 25-30 minutes, until the filling is set but has a slight jiggle in the center.
- Let the bars cool to room temperature, then refrigerate for at least 4 hours or overnight.
- Melt chocolate and drizzle over the bars, allow to set in the refrigerator before slicing.
Leave a Reply