
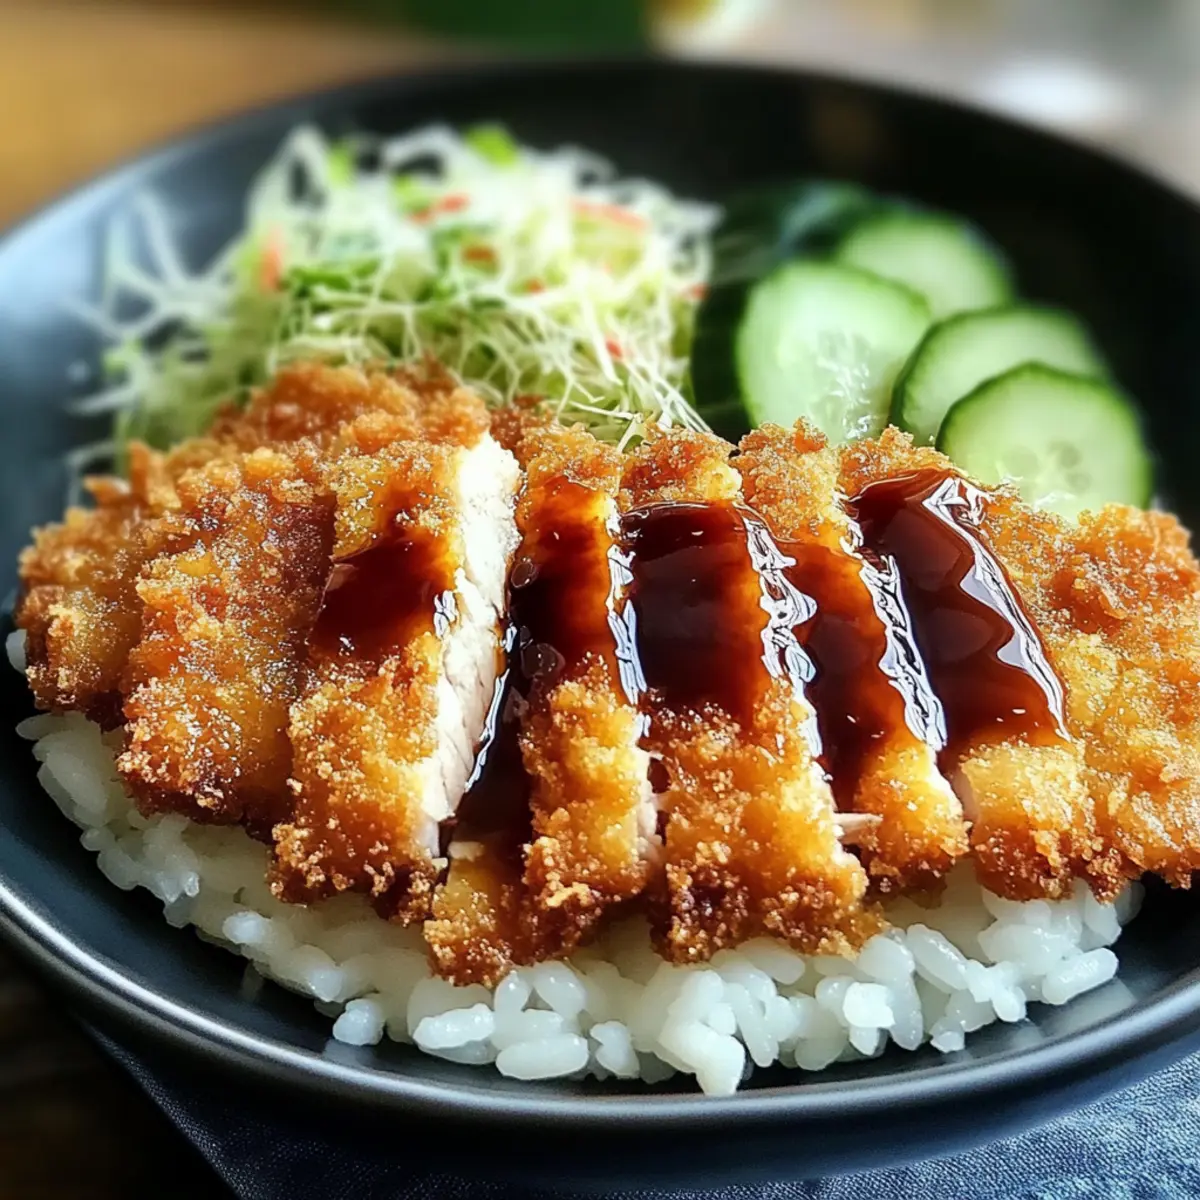
There’s something about a golden-brown cutlet that makes my heart skip a beat. When I’m in need of comfort, Japanese Katsu Bowls with Tonkatsu Sauce deliver that crispy, savory goodness that brings warmth to my kitchen and joy to my table. Coated in panko breadcrumbs, the succulent pork or chicken cutlets beautifully contrast with fluffy steamed rice, topped off with that tangy tonkatsu sauce that makes every bite irresistible. Plus, this meal is a breeze to whip up, making it perfect for weeknight dinners or an impressive dish for friends. Are you ready to discover how to make this delightful restaurant-quality meal at home?
Why is Katsu the ultimate comfort food?
Comforting Crunch: Each bite of crispy Katsu delivers a satisfying crunch that will have you reaching for seconds.
Savory Sauce: The rich tonkatsu sauce perfectly complements the savory cutlets, elevating the dish to new heights.
Easy to Make: With simple ingredients, you can create an impressive meal that tastes like it’s straight from a restaurant.
Versatile Options: Customize your bowl with your choice of protein or add fresh veggies like cucumber salad for added flair.
Crowd-Pleaser: This dish is perfect for family dinners or gatherings, ensuring everyone leaves the table happy and full. Get ready to impress, and check out Japanese Souffle Pancakes for a sweet finish after your savory feast!
Japanese Katsu Bowls Ingredients
• Discover the perfect mix for your Katsu Bowls with our simple ingredient list!
For the Cutlets
- Pork or Chicken Cutlets – Use boneless, skinless cuts for the juiciest results.
- Panko Breadcrumbs – They create that irresistible crispy texture; regular breadcrumbs will work in a pinch but won’t be as crunchy.
- Flour – Coats the meat and helps the egg stick nicely; don’t skip this step!
- Egg – Binds the breadcrumbs to the meat; for a vegetarian option, swap with a flax egg.
For the Bowl
- Steamed Rice – A fluffy base; jasmine rice is perfect for this dish.
- Tonkatsu Sauce – Provides a tangy, rich flavor; homemade is great, but store-bought is a convenient alternative.
For the Fresh Contrast
- Vegetables (e.g., Cucumber Salad or Pickles) – Add a refreshing crunch; any pickled vegetable makes a delightful side.
Now, gather your ingredients and let’s create these scrumptious Japanese Katsu Bowls with Tonkatsu Sauce!
Step‑by‑Step Instructions for Japanese Katsu Bowls with Tonkatsu Sauce
Step 1: Prepare the Chicken/Pork
Begin by pounding your boneless, skinless pork or chicken cutlets to an even thickness of about ½ inch. This ensures even cooking and tenderness. Season both sides generously with salt and pepper to enhance the natural flavors. Set aside while you prepare your coating station.
Step 2: Coat the Cutlets
In a shallow dish, place some flour for dredging. In another bowl, beat one or two eggs. Finally, in a third dish, pour in panko breadcrumbs. Take each seasoned cutlet, dredge in flour, dip it into the egg, and then coat it thoroughly in panko breadcrumbs. This layering will create that unforgettable crispy texture in your Japanese Katsu Bowls.
Step 3: Fry the Cutlets
Heat about 1/4 inch of vegetable oil in a large skillet over medium heat until shimmering, about 350°F (175°C). Carefully add the coated cutlets to the hot oil, frying each side until golden brown and crispy, approximately 4-5 minutes per side. Use tongs to flip the cutlets gently and avoid splattering, ensuring a perfectly crispy exterior.
Step 4: Prepare the Rice
While the cutlets are frying, cook your rice according to the package instructions. Typically, use a rice cooker or stovetop method by boiling water and simmering the rice until fluffy, about 15-20 minutes. The rice will serve as a comforting base for your delicious Katsu, soaking up all the savory flavors.
Step 5: Assemble the Bowl
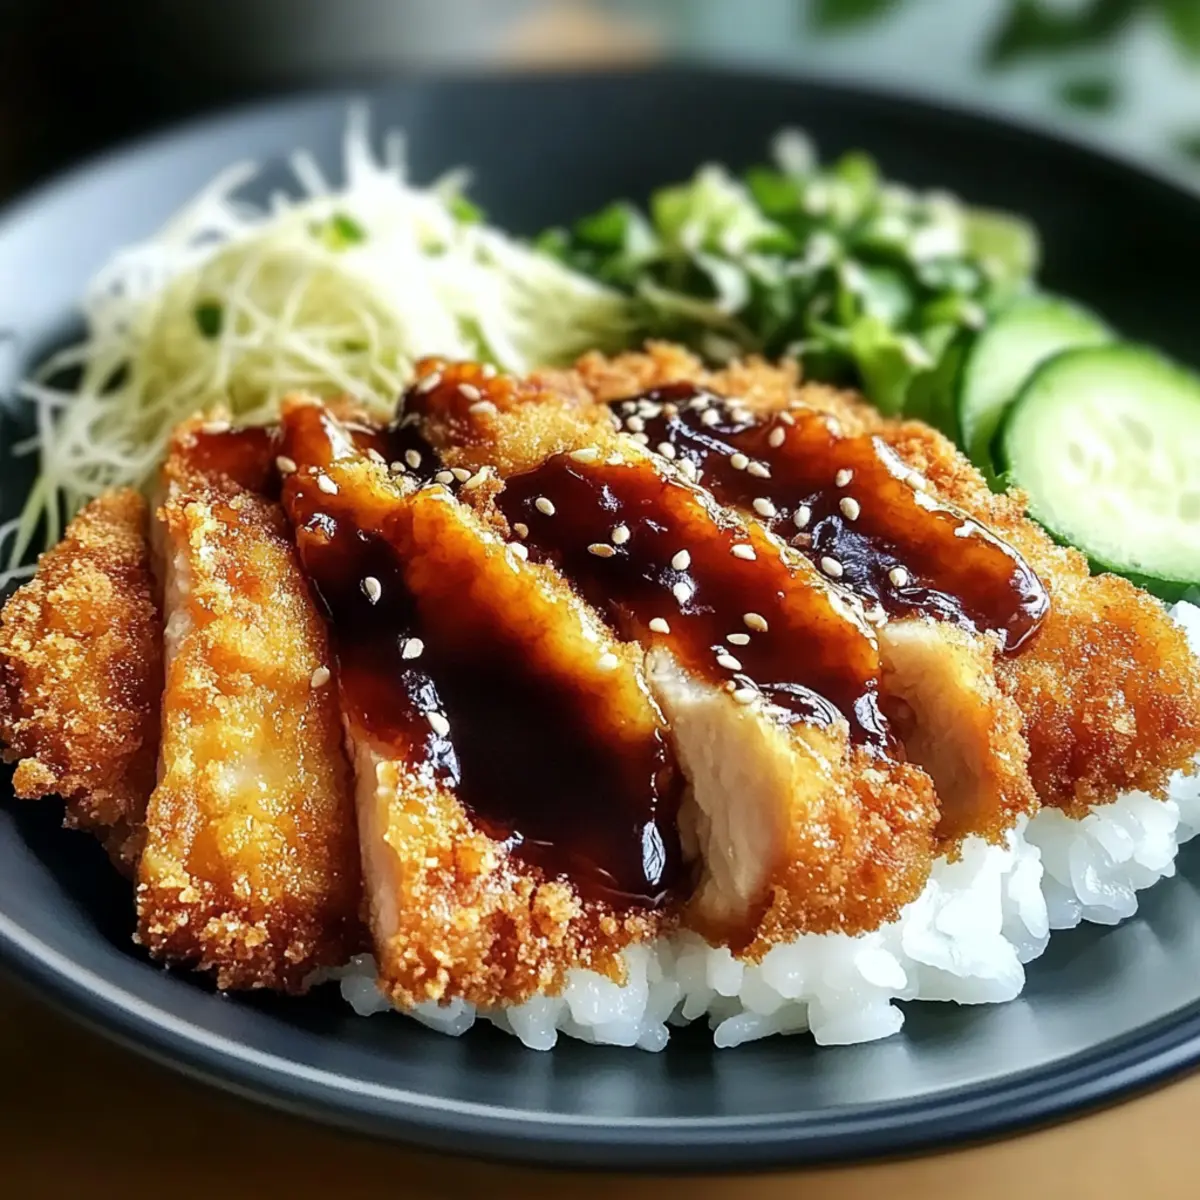
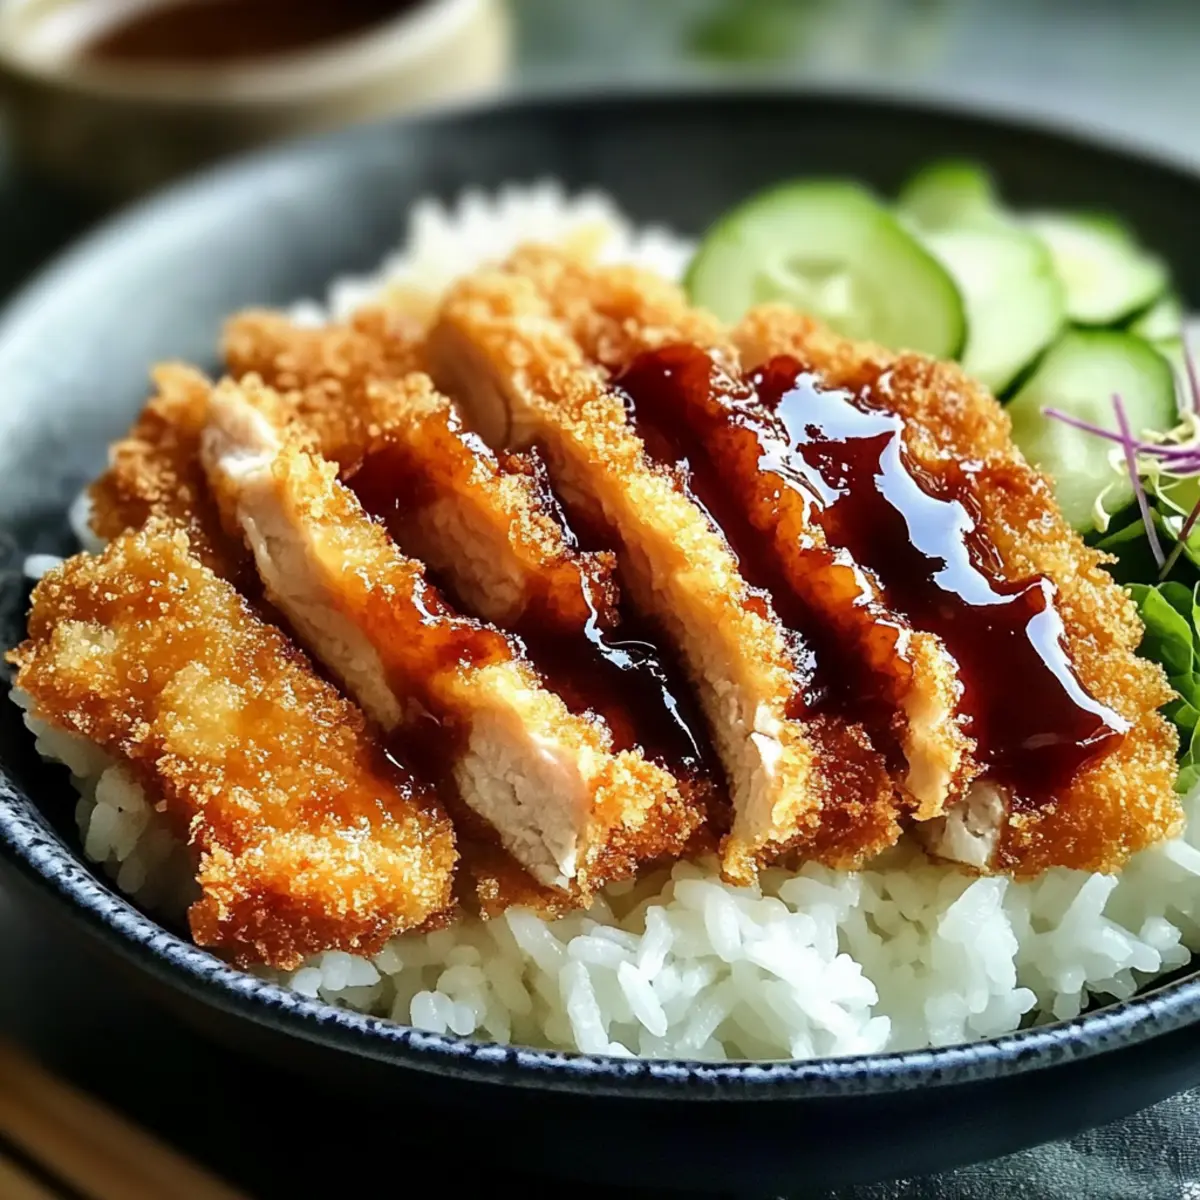
Once the cutlets are fried to a beautiful golden hue, transfer them to a cutting board to rest for a few minutes before slicing. In a bowl, place a generous serving of your steamed rice, then layer the sliced Katsu on top. Drizzle your tonkatsu sauce generously over the cutlets, enhancing the dish with that signature tangy flavor.
Step 6: Serve with Sides
To finish your Japanese Katsu Bowls, garnish with a side of bright and refreshing pickled vegetables or a simple cucumber salad. These fresh elements beautifully contrast the rich and crispy cutlets, providing balance and completing this scrumptious meal. Dig in and enjoy your homemade creation!
Japanese Katsu Bowls Variations
Feel free to get creative with this delightful dish and make it your own!
-
Vegetarian Option: Substitute chicken cutlets with sliced eggplant or tofu, panko-breaded and fried to perfection. This twist still brings that satisfying crunch while offering a delicious plant-based alternative.
-
Different Sauces: Try drizzling teriyaki sauce instead of tonkatsu for a sweeter flavor profile. The rich, savory taste of teriyaki complements crispy cutlets beautifully.
-
Add Fresh Veggies: Incorporate sautéed spinach or shredded carrots into your bowl for an added pop of color and nutrition. These veggies will bring freshness and balance to each mouthful.
-
Spicy Kick: Mix in some sriracha or chili oil to your tonkatsu sauce for a spicy twist. This heat will awaken your taste buds, making for an exciting dining experience!
-
Crispy Toppings: Top your Katsu Bowl with fried shallots or crushed seaweed for texture and additional flavor. These crunchy accents will elevate your dish to new heights.
-
Rice Substitutions: Swap out white rice for brown rice or quinoa for a healthier base. Not only will they pack a nutritional punch, but you’ll also enjoy a different flavor and texture experience.
-
Garnish Extravaganza: Spruce up your Katsu Bowls with fresh herbs like cilantro or green onions. The aromatic scents and flavors will brighten your meal, making it even more inviting!
Discover even more delicious sauce options with our recipes for Cajun Seafood Sauce or get inspired by the flavors in Shrimp Crab Sauce! Happy cooking!
Helpful Tricks for Japanese Katsu Bowls
-
Cooking Temperature: Ensure your oil is hot enough before frying. A breadcrumb should sizzle immediately upon contact; this guarantees a crispy exterior for your Katsu.
-
Even Thickness: Pound your chicken or pork cutlets to a uniform thickness. This step helps them cook evenly and remain tender, avoiding the dreaded dry bite.
-
Panko Breadcrumbs: Stick to panko breadcrumbs for the best crunch. While regular breadcrumbs can be used, they won’t achieve that signature crispy texture that makes Japanese Katsu Bowls irresistible.
-
Resting Time: Let the fried cutlets rest for a few minutes on a cutting board before slicing. This helps retain their juices and ensures a moist interior, balancing the crunch of the coating.
-
Tonkatsu Sauce: For an extra flavor boost, try making your tonkatsu sauce from scratch. Fresh ingredients can elevate your Japanese Katsu Bowls to a whole new level of deliciousness.
How to Store and Freeze Japanese Katsu Bowls
Fridge: Store leftover Katsu in an airtight container and refrigerate for up to 3 days. Keep tonkatsu sauce separate to maintain its flavor.
Freezer: For longer storage, freeze the cooked Katsu cutlets in a single layer on a baking sheet, then transfer to a freezer bag. They can last up to 2 months.
Reheating: To reheat, bake the cutlets at 375°F (190°C) for about 15-20 minutes, or until heated through and crispy. Drizzle with fresh tonkatsu sauce before serving for that authentic touch.
Storage Tip: The tonkatsu sauce can also be stored in the fridge for up to a week in an airtight container, making it easy to grab when you want to whip up your Katsu Bowls again!
Make Ahead Options
These Japanese Katsu Bowls with Tonkatsu Sauce are fantastic for meal prep, saving you valuable time during busy weeknights! You can prep the cutlets by coating them in flour, egg, and panko breadcrumbs up to 24 hours in advance; simply store them in the fridge on a parchment-lined baking tray to keep them crispy. Additionally, you can make your tonkatsu sauce ahead and refrigerate it for up to 3 days. When you’re ready to enjoy your meal, fry the cutlets straight from the fridge until golden brown, and cook the rice according to the package instructions. This way, you’ll have a delicious homemade dinner with minimal effort!
What to Serve with Japanese Katsu Bowls with Tonkatsu Sauce
Creating a delightful meal around your Katsu Bowls can elevate your dining experience to unforgettable levels.
- Creamy Coleslaw: This crunchy side adds a refreshing tang that contrasts beautifully with the savory Katsu, providing a vibrant crunch.
- Miso Soup: A traditional Japanese soup serves as a warm and comforting starter, balancing the richness of the meal perfectly.
- Steamed Edamame: These tender, salty beans are packed with protein and make for a simple yet satisfying nibble alongside your Katsu.
- Cucumber Salad: This light and zesty salad complements the dish’s savory notes, offering a crisp, refreshing bite that lifts every mouthful.
- Garlic Rice: Enhance your meal with this fragrant, buttery side that pairs wonderfully with the rich flavors of the Katsu and sauce.
- Green Tea: Sip on this calming beverage as it cleanses your palate, enhancing the umami aspects of the Katsu, while adding health benefits to your meal.
With these pairing ideas, you’re sure to impress and delight those gathered around your table!

Japanese Katsu Bowls with Tonkatsu Sauce Recipe FAQs
How do I choose the best pork or chicken for my Katsu?
Absolutely! For the juiciest results, opt for boneless, skinless pork loin or chicken breasts. They should feel firm but not hard, with no dark spots on the surface. Always choose cuts that are vibrant in color and free from excessive fat.
What’s the best way to store leftover Katsu?
To store your delicious Katsu, place the cutlets in an airtight container in the fridge, where they will keep for up to 3 days. Be sure to keep the tonkatsu sauce separate to maintain its tangy flavor and gooey texture.
Can I freeze my cooked Katsu cutlets?
Yes, you can! First, allow the cutlets to cool completely. Then, lay them in a single layer on a baking sheet to freeze for about an hour. Once frozen, transfer them into a freezer bag and enjoy them later for up to 2 months. When you’re ready, simply reheat them by baking at 375°F (190°C) for 15-20 minutes until crispy.
What should I do if my Katsu isn’t coming out crispy?
Very importantly, make sure your oil is hot enough before adding your cutlets. A breadcrumb should sizzle immediately upon contact—if not, it could lead to sogginess. Additionally, ensure you’re using panko breadcrumbs; they add that perfect crunch. If you do all this and your Katsu still isn’t crispy, try letting the cutlets rest on a wire rack after frying, which allows air to circulate and keeps them crispy.
Is tonkatsu sauce suitable for all diets?
Generally, tonkatsu sauce is vegan and vegetarian-friendly. However, always check the packaging for potential allergens like soy or gluten, as some brands may vary. If you want to make your own and cater to specific dietary restrictions, try using tamari instead of soy sauce for a gluten-free alternative.
How long can I keep homemade tonkatsu sauce in the fridge?
You can store your homemade tonkatsu sauce in the fridge for up to a week in an airtight container. This allows you to whip up quick Katsu Bowls anytime! Just give it a good shake or stir before using to mix up any settled ingredients.
Crispy Japanese Katsu Bowls with Authentic Tonkatsu Sauce
Ingredients
Equipment
Method
- Pound the cutlets to an even thickness of about ½ inch and season with salt and pepper.
- Dredge the cutlets in flour, dip in beaten egg, and coat with panko breadcrumbs.
- Heat vegetable oil in a skillet and fry the cutlets until golden brown and crispy, about 4-5 minutes per side.
- Cook the rice according to package instructions until fluffy.
- Slice the fried cutlets and layer them over a serving of steamed rice, drizzling with tonkatsu sauce.
- Garnish with pickled vegetables or cucumber salad before serving.
Leave a Reply