
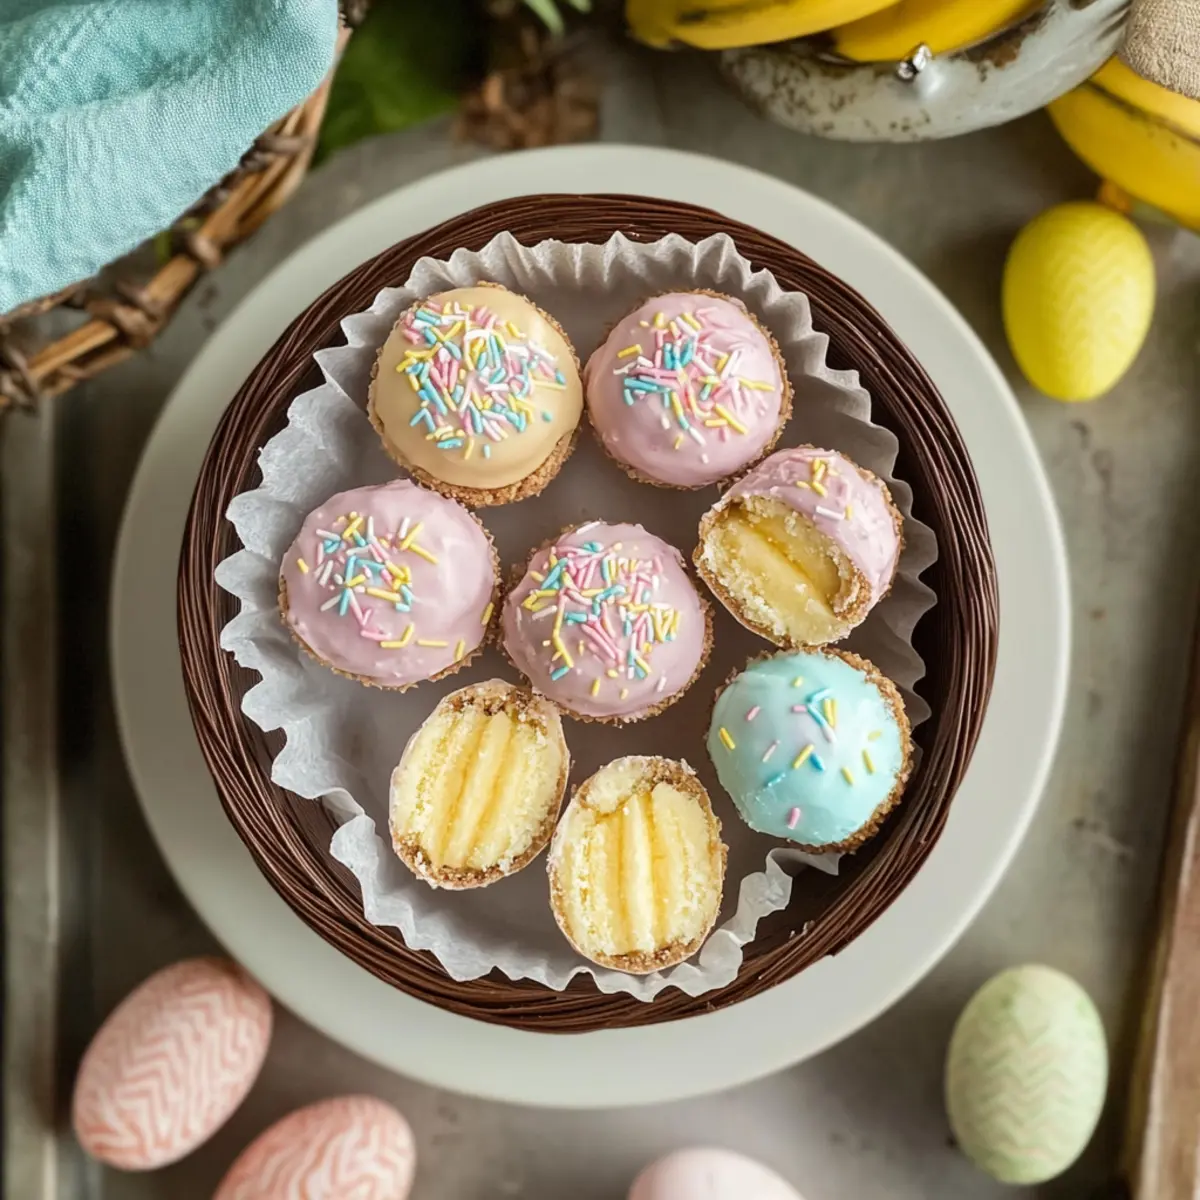
As I unwrapped the pastel-colored chocolate that encased these delightful little bites, a wave of nostalgia washed over me. The flavors of Banana Pudding Easter Truffles make them a standout among Easter desserts, merging creamy goodness with the satisfying crunch of vanilla wafers. Not only are these no-bake delights incredibly easy to whip up, but they also bring joy to every gathering, making them a perfect choice for kids to help create. With their charming appearance and irresistible sweetness, these truffles will surely become a family favorite. Ready to dive into a delightful world of spring flavors that will impress your loved ones? Let’s get started!
Why Are These Truffles So Irresistible?
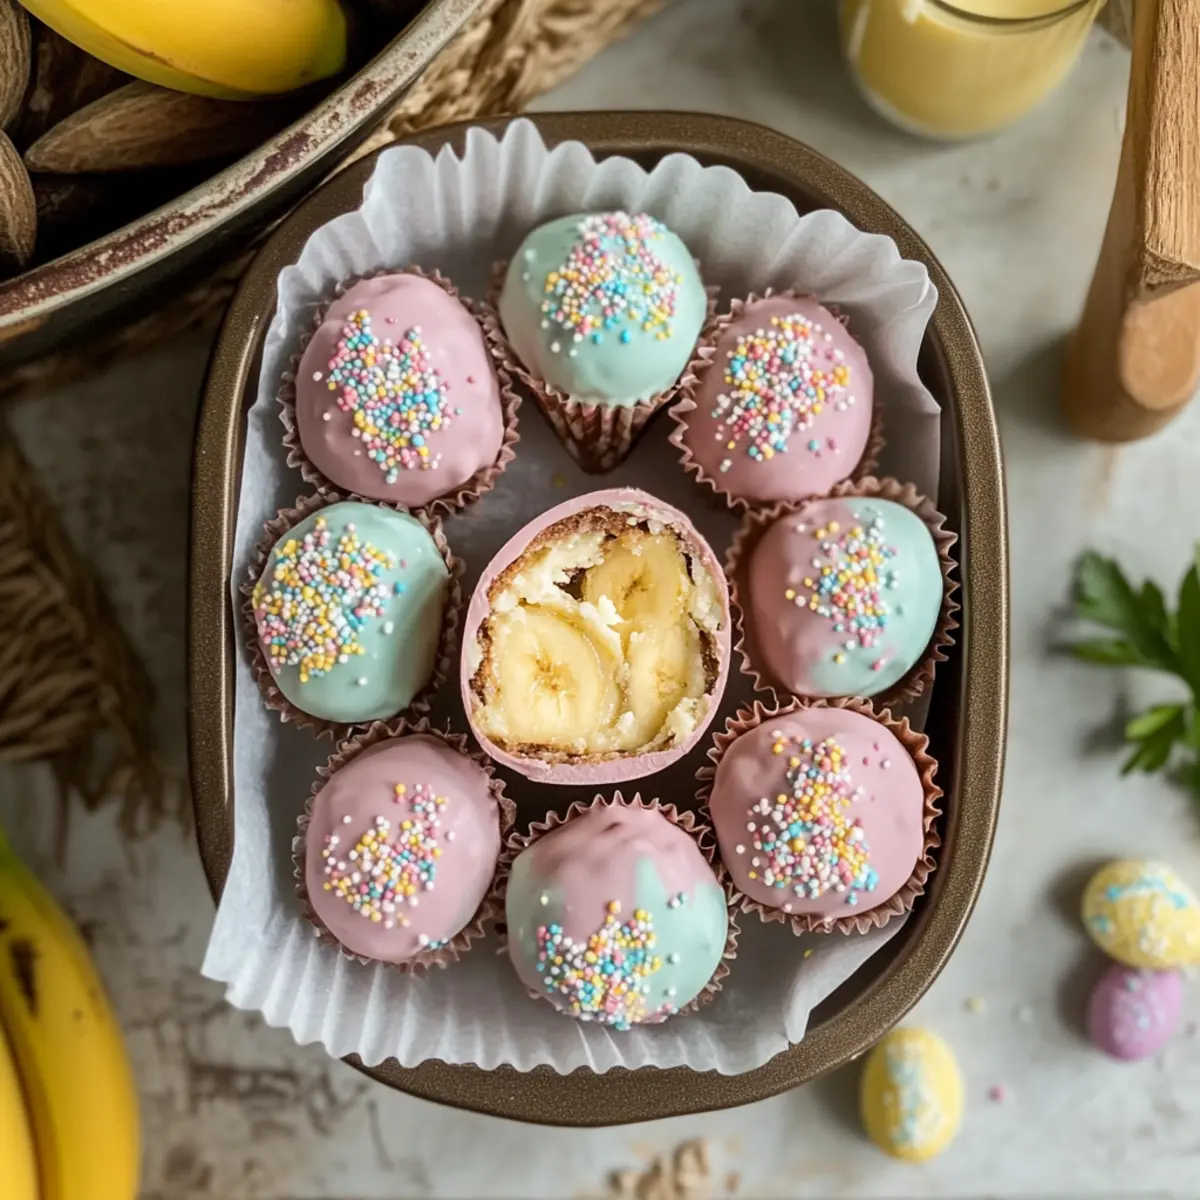
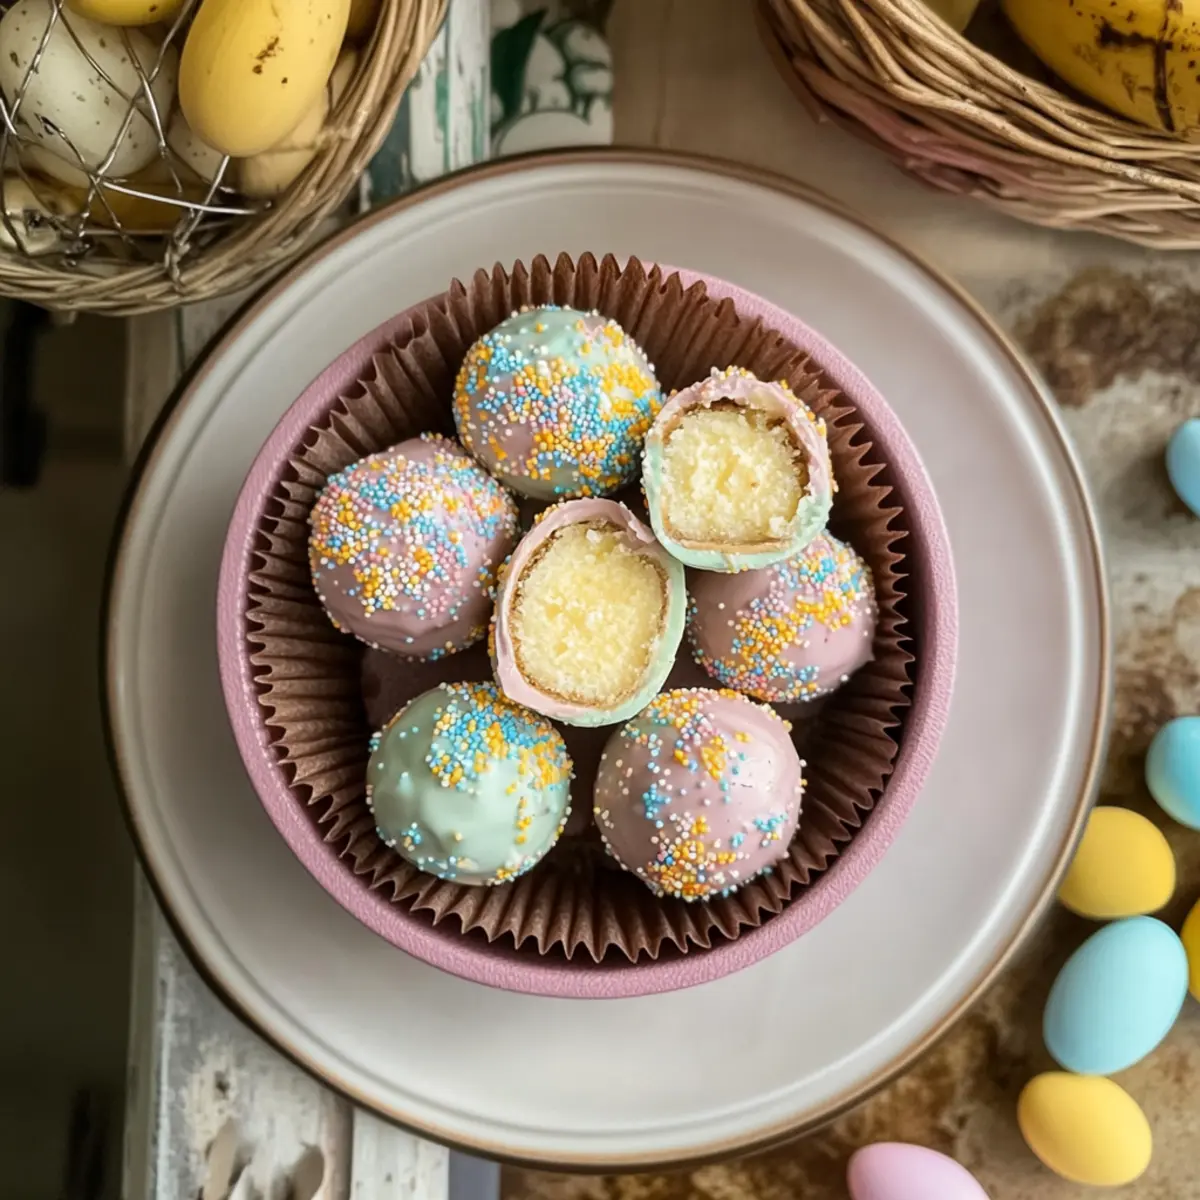
Decadent, Creamy Filling: Each truffle bursts with the nostalgic flavors of banana pudding, creating a delightful bite that everyone will love.
No-Bake Convenience: Perfect for busy individuals, this simple recipe eliminates the need for an oven, making it a breeze for anyone to create.
Kid-Friendly Fun: Involve the little ones in the kitchen! Rolling the truffles can be a fun, mess-free activity that kids absolutely adore.
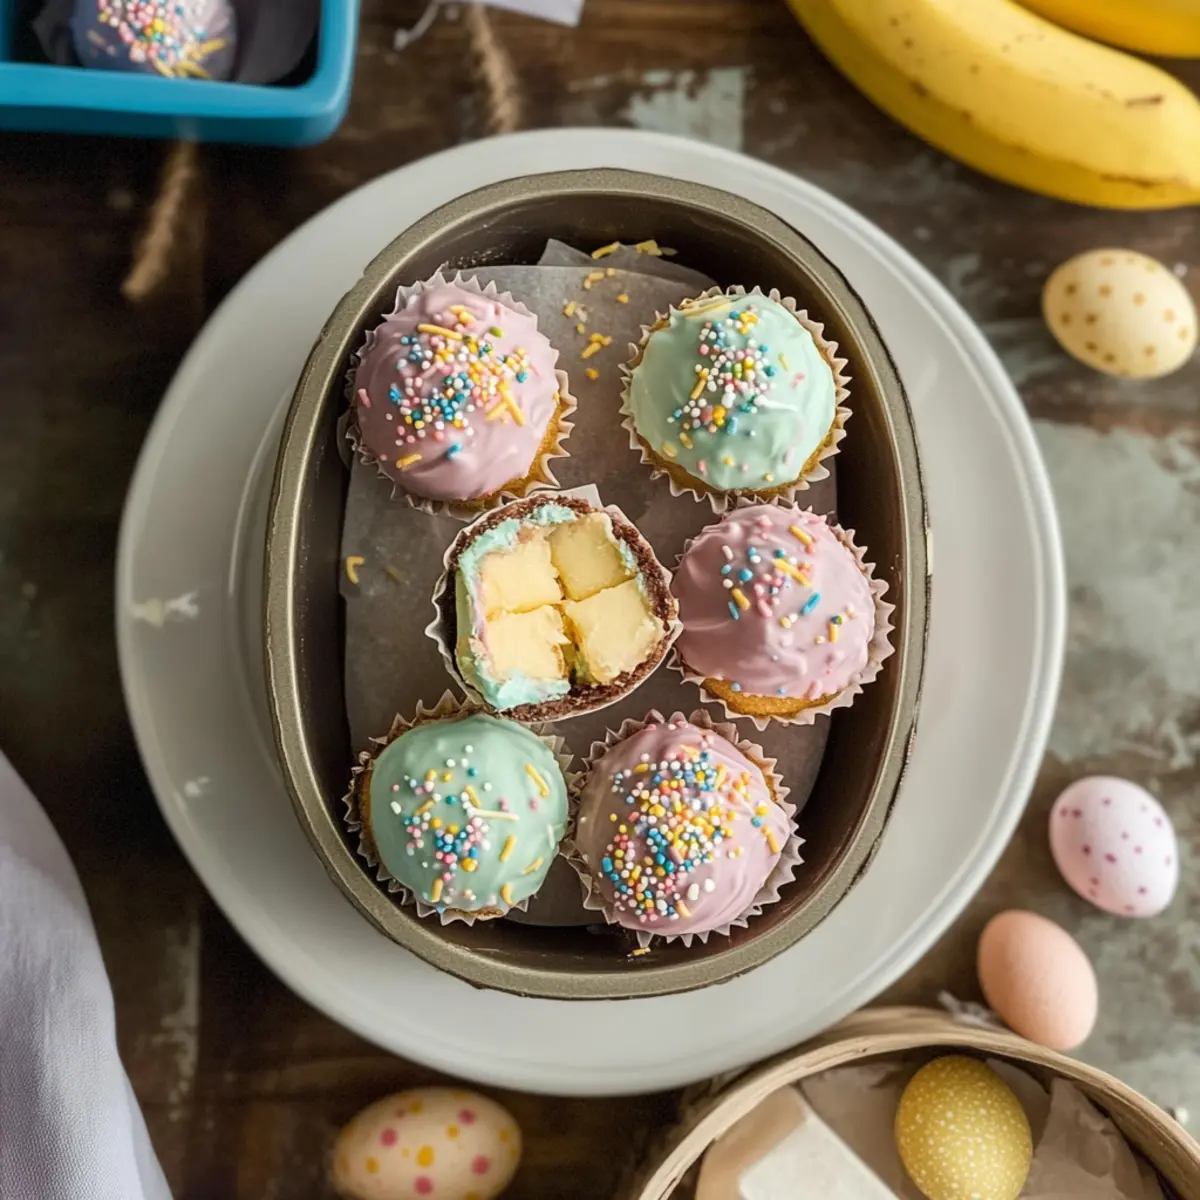
Stunning Presentation: Their pastel-colored chocolate coating makes them the star of any Easter dessert table, while a sprinkle of crushed wafers adds visual charm.
Versatile Variations: Feel free to experiment! From adding coconut to mixing in peanut butter, these truffles can be easily customized to suit your taste—just like with Vanilla Chia Pudding or Protein Pudding Indulge.
Party Hit: These truffles are guaranteed to be a crowd-pleaser at your spring gatherings, leaving friends and family asking for seconds!
Banana Pudding Easter Truffles Ingredients
Here’s everything you need to create these delightful Banana Pudding Easter Truffles!
For the Truffle Filling
- Crushed Vanilla Wafers – Provides texture and sweetness. Substitution: Graham cracker crumbs can be used for a different flavor profile.
- Cream Cheese (softened) – Adds creaminess and stability to the truffle filling. Ensure it’s at room temperature for easy mixing.
- Banana Pudding Mix (dry) – Infuses classic banana flavor into the filling. Use full-flavor pudding for best results.
- Milk – Hydrates the mixture and aids in forming the dough. Any milk variety can be used; adjust based on desired consistency.
- Vanilla Extract – Enhances the overall flavor. Can substitute with almond extract for a different twist.
For the Coating
- White Chocolate Chips or Candy Melts – Coating for the truffles, providing sweetness and a smooth finish. Milk or dark chocolate can serve as an alternative for richer flavor.
- Food Coloring (pastel colors) – Optional for a colorful presentation. Skip if a simple white exterior is preferred.
For Decoration
- Crushed Vanilla Wafers/Easter Sprinkles – Enhances visual appeal and adds flavor. Use any decorative sprinkles to match your Easter theme.
- Colored Chocolate Drizzle (optional) – Adds more color and design variety to the truffles.
Step‑by‑Step Instructions for Banana Pudding Easter Truffles
Step 1: Make the Filling
In a large mixing bowl, combine 1 cup of crushed vanilla wafers, 8 ounces of softened cream cheese, 1 package of dry banana pudding mix, ¼ cup of milk, and 1 teaspoon of vanilla extract. Mix these ingredients until they form a cohesive, dough-like consistency, with no dry ingredients visible. This creamy filling should have a lovely banana flavor, setting the stage for your tasty Banana Pudding Easter Truffles.
Step 2: Shape the Truffles
Scoop out tablespoon-sized portions of the filling mixture and roll them gently with your hands to form bite-sized balls. Place the rolled truffles onto a parchment-lined baking sheet, ensuring they are spaced apart so they don’t touch. This step should yield about 24 truffles, creating the perfect base for your delightful Easter treats.
Step 3: Chill Truffles
Refrigerate the shaped truffles for 30 to 45 minutes to allow them to firm up. This chilling process is important for ensuring they maintain their shape and are easy to handle during the coating step. Keep an eye on them; they should feel solid but still slightly soft to the touch when they are ready.
Step 4: Melt Chocolate
While the truffles chill, prepare the coating by melting 1 cup of white chocolate chips or candy melts in a microwave-safe bowl. Heat in 30-second intervals, stirring well between each interval until smooth and fully melted. This step typically takes about 1-2 minutes, and stopping before the chocolate thickens or overheats is crucial for achieving a silky finish on your Banana Pudding Easter Truffles.
Step 5: Coat the Truffles
Once your truffles are chilled and the chocolate is melted, dip each one into the smooth chocolate, ensuring they are completely covered. Gently tap the truffle against the side of the bowl to remove excess chocolate. Place each coated truffle back on the parchment paper, ready for decorating. The creamy filling will peek through beautifully, making them even more tempting.
Step 6: Decorate
Before the chocolate coating sets, sprinkle each truffle with crushed vanilla wafers or colorful Easter-themed sprinkles for a festive look. Get creative here—these decorative touches will elevate your Banana Pudding Easter Truffles and make them an eye-catching addition to your dessert table. Ensure the toppings adhere well to the melting chocolate for a delightful finish.
Step 7: Let Them Set
Allow the decorated truffles to sit at room temperature for about 15-20 minutes or place them in the refrigerator for quicker setting. The chocolate should harden to create a beautiful shell around the creamy filling. Once set, you can either serve them right away or store them for a spring gathering, keeping in mind their irresistible nature!
Banana Pudding Easter Truffles Variations
Feel free to take these delectable truffles to the next level by customizing them with your favorite ingredients!
-
Chocolate Truffles: Swap white chocolate for milk or dark chocolate for a richer flavor that chocolate lovers will adore.
-
Coconut Delight: Roll your truffles in shredded coconut after coating to add a tropical twist that complements the banana flavor beautifully.
-
Nutty Goodness: Mix in some peanut butter to the filling for a creamy, nutty treat that will remind you of a banana cream pie.
-
Minty Fresh: Enhance the flavor by adding mint extract to the chocolate coating for a refreshing, unexpected flavor!
-
Fruit Fusion: Use crushed freeze-dried strawberries or raspberries in the filling for a fruity explosion that takes these truffles to another level.
-
Spiced Twist: Incorporate a pinch of cinnamon or nutmeg into the filling for a warm, cozy spice that captures the essence of spring baking.
-
Healthier Options: Substitute cream cheese for Greek yogurt to lighten up the recipe without sacrificing creaminess—great for those keeping an eye on daily indulgences!
-
Decorative Drizzle: Experiment with a colorful drizzle on top by melting any colored candy melts, adding a custom touch to your festive truffles.
These variations can easily transform your Banana Pudding Easter Truffles into something truly unique, just like how wonderful it can be to create your own Moist Banana Bread or a creamy, nutritious Vanilla Chia Pudding—the possibilities are endless!
How to Store and Freeze Banana Pudding Easter Truffles
Fridge: Store the truffles in an airtight container in the refrigerator for up to 5 days. Layer them with parchment paper to prevent sticking and maintain their delightful texture.
Freezer: For longer storage, freeze the truffles for up to 2 months. Place them in a single layer on a baking sheet to freeze, then transfer to an airtight container.
Thawing: When ready to enjoy, thaw the frozen truffles in the fridge overnight for the best texture and to preserve their creamy filling.
Serving Suggestion: Serve chilled or at room temperature, making them perfect for spring gatherings and delightful Easter desserts!
What to Serve with Banana Pudding Easter Truffles
Elevate your Easter celebration with delightful pairings that enhance the joy of these creamy, sweet truffles.
-
Fresh Fruit Salad: A medley of juicy strawberries, pineapple, and bananas provides a refreshing contrast to the sweet truffles. The vibrant colors also bring a spring-like vibe to your table.
-
Chocolate-Covered Strawberries: These indulgent treats mirror the chocolate coating of your truffles, creating a charming visual appeal. Plus, their tartness complements the sweet filling beautifully.
-
Mini Cheesecake Bites: Their creamy texture and rich flavor create a luxurious contrast to the airy truffles. Serve them side by side for a mini dessert platter that guests will adore.
-
Sparkling Lemonade: A refreshing, fizzy drink that adds a zesty brightness while cutting through the rich sweetness of the truffles. The effervescence makes it a festive choice for celebrations.
-
Coffee or Espresso: A warm cup balances the sweetness of the truffles perfectly. The rich, bitter notes of coffee elevate each bite, creating a harmonious dessert experience.
-
Vanilla Ice Cream: A scoop of creamy vanilla ice cream adds a delightful chill and complements the banana flavor of the truffles. For a fun twist, drizzle with caramel or chocolate sauce.
-
Creamy Coconut Macaroons: These chewy cookies offer a tropical taste that pairs nicely with the banana pudding flavor. Their sweet coconut texture adds an alluring contrast to your dessert spread.
-
Easter-themed cookie platter: Decorated sugar cookies in vibrant colors add an eye-catching element and a variety of textures, appealing to both kids and adults alike.
-
Chocolate Milkshakes: Thick, creamy, and satisfyingly sweet, they serve as a delightful beverage to enjoy alongside the truffles. The chocolate and banana combination is a match made in dessert heaven!
Expert Tips for Banana Pudding Easter Truffles
-
Quality Ingredients: Use high-quality vanilla wafers and banana pudding mix for richer flavors, ensuring your Banana Pudding Easter Truffles delight everyone.
-
Chill Well: Make sure to chill the truffles adequately; this makes them easier to coat and helps maintain their shape during the chocolate dip.
-
Melt Chocolate Method: Microwave chocolate slowly in short intervals and stir frequently to avoid seizing; achieving the perfect melt is key to a smooth coating.
-
Decoration Ideas: Get creative with toppings! Utilize colorful sprinkles or crushed nuts to personalize your truffles and enhance the festive look for Easter.
-
Storage Essentials: Keep uneaten truffles in an airtight container in the refrigerator for up to 5 days. Layer them with parchment to prevent sticking and maintain freshness.
Make Ahead Options
These Banana Pudding Easter Truffles are perfect for meal prep, allowing you to enjoy delicious desserts without the last-minute rush! You can prepare the truffle filling (the mixture of crushed vanilla wafers, cream cheese, and banana pudding mix) up to 24 hours in advance. Simply follow the steps to make the filling, roll it into balls, and refrigerate. For optimal results, coat the truffles in chocolate and add decorations just before serving to maintain that delightful texture. If stored in an airtight container, your truffles will stay fresh in the refrigerator for up to 5 days. This way, you can wow your guests with these creamy, sweet treats without spending all day in the kitchen!
Banana Pudding Easter Truffles Recipe FAQs
How can I tell if my bananas are ripe enough to use in the truffles?
Absolutely! Look for bananas with a few brown spots on the skin; they should feel slightly soft when pressed. Overripe bananas are sweeter and will give your truffles a richer flavor.
What’s the best way to store leftover Banana Pudding Easter Truffles?
Very good question! Store them in an airtight container in the refrigerator for up to 5 days. If you want to maintain their freshness, be sure to layer them with parchment paper to prevent sticking.
Can I freeze Banana Pudding Easter Truffles? How?
Yes, absolutely! To freeze your truffles, place them in a single layer on a baking sheet in the freezer for 1-2 hours until they are firm. Then transfer them to an airtight container or a freezer bag, where they can be stored for up to 2 months. When you’re ready to enjoy, simply thaw them in the refrigerator overnight.
What if my chocolate coating seizes while melting?
If your chocolate stiffens, don’t despair! Simply add a spoonful of vegetable oil or a small amount of shortening to the bowl and gently reheat in short intervals while stirring until smooth again. This will help create a silky coating for your truffles.
Can these truffles be made nut-free?
Of course! Just ensure that all ingredients, including the chocolate and any sprinkles, are labeled as nut-free. You can also simply skip any variations that include nut products to cater to allergies.
How can I make these truffles dairy-free?
Very easily! Substitute the cream cheese with a dairy-free cream cheese alternative and use dairy-free chocolate or candy melts. Unsweetened almond milk or coconut milk can be used as a milk substitute in the mixture. Enjoy a delicious, dairy-free treat!
Banana Pudding Easter Truffles: Creamy No-Bake Joys
Ingredients
Equipment
Method
- In a large mixing bowl, combine crushed vanilla wafers, softened cream cheese, dry banana pudding mix, milk, and vanilla extract until a dough-like consistency forms.
- Scoop out tablespoon-sized portions and roll them into bite-sized balls. Place on a parchment-lined baking sheet.
- Refrigerate truffles for 30 to 45 minutes to firm up.
- Melt white chocolate chips or candy melts in a microwave-safe bowl in 30-second intervals until smooth.
- Dip each truffle into the melted chocolate, ensuring complete coverage, and tap off excess.
- Before the chocolate sets, sprinkle with crushed vanilla wafers or colorful sprinkles.
- Allow truffles to sit at room temperature or refrigerate until the chocolate hardens.
Leave a Reply