
There’s something almost magical about the sound of chicken baking in the oven, promising a world of crispy delights without the need for frying. My crunchy oven-baked chicken tenders bring all the satisfaction of traditional comfort food with a healthier twist. This recipe is not just easy to whip up but also a total crowd-pleaser, perfect for family dinners or lazy weekend snacking. The secret lies in a unique dry brining technique that ensures every bite is juicy and packed with flavor. Plus, with just a handful of ingredients, you can enjoy a delicious homemade dish that keeps cooking healthy and simple. Are you ready to discover a new favorite for your dinner table?
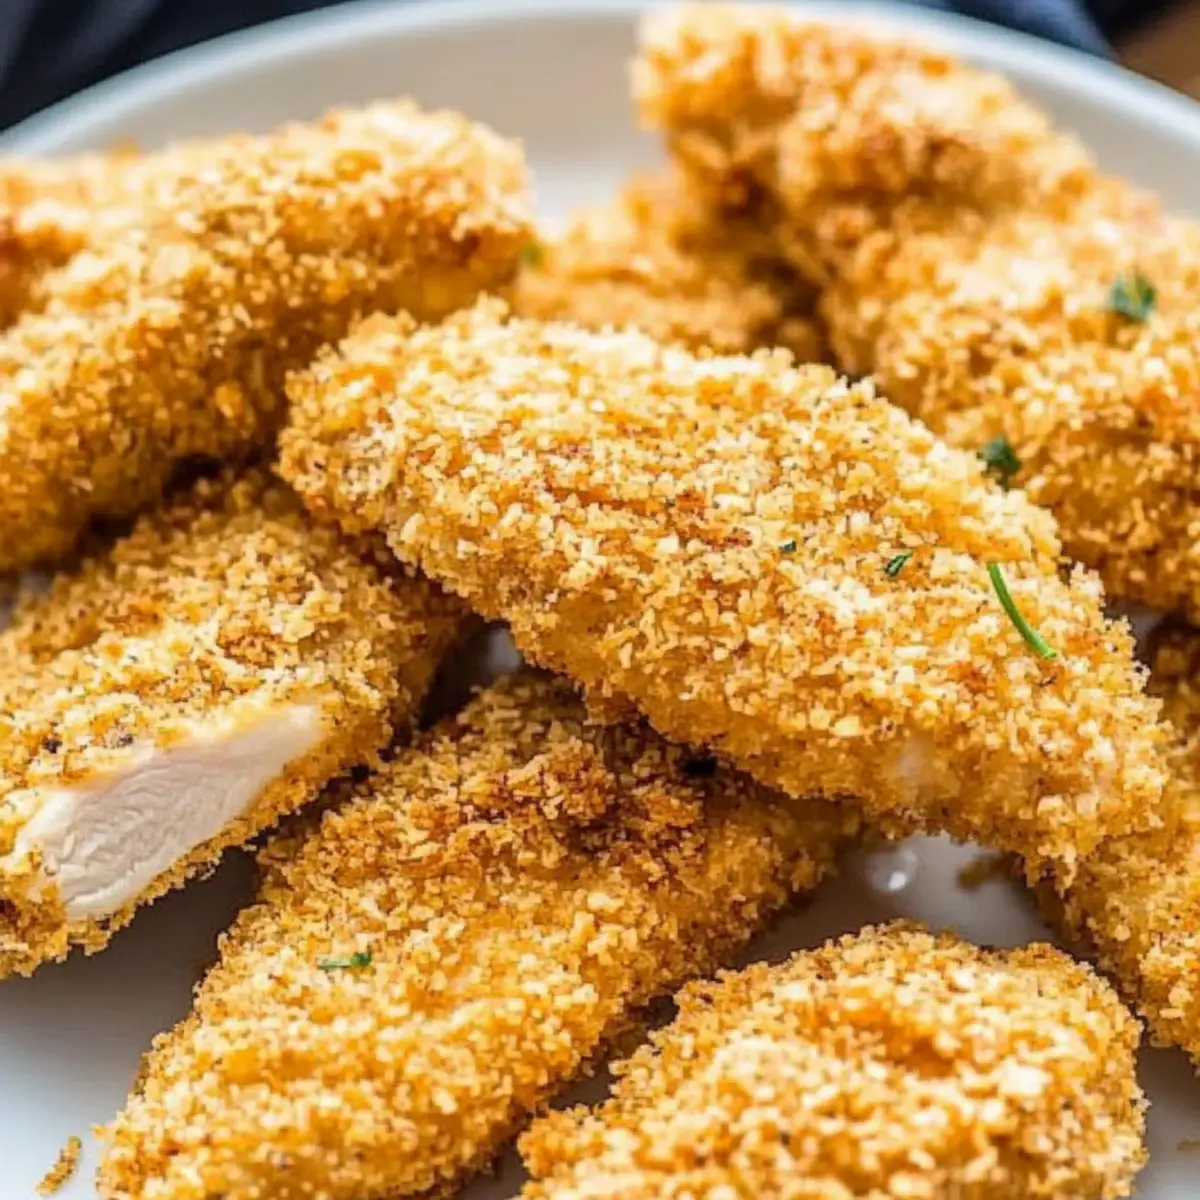
Why Are These Crunchy Chicken Tenders Amazing?
Healthier Alternative: Say goodbye to greasy fried food! These oven-baked chicken tenders provide a crispy coating without all the excess oil.
Family-Friendly: Kid-approved and perfect for even the pickiest eaters, these tenders make meal times easy and enjoyable for everyone.
Quick & Easy: With simple steps and minimal prep, you’ll be enjoying crispy goodness in under 30 minutes.
Versatile Flavors: Experiment with spices or your favorite dipping sauces, like ranch or BBQ, to customize each bite just how you like!
Crowd-Pleaser: Perfect for everything from dinner parties to game day snacks, everyone will be raving about these tender delights.
Check out my Bang Bang Chicken for another irresistible chicken dish that you can whip up with ease!
Crunchy Chicken Tenders Ingredients
• For the Chicken
- Chicken Tenderloins – The key protein that keeps these tenders juicy; boneless skinless chicken breasts are a great alternative if you’re in a pinch.
• For the Brine
- Salt – It enhances flavor and locks in moisture through dry brining; adjust to your taste preference for the best crunchy chicken tenders experience.
• For the Coating
- Panko Breadcrumbs – Essential for that unbeatable crunch; regular breadcrumbs may work, but won’t deliver the same texture.
- Oil – This helps toast the breadcrumbs to golden perfection; both olive oil and vegetable oil are excellent choices.
- Large Eggs – Acts as a binder for the coating; substitute with flax eggs for a vegan-friendly option.
- Water – Thins the egg mixture for easy coating consistency.
- Plain Flour (All-Purpose) – Creates the batter that clings to the chicken for an extra layer of crunch.
• For Seasoning
- Onion Powder – Adds subtle flavor; feel free to swap it with garlic powder or leave it out completely if desired.
- Garlic Powder – Boosts the seasoning; it’s optional depending on your flavor preferences.
- Ground Black Pepper – Season to taste; don’t be shy to adjust as per your spice levels!
With these ingredients, you’re well on your way to creating crunchy chicken tenders that will wow your taste buds and keep your family asking for seconds!
Step‑by‑Step Instructions for Crunchy Chicken Tenders
Step 1: Brine the Chicken
Begin by mixing the chicken tenderloins with salt in a bowl, ensuring they are evenly coated. Let them chill in the refrigerator for 30-40 minutes to allow the salt to penetrate, enhancing moisture and flavor. After brining, rinse the tenderloins under cold water to remove excess salt, and then pat them dry using paper towels for a perfect, crunchy coating.
Step 2: Toast the Breadcrumbs
Preheat your oven to 200°C (400°F). In a mixing bowl, combine panko breadcrumbs with a small amount of oil, stirring thoroughly to coat. Spread this mixture evenly on a baking sheet and bake for 8-10 minutes, or until the breadcrumbs are golden brown and crunchy. Keep an eye on them to prevent burning, as the color change is your cue to take them out for the best crunchy chicken tenders.
Step 3: Prepare the Batter
While the breadcrumbs are toasting, whisk together the eggs, water, flour, onion powder, garlic powder, and ground black pepper in a large mixing bowl. Mix until smooth and well combined; this batter will help the coated chicken tenderloins stick effectively. The resulting mixture should be thick enough to cling to the chicken without dripping off, ensuring a delicious crunch.
Step 4: Coat the Chicken
Take your prepared chicken tenderloins and dip each piece into the egg mixture, ensuring it’s fully coated. Then, transfer the coated tenderloin into the toasted panko breadcrumbs, rolling it around to achieve an even, dense coating. Press down gently to ensure the breadcrumbs adhere well, promising an unforgettable crunch in every bite of your crunchy chicken tenders.
Step 5: Bake the Chicken Tenders
Arrange the coated chicken tenderloins on a clean baking sheet lined with parchment paper for easy cleanup. Bake at 200°C (400°F) for 10-12 minutes, or until they turn golden brown and reach an internal temperature of 75°C (165°F). As they bake, the kitchen will fill with a tantalizing aroma, and you’ll know your crispy chicken tenders are almost ready!
Step 6: Optional Air Frying
For an extra crunch, you can also prepare your tenderloins in an air fryer. Set the air fryer to 200°C (400°F) and cook for about 8-10 minutes. Make sure to leave space between each tenderloin to ensure they cook evenly. This method yields an exceptionally crispy result, ideal for those craving an even healthier crunchy chicken tenders option.
What to Serve with Crunchy Oven-Baked Chicken Tenders
There’s nothing quite like a feast that complements the satisfying crunch of your baked chicken goodness, creating a symphony of flavors on your dinner table.
-
Creamy Mashed Potatoes: The smooth, buttery texture of mashed potatoes enhances the crunchy chicken tenders, creating a comforting classic combination.
-
Fresh Garden Salad: A bright, crisp salad with mixed greens adds vibrant color and refreshing crunch, balancing the richness of the chicken.
-
Garlic Breadsticks: Pairing warm, buttery garlic breadsticks brings a delightful touch of indulgence, perfect for sopping up any sauces or juices.
-
Honey Mustard Dipping Sauce: A tangy and slightly sweet dip provides the perfect contrast to those crunchy chicken tenders, adding harmony to each bite.
-
Roasted Vegetables: Colorful roasted veggies like carrots and broccoli add nutrition, flavor, and contrast, rounding out your meal with a touch of earthiness.
-
Baked Mac and Cheese: Creamy and cheesy, this classic dish offers a comforting, satisfying side that pairs beautifully with the crispy tenders for a family-friendly feast.
-
Coleslaw: The crunchy, tangy coleslaw adds a refreshing crunch and helps cut through the tender, savory flavors of the chicken, enhancing the overall dining experience.
-
Sparkling Lemonade: A chilled glass of sparkling lemonade adds a refreshing zing that beautifully complements the savory flavors of crunchy chicken tenders, making it a delightful mealtime treat.
How to Store and Freeze Crunchy Chicken Tenders
Fridge: Store baked crunchy chicken tenders in an airtight container for up to 3 days. This helps maintain their flavor and prevents them from drying out.
Freezer: For longer storage, freeze the breaded, raw chicken tenders on a baking sheet until firm, then transfer to a freezer-safe bag. They can be kept for up to 3 months.
Reheating: To retain crispiness, reheat baked tenders in the oven at 180°C (350°F) for about 10-15 minutes or in an air fryer at 200°C (400°F) for 5-7 minutes, ensuring they reach an internal temperature of 75°C (165°F).
Make Ahead Options
These Crunchy Oven-Baked Chicken Tenders are perfect for meal prep, saving you time on busy weeknights! You can coat the chicken tenderloins in the batter and then roll them in the toasted panko breadcrumbs up to 24 hours before baking. Simply arrange the coated tenders on a baking sheet lined with parchment paper, cover with plastic wrap, and refrigerate. If you prefer, you can also freeze them for up to 3 months; just make sure to separate layers with parchment paper to prevent sticking. When you’re ready to enjoy, just bake straight from the fridge or frozen—add a few minutes to the cooking time to ensure they’re crispy and delicious!
Crunchy Chicken Tenders Variations & Substitutions
Feel free to get creative with these variations and make the recipe your own with delightful twists and substitutions.
-
Breast Option: Swap chicken tenderloins for boneless skinless chicken breasts cut into strips for a different texture.
-
Spice It Up: Add paprika or cayenne to the flour mixture for an extra kick that’ll awaken your taste buds. A little heat can transform the whole dish!
-
Dairy-Free: Use plant-based milk or a dairy-free yogurt in place of eggs to bind the coating. This is perfect for a dairy-free friendly version without sacrificing flavor.
-
Herb Infusion: Mix in dried herbs like thyme or rosemary into your breadcrumbs for a fresh, aromatic flavor. Herbaceous notes elevate the taste, making each bite an experience.
-
Alternative Dipping Sauces: Instead of traditional sauces like ranch or BBQ, try sriracha mayo or honey mustard for a unique dipping experience. Dipping sauce exploration is half the fun!
-
Whole Wheat Breadcrumbs: For a healthier twist, substitute regular panko breadcrumbs with whole wheat varieties. This adds a nuttiness to your crunchy chicken tenders.
-
Frozen Veggies Side: Pair these tenders with some roasted frozen veggies tossed in olive oil and spices as a quick side. It’s a great way to round out the meal with nutrition.
-
Air Fryer Twist: If you prefer an even crispier option, make the coated tenders in an air fryer. It cooks quicker while still providing that crunchy goodness—perfect for busy nights!
Don’t forget to save some for later; these beauties are also delightful in a wrap or sandwich, just like my tasty Buffalo Chicken Cheese recipe! Enjoy experimenting!
Expert Tips for Crunchy Chicken Tenders
• Dry Brine Magic: Always dry brine the chicken for juicier tenders. This technique locks in moisture, enhancing the flavor and ensuring a satisfying bite.
• Breadcrumb Toasting: Don’t skip toasting the panko breadcrumbs; this is essential for that irresistible crunch. Stir frequently as they can burn easily.
• Coating Precision: Ensure each tenderloin is fully coated in the batter before rolling in the breadcrumbs. This guarantees a hearty crunch on every piece of your crunchy chicken tenders.
• Air Fryer Advantage: If using an air fryer, avoid stacking the chicken to allow proper air circulation. This leads to evenly cooked and crispy results.
• Temperature Check: Always use a meat thermometer to ensure chicken reaches an internal temperature of 75°C (165°F) for safe consumption.
• Customize Seasonings: Feel free to experiment with additional spices in the flour mixture. A touch of paprika or cayenne can elevate the flavor of your crunchy chicken tenders!
Crunchy Oven-Baked Chicken Tenders Recipe FAQs
How do I choose the best chicken for crunchy chicken tenders?
Absolutely! For the best results, opt for fresh chicken tenderloins, which are juicy and tender. If unavailable, boneless skinless chicken breasts work well if cut into strips. Look for chicken with a pinkish hue and no dark spots, indicating freshness.
How should I store leftover crunchy chicken tenders?
For storage, simply place the baked chicken tenders in an airtight container and keep them in the fridge for up to 3 days. This helps prevent them from drying out and retains their delicious flavor. To maintain that crunch, avoid stacking them in the container.
Can I freeze crunchy chicken tenders? If so, how?
Absolutely! To freeze the breaded, raw chicken tenders, lay them out on a baking sheet in a single layer and freeze until firm. Then, transfer them to a freezer-safe bag and they can be stored for up to 3 months. When you’re ready to cook, bake them straight from the freezer; just keep in mind that cooking time may need to be adjusted.
What should I do if my chicken tenders aren’t crispy enough?
Very! If your tenders come out less crispy than desired, there could be a few reasons. First, ensure you properly dry-brine the chicken and toast the breadcrumbs before applying them. If they still lack crunch, try broiling on low for the last 2-3 minutes of baking to add that extra crispiness. Additionally, ensure there’s enough space between the tenders on the baking sheet to allow airflow.
Are crunchy chicken tenders suitable for those with dietary restrictions?
Yes! If you or your loved ones have dietary concerns, there are easy adjustments. For a gluten-free version, substitute panko breadcrumbs with gluten-free breadcrumbs. To make them vegan, use flax eggs instead of large eggs and ensure your breadcrumbs are vegan-friendly. Always check the labels for potential allergens, especially when serving to guests.
How do I make crunchy chicken tenders ahead of time?
Certainly! You can prepare the raw, breaded chicken tenders and store them in the fridge for up to 1-2 days before baking. To reheat cooked tenders, simply pop them in the oven at 180°C (350°F) for about 10-15 minutes or in an air fryer to crisp up again. This way, you can savor that homemade goodness without the last-minute stress!
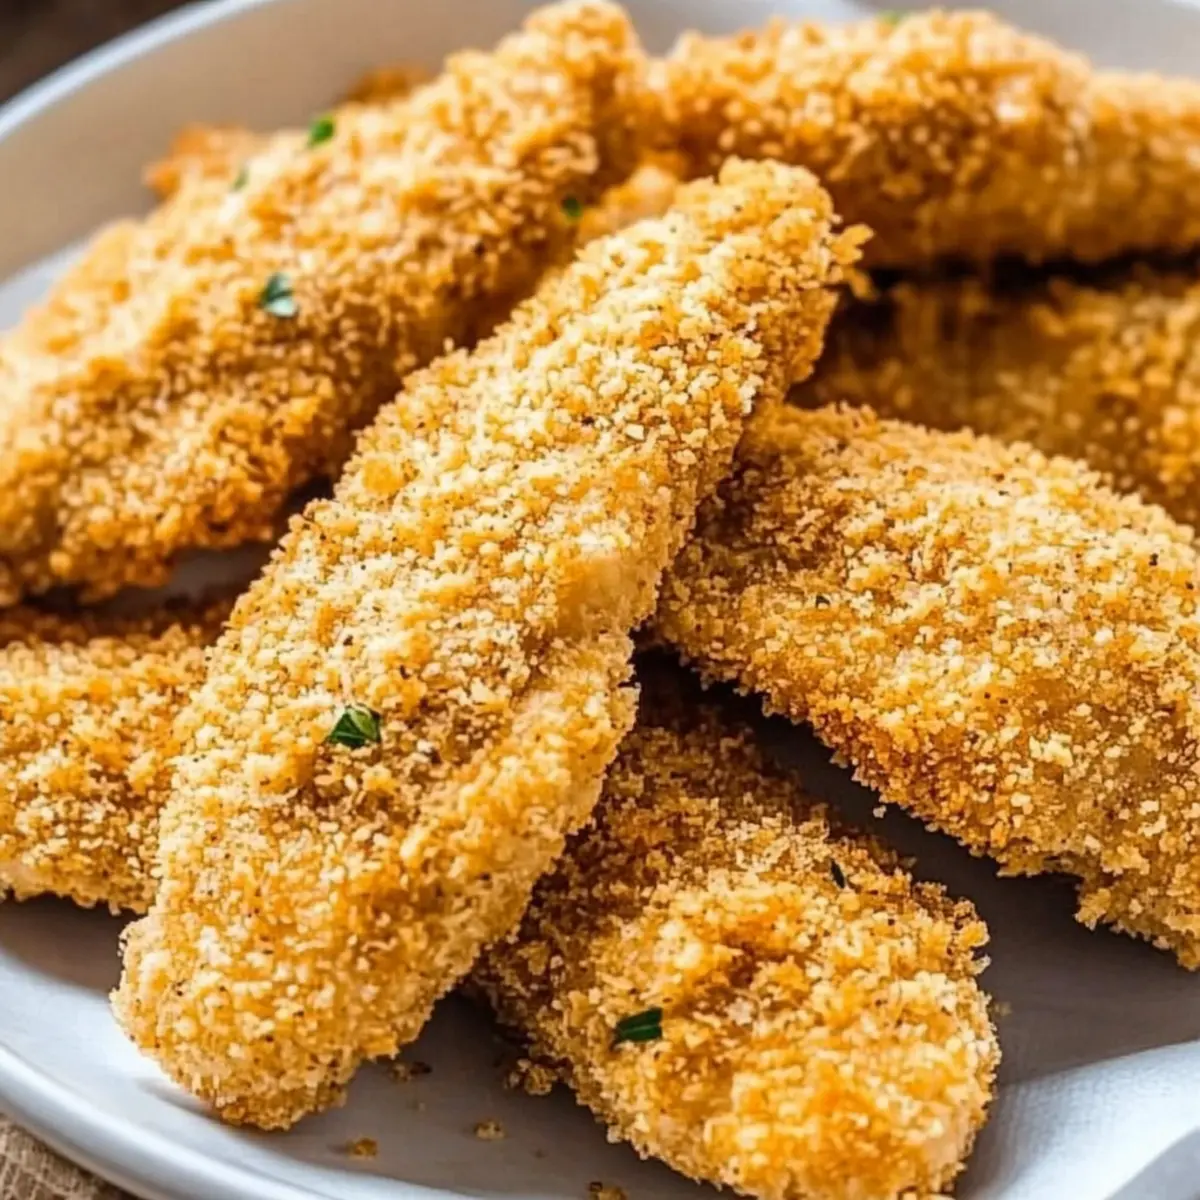
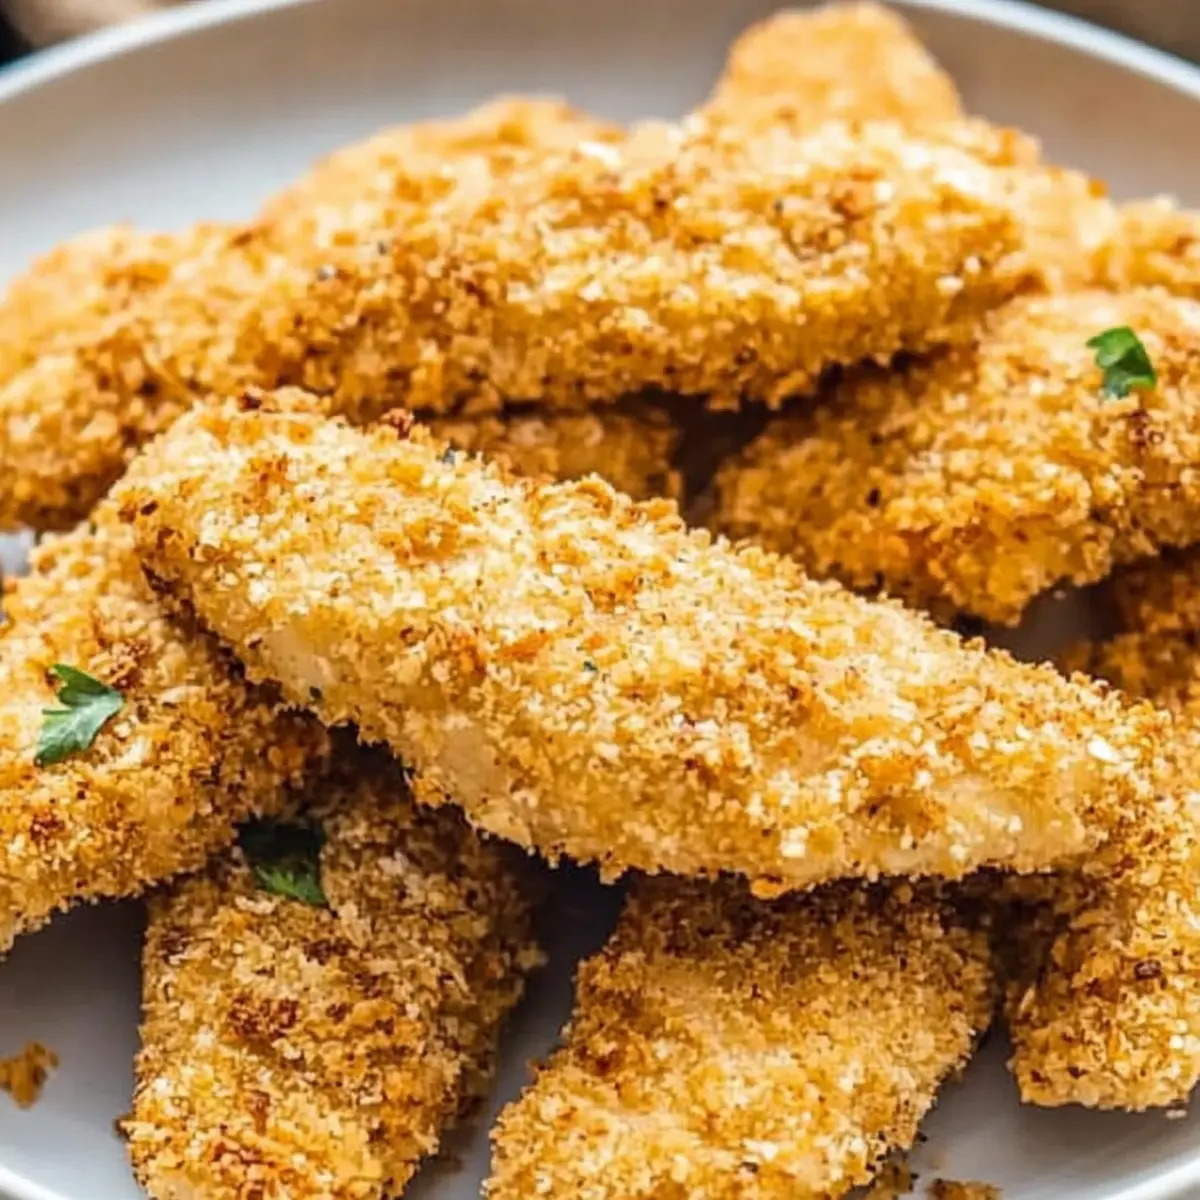
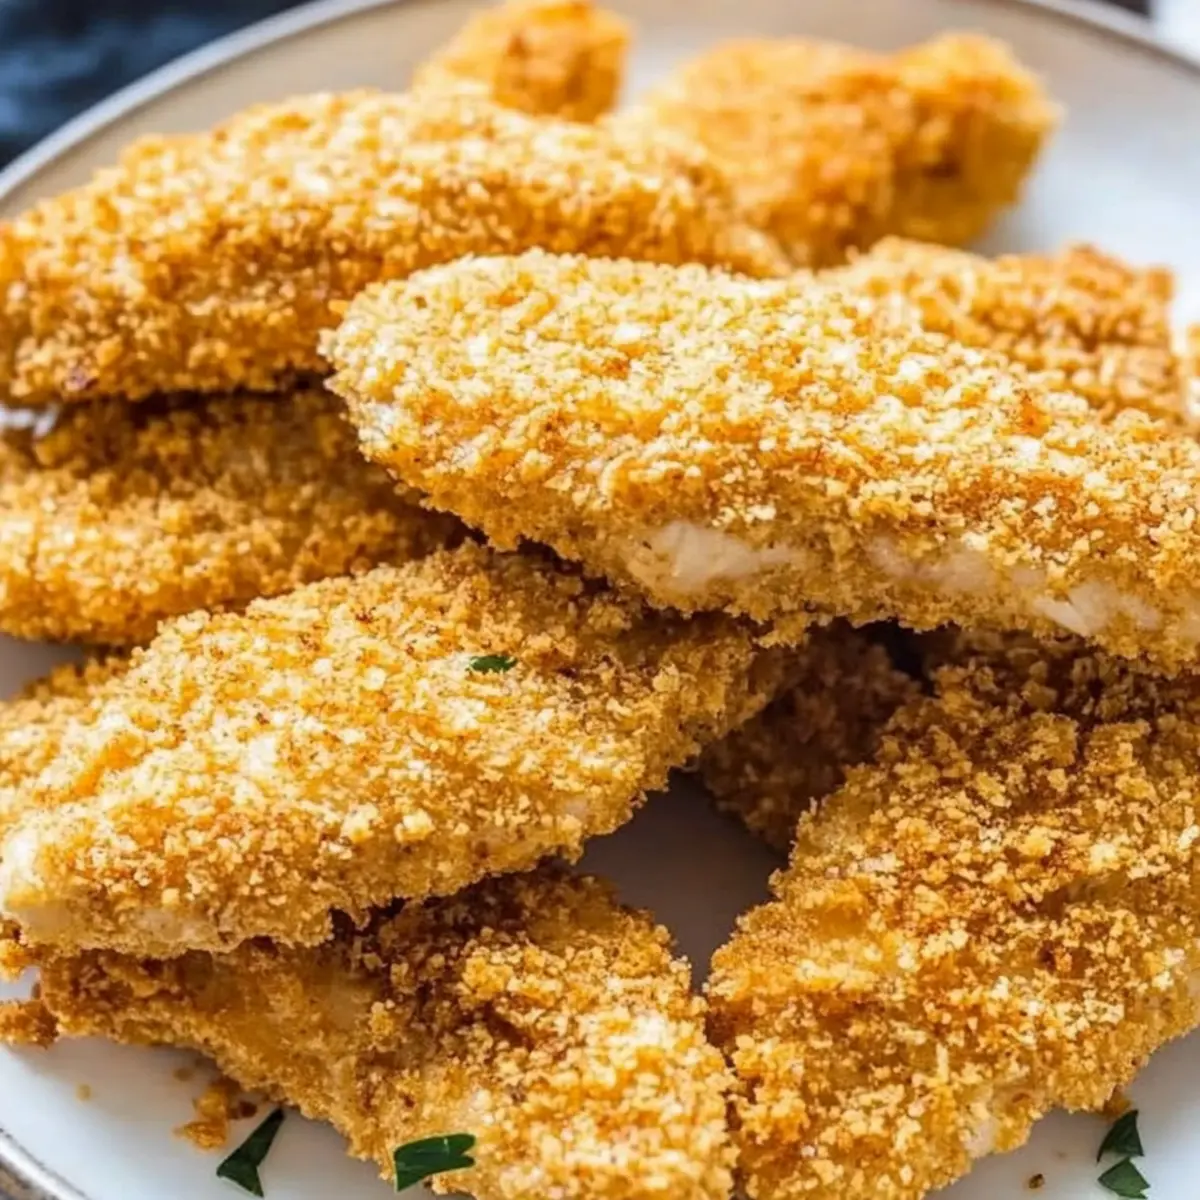
Crunchy Chicken Tenders That Will Wow Your Taste Buds
Ingredients
Equipment
Method
- Brine the Chicken: Mix the chicken tenderloins with salt in a bowl and chill in the refrigerator for 30-40 minutes before rinsing.
- Toast the Breadcrumbs: Preheat your oven to 200°C (400°F). Mix panko breadcrumbs with oil and bake for 8-10 minutes until golden brown.
- Prepare the Batter: Whisk together eggs, water, flour, onion powder, garlic powder, and black pepper until smooth.
- Coat the Chicken: Dip each chicken tenderloin in the egg mixture, then roll in the toasted panko breadcrumbs to coat.
- Bake the Chicken Tenders: Arrange on a parchment-lined baking sheet and bake for 10-12 minutes until golden brown and cooked through.
- Optional Air Frying: Cook in an air fryer at 200°C (400°F) for about 8-10 minutes for an extra crunch.
Leave a Reply