
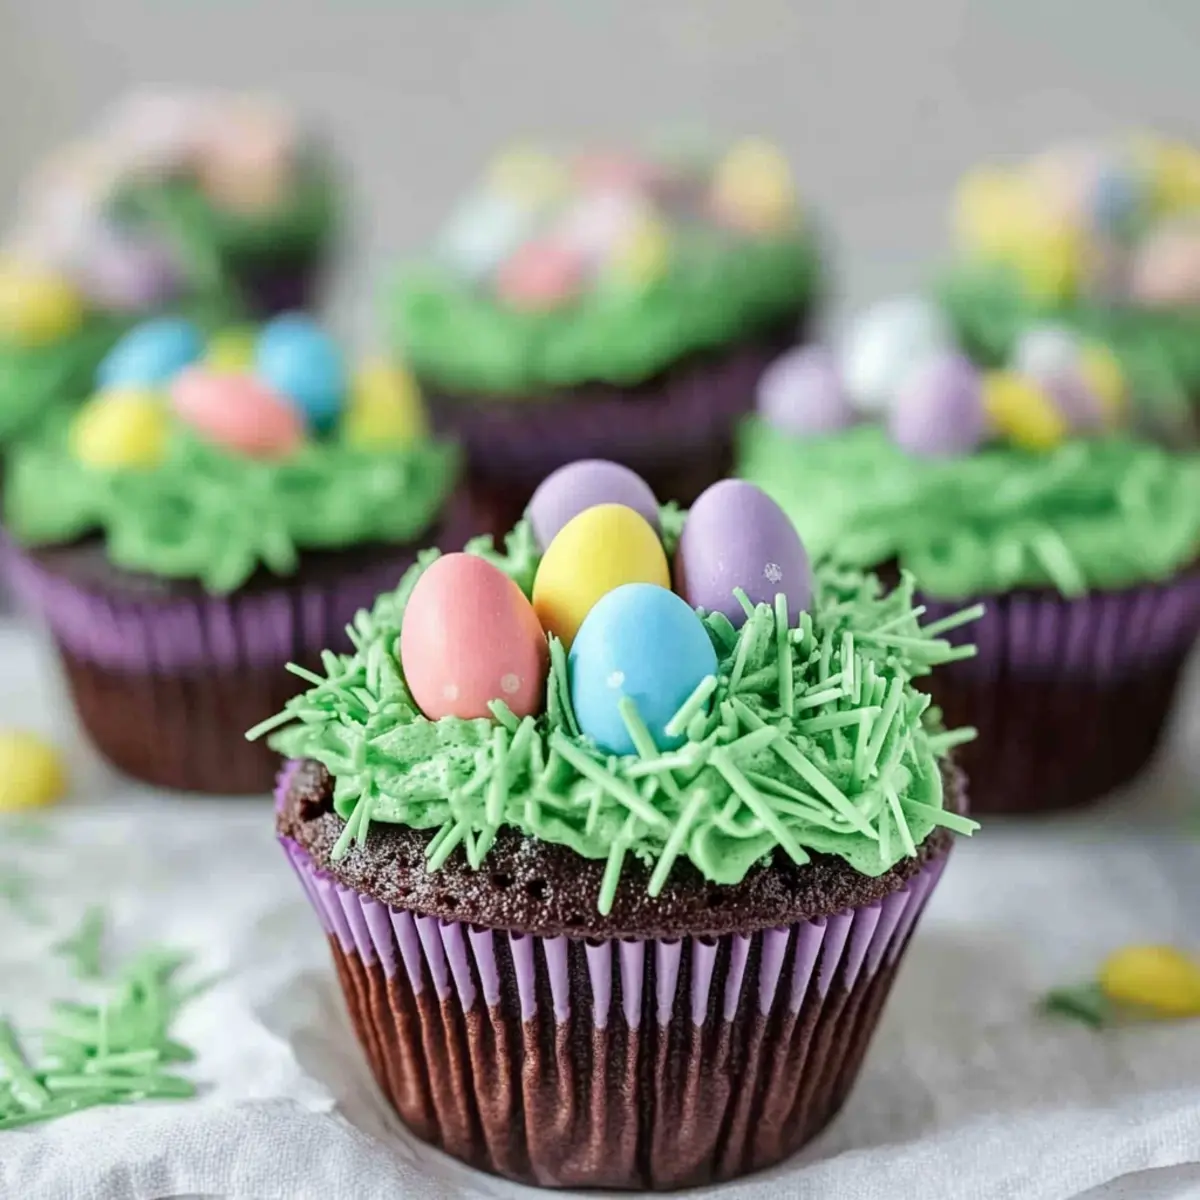
As I stood in my kitchen today, the delightful aroma of chocolate began to weave its magic in the air, instantly transporting me to sunlit spring days filled with laughter and joy. This is why I adore making Easter Chocolate Cupcakes with Festive ‘Grass’ Frosting. These treats not only capture the essence of the holiday but are also a quick way to turn your kitchen into a cheerful haven. With their soft, fluffy texture and playful decorations resembling grassy nests, they are sure to please both kids and adults alike. Plus, the simple process makes them a fun activity to share with the little ones, creating lasting memories amidst the mixing and frosting! Ready to add a sprinkle of joy to your Easter celebration? Let’s dive into this delightful recipe together.
Why Are These Cupcakes a Must-Make?
Festive Appeal: These Easter Chocolate Cupcakes are a charming centerpiece for your holiday table, guaranteed to captivate both kids and adults. Easy to Decorate: With their whimsical ‘grass’ frosting and colorful M&M eggs, decorating becomes a fun family activity! Mouthwatering Flavor: Rich chocolate pairs perfectly with fluffy frosting, creating an irresistible treat. Versatile Options: Don’t hesitate to swap in gluten-free ingredients or explore other toppers for unique variations, just like with our Gluten Free Chocolate recipe. Quick Enjoyment: Your kitchen will be filled with delightful aromas in no time, making these cupcakes a breeze to whip up!
Easter Chocolate Cupcake Ingredients
Delight in the simple yet flavorful components that make these cupcakes the perfect treat for your holiday celebration.
For the Cupcakes
- All-purpose flour – Provides the structure of the cupcake; can substitute with gluten-free flour for a gluten-free version.
- Sugar – Sweetens and tenderizes the cupcake; brown sugar adds a rich flavor.
- Cocoa powder – Delivers the delicious chocolate taste; opt for Dutch-processed cocoa for deeper flavor.
- Baking soda – A leavening agent that helps the cupcakes rise; ensure freshness for optimal results.
- Baking powder – Works alongside baking soda to create fluffy cupcakes; always double-check the expiration date.
- Salt – Enhances flavor; no substitutions are needed for this essential ingredient.
- Egg – Binds everything together and adds moisture; replace with a flax egg for a vegan option.
- Buttermilk – Adds a delightful tanginess and moisture; mix regular milk with a teaspoon of lemon juice as a substitute.
- Hot water or coffee – Enhances the chocolate flavor; brewed coffee adds richness.
- Vegetable oil – Keeps the cupcakes moist and tender; melted butter can be used as a fabulous alternative.
- Vanilla extract – Bolsters flavor; no substitutions recommended for this aromatic ingredient.
- Coconut extract (optional) – Adds a hint of sweetness; feel free to omit if unavailable.
For the Frosting
- Unsalted butter – Serves as the creamy base for the frosting; vegan butter works well for a dairy-free version.
- Confectioners’ sugar – Sweetens and thickens the frosting; sifting helps avoid lumps.
- Milk – Adjusts the frosting’s consistency; swap in plant-based milk for a dairy-free option.
- Green gel paste or food coloring – Provides the vibrant color for the ‘grass’; use as much as needed for desired intensity.
This set of ingredients makes for a delightful batch of Easter Chocolate Cupcakes, perfect for festive gatherings!
Step‑by‑Step Instructions for Easter Chocolate Cupcakes
Step 1: Preheat and Prepare
Preheat your oven to 350°F (180°C) and line a muffin tin with festive cupcake liners. This will ensure that the Easter Chocolate Cupcakes bake evenly and come out easily. A bright, cheerful liner will also set the stage for the delightful decorations to come. Gather all your ingredients and tools, including mixing bowls and a whisk, to streamline the process.
Step 2: Sift Dry Ingredients
In a mixing bowl, sift together the all-purpose flour, sugar, cocoa powder, baking soda, baking powder, and salt. Sifting ensures that there are no lumps and that the ingredients are well combined. The rich cocoa scent should fill your kitchen as you whisk the dry ingredients thoroughly, creating a perfect foundation for your Easter Chocolate Cupcakes.
Step 3: Whisk Wet Ingredients
In a separate bowl, whisk together the egg, buttermilk, hot water or coffee, vegetable oil, vanilla extract, and optional coconut extract. Mix until the ingredients are smooth and well blended, creating a cohesive batter that enhances the chocolate flavor. The glossy mixture will promise a moist and tender cupcake once baked—allow this to sit for a moment while you prepare to combine the mixtures.
Step 4: Combine Mixtures
Pour the wet ingredients into the bowl with the dry ingredients and gently mix using an electric mixer on low speed for 1 minute. Then, increase the speed to medium and beat for 2 minutes until the batter is smooth and fluffy. This thorough mixing process ensures that your Easter Chocolate Cupcakes rise beautifully, creating that delightful airy texture everyone loves.
Step 5: Distribute the Batter
Carefully distribute the chocolate batter evenly among the lined cupcake wells, filling them about two-thirds full. This will give your cupcakes ample room to rise without overflowing during baking. You can use an ice cream scoop for a neat and even distribution, which makes this part easy and mess-free.
Step 6: Bake
Place the tin in the preheated oven and bake for 12-15 minutes, or until a toothpick inserted into the center of a cupcake comes out clean. The tops should spring back lightly when touched. The wonderful aroma of chocolate will fill your kitchen, signaling that your Easter Chocolate Cupcakes are nearly ready to delight everyone.
Step 7: Cool the Cupcakes
Once baked, remove the cupcake tin from the oven and allow it to cool in the pan for about 5 minutes. Then, transfer the cupcakes to a wire rack to cool completely. This step is essential as it prevents moisture from building up, ensuring that your cupcakes maintain their fluffy texture and are ready for frosting.
Step 8: Prepare the Frosting
While the cupcakes cool, prepare the frosting by whipping softened unsalted butter in a mixing bowl for about 8 minutes until it becomes creamy and pale. This will create a light, fluffy texture that beautifully complements your Easter Chocolate Cupcakes. Gradually add in the confectioners’ sugar, milk, and green gel paste or food coloring until the frosting reaches your desired consistency and color.
Step 9: Frost the Cupcakes
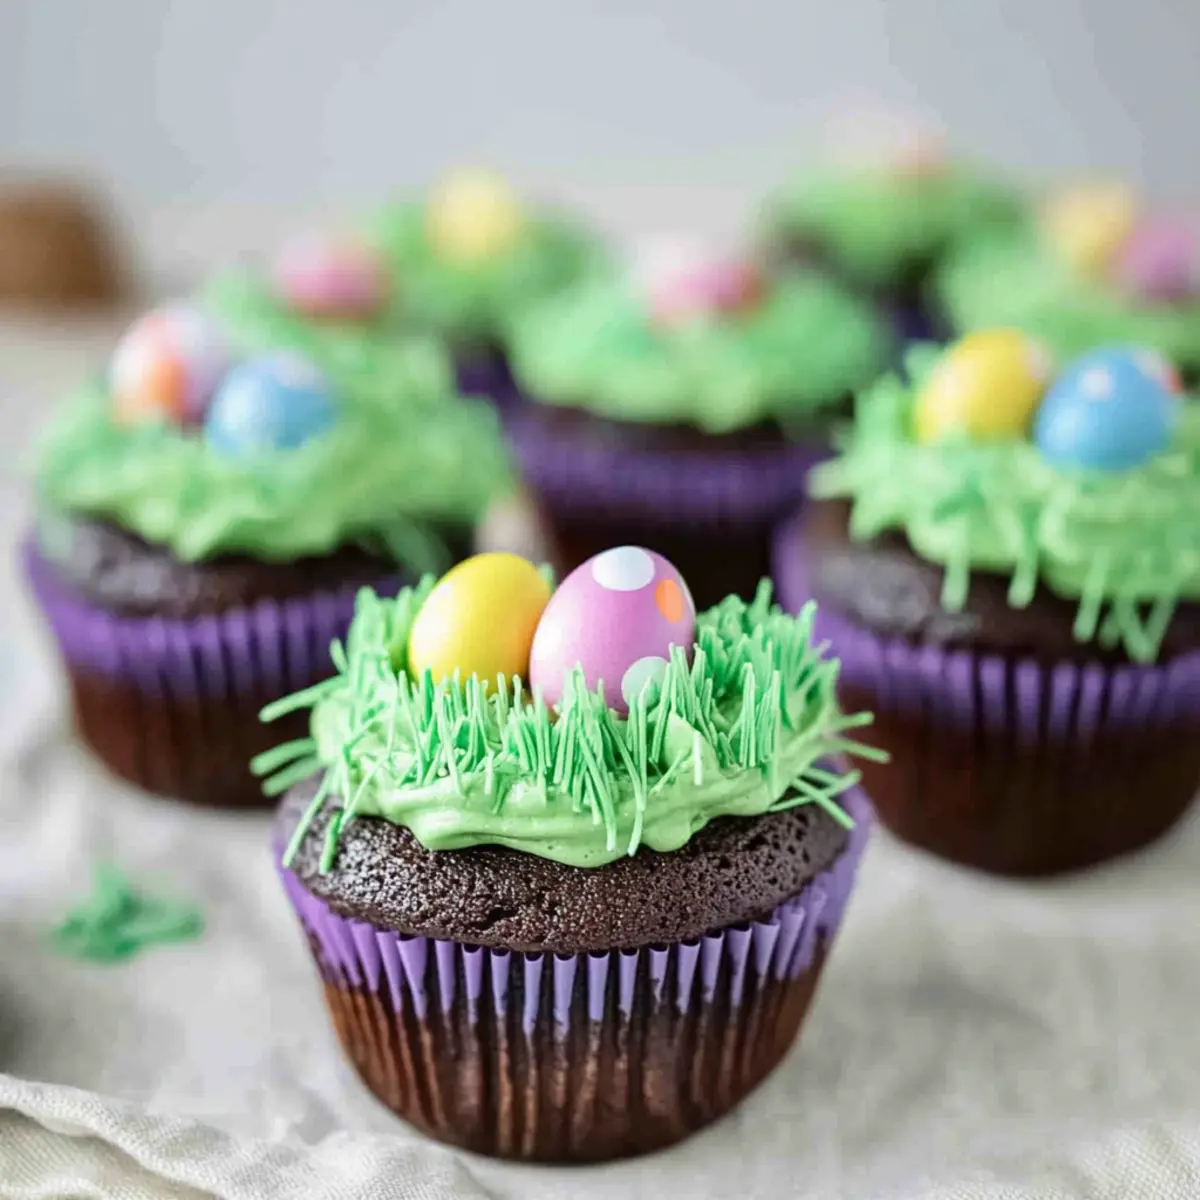
Using a pastry bag fitted with a Wilton tip #233, pipe the frosting onto each cupcake to create a whimsical grass effect. Be sure to work quickly while the frosting is still fresh and easy to shape. These delightful details mimic the playful theme of Easter, making your chocolate cupcakes a perfect centerpiece for any holiday gathering.
Step 10: Decorate
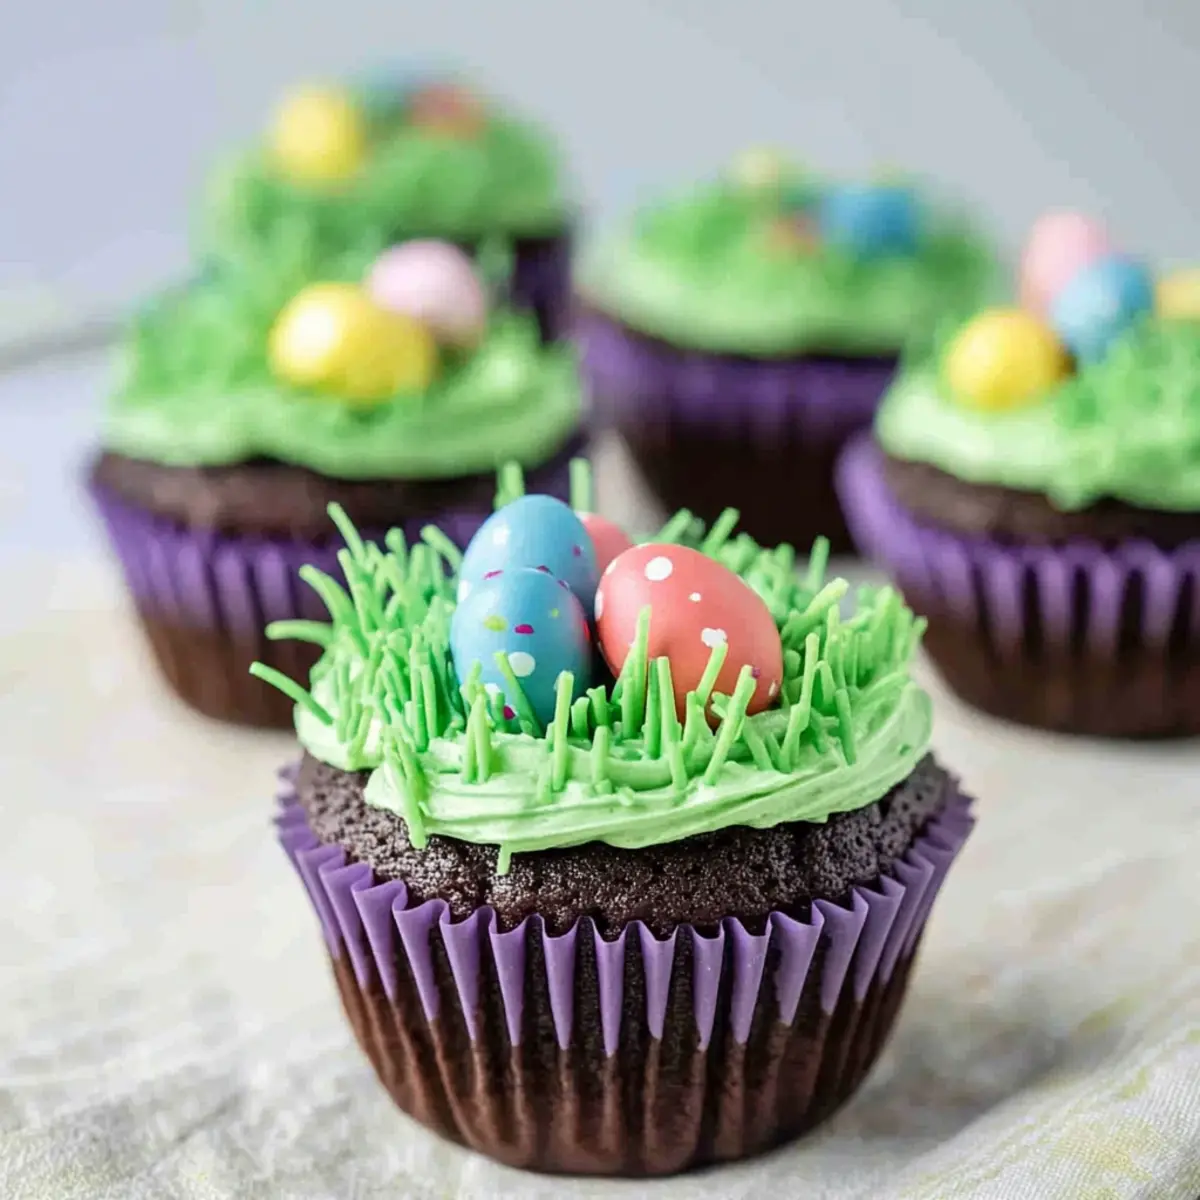
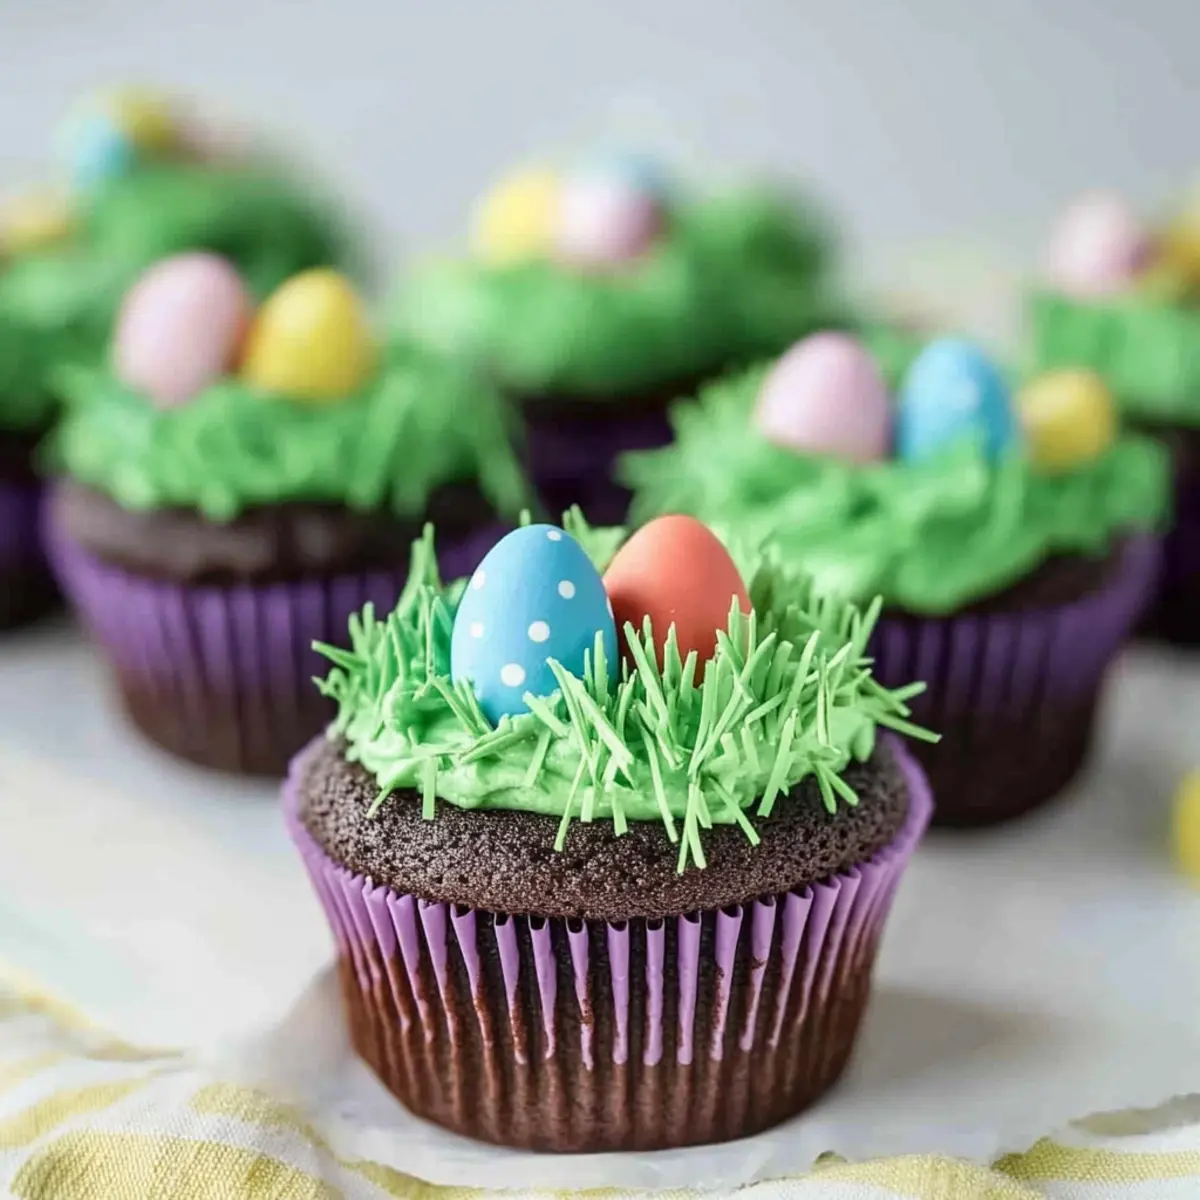
Finish decorating your vibrant cupcakes by adding colorful Easter egg M&Ms on top. This additional touch adds fun and whimsy, creating a festive visual that is sure to please both kids and adults alike. Take a moment to admire your creative work before serving these stunning Easter Chocolate Cupcakes at your next celebration!
Expert Tips for Easter Chocolate Cupcakes
- Softened Butter: Ensure that your butter is at room temperature for frosting to achieve the perfect creamy consistency; cold butter won’t blend well.
- Frosting Techniques: Use a pastry bag with a Wilton tip #233 for a beautiful grass effect; for a simpler option, a plastic bag with a corner cut off can work too!
- Baking Time: Keep a close eye while baking; removing cupcakes as soon as a toothpick comes out clean prevents dryness and helps maintain their moist texture.
- Cool Completely: Allow your cupcakes to cool completely on a wire rack before frosting to avoid melting your beautifully whipped frosting.
- Ingredient Substitutions: Feel free to swap in gluten-free flour or use a flax egg for a vegan version to make these Easter Chocolate Cupcakes suitable for everyone.
How to Store and Freeze Easter Chocolate Cupcakes
Room Temperature: Store unfrosted cupcakes in an airtight container at room temperature for up to 3 days. Keep them in a cool, dry place to maintain their moisture.
Fridge: If you have frosted cupcakes, they can be stored in the refrigerator for up to 5 days. Timely consumption is best for freshness, but place them in an airtight container to avoid absorption of odors.
Freezer: To freeze cupcakes, place them in an airtight container or freezer-safe bag, separating layers with parchment paper. They can be frozen for up to 1 month. Frost upon thawing for best results.
Reheating: For a warm treat, gently reheat cupcakes in the microwave for about 10-15 seconds. Enjoy your Easter Chocolate Cupcakes as if they were just baked!
Make Ahead Options
These Easter Chocolate Cupcakes are perfect for busy bakers looking to save time during the holiday rush! You can prepare the cupcake batter and store it in the refrigerator for up to 24 hours before baking. To do this, mix the dry ingredients separately and refrigerate them along with the wet mixture in an airtight container. When you’re ready to bake, combine the mixtures and bake for 12-15 minutes as directed. Additionally, the fully cooled cupcakes can be stored in an airtight container at room temperature for up to 3 days. Frost them right before serving for the best quality, ensuring that the delightful flavors of your Easter Chocolate Cupcakes remain as vibrant as ever!
Easter Chocolate Cupcake Variations
Get ready to explore delightful twists that can elevate your Easter Chocolate Cupcakes into a new realm of flavor and fun!
- Vanilla Base: Swap the chocolate cake with vanilla for a lighter, more delicate flavor that kids will adore.
- Fruit Jam Filling: Add a layer of your favorite fruit jam between the cupcake and frosting for a delightful surprise in every bite!
- Nutty Goodness: Sprinkle some chopped nuts into the batter before baking for added crunch and a touch of sophistication.
- Flavored Frosting: Mix in a hint of peppermint or orange extract into the frosting for an unexpected, refreshing twist!
- Sprinkle Love: Top with festive sprinkles in place of M&Ms to create a more colorful and cheerful appearance, igniting joy on everyone’s plate.
- Boozy Twist: For adults, a splash of Baileys or Kahlua in the frosting can bring warmth and comfort to your cupcakes—just remember to keep them away from the kiddos!
- Coconut Paradise: Incorporate shredded coconut into the batter for a tropical delight, pairing beautifully with the green frosting for that ‘grass’ effect.
- Decorative Edibles: Use edible flowers or candy peeps instead of M&Ms to bring a pop of color and elegance to your Easter spread.
Now that you have these fun ideas, don’t hesitate to make these cupcakes uniquely yours!
What to Serve with Easter Chocolate Cupcakes
As you prepare to dazzle your guests with these delightful treats, consider complementing them with vibrant side dishes and beverages that enhance the joyous spirit of Easter.
-
Fresh Fruit Salad: A medley of seasonal fruits adds a refreshing, colorful contrast, balancing the sweetness of the chocolate.
-
Creamy Vanilla Ice Cream: Serve a scoop alongside the cupcakes for an indulgent treat that cools the palate and pairs perfectly with chocolate.
-
Carrot Sticks with Hummus: The crunch of veggies adds texture and a healthy touch, making your dessert table both festive and nutritious.
-
Sparkling Lemonade: This bubbly drink’s citrus notes provide a zesty lift that brightens the flavors of your sweet cupcakes.
-
Mini Cheesecakes: Little bites of creamy cheesecake bring a rich, tangy contrast to the chocolaty sweetness, perfect for varied tastes.
-
Chocolate-Dipped Strawberries: These luscious bites echo the chocolate theme while adding a fresh, fruity twist that’s utterly irresistible.
-
Easter-themed Cookies: Offer these alongside the cupcakes for additional festive flair, featuring playful shapes and designs that delight kids.
-
Mimosa Bar: Set up a DIY mimosa station with fresh juices and sparkling wine for an adult-friendly touch, elevating your Easter brunch.
Each pairing adds layers of flavor, texture, and festivity, ensuring your Easter Chocolate Cupcakes shine in their delicious glory!
Easter Chocolate Cupcakes Recipe FAQs
How do I select the best cocoa powder for my cupcakes?
Absolutely! For the richest flavor, I recommend using Dutch-processed cocoa powder. It has a deeper taste and gives your cupcakes a lovely color. Regular unsweetened cocoa powder works too, but the Dutch variety truly elevates the chocolate flavor, making it even more indulgent and delightful.
How can I store my unfrosted Easter Chocolate Cupcakes?
You can store your unfrosted cupcakes in an airtight container at room temperature for up to 3 days. It’s best to keep them in a cool, dry place to maintain their moist and fluffy texture. If you’re keeping them longer, you might consider freezing them instead!
Can I freeze frosted Easter Chocolate Cupcakes?
Yes! To freeze your frosted cupcakes, place them in an airtight container with parchment paper between layers to prevent sticking. You can freeze them for up to 1 month. When you’re ready to enjoy them, simply thaw at room temperature and they’ll taste as fresh as the day you made them!
What should I do if my cupcakes are too dry?
If your Easter Chocolate Cupcakes turn out dry, it’s often due to overbaking—try a toothpick test around the 12-minute mark. To fix dry cupcakes post-bake, you can brush them with a simple syrup (1 cup sugar mixed with 1 cup water cooked until dissolved) right before frosting. This will add moisture and enhance the flavor!
Are there any allergy considerations for this recipe?
Very! This recipe calls for eggs and dairy, so it’s not suitable for vegans or those with dairy allergies. To make it more inclusive, you can replace the egg with a flax egg (1 tablespoon ground flaxseed mixed with 2.5 tablespoons water) and use dairy-free milk and butter substitutes. Always check your specific ingredients for potential allergens!
How can I make these cupcakes gluten-free?
Certainly! To adapt this Easter Chocolate Cupcakes recipe for a gluten-free diet, simply substitute the all-purpose flour with a gluten-free flour blend. Be sure to check that other ingredients, such as baking powder and cocoa powder, are also gluten-free to ensure the entire recipe meets dietary needs.
Easter Chocolate Cupcakes That Kids Will Love to Decorate
Ingredients
Equipment
Method
- Preheat your oven to 350°F (180°C) and line a muffin tin with festive cupcake liners.
- In a mixing bowl, sift together the all-purpose flour, sugar, cocoa powder, baking soda, baking powder, and salt.
- In a separate bowl, whisk together the egg, buttermilk, hot water or coffee, vegetable oil, vanilla extract, and optional coconut extract.
- Pour the wet ingredients into the bowl with the dry ingredients and gently mix using an electric mixer on low speed for 1 minute.
- Carefully distribute the chocolate batter evenly among the lined cupcake wells, filling them about two-thirds full.
- Place the tin in the preheated oven and bake for 12-15 minutes, or until a toothpick comes out clean.
- Once baked, remove the cupcake tin from the oven and allow it to cool in the pan for about 5 minutes.
- While the cupcakes cool, prepare the frosting by whipping softened unsalted butter until creamy.
- Using a pastry bag fitted with a Wilton tip #233, pipe the frosting onto each cupcake to create a whimsical grass effect.
- Finish decorating your vibrant cupcakes by adding colorful Easter egg M&Ms on top.
Leave a Reply