
As the sun streams through my kitchen window, the bright scent of fresh oranges wafts through the air—it’s the perfect invitation to whip up some Classic Homemade Orange Candy. This delightful recipe showcases the vibrant zest and natural sweetness of oranges in a chewy confection that you can easily customize to your liking. Not only is this candy a fun and engaging project for the whole family, but it also makes a heartwarming gift for friends and loved ones. With just a handful of simple ingredients, you can create a treat that’s not only delicious but also boasts a vegan option for those who want to indulge without compromise. Are you ready to bring a touch of sunshine to your kitchen? Let’s dive into the sweetness!
Why Try Homemade Orange Candy?
Delicious, this candy bursts with the vibrant flavor of fresh oranges that feels like sunshine in each bite. Customizable, adjust the sweetness to suit your taste or switch it up with lemon or lime for an exciting twist. Fun project, perfect for family gatherings or a delightful kitchen activity with kids. Vegan-friendly options let everyone partake without worry, making it a versatile treat. Plus, it’s a wonderful gift idea—who wouldn’t love receiving a jar of homemade goodness? Check out these Cranberry Orange Shortbread too for more citrus-inspired delights!
Homemade Orange Candy Ingredients
For the Candy Base
- Granulated Sugar – Provides sweetness and structure; can use less for a less sweet version.
- Corn Syrup – Adds smoothness and prevents crystallization; can substitute with honey or agave syrup.
- Water – Essential for dissolving sugar; 1/4 cup is necessary.
- Unflavored Gelatin – Gives the candy its chewy texture; can use agar-agar for a vegan option.
- Fresh Oranges (zest & juice) – Infuses the candy with vibrant citrus flavor; fresh is recommended for the best taste.
- Unsalted Butter – Enhances flavor and texture; can be omitted for a dairy-free version.
Step‑by‑Step Instructions for Homemade Orange Candy
Step 1: Prep Zest and Juice
Start by washing your fresh oranges thoroughly under cool water. Carefully zest the oranges using a microplane or a zester to yield about 2 tablespoons of fragrant zest. Next, cut the oranges in half and juice them to collect approximately 3/4 cup of bright, freshly squeezed orange juice. Set both the zest and juice aside as you prepare the syrup.
Step 2: Make Syrup
In a medium saucepan, combine the fresh orange juice, 1/4 cup of water, granulated sugar, and corn syrup. Place the saucepan over medium heat, stirring continuously until the sugar fully dissolves. Allow the mixture to simmer for about 10 minutes until it thickens slightly and coats the back of a spoon, forming a syrup that glimmers in the light.
Step 3: Prepare Gelatin
While your syrup is simmering, take a small bowl and sprinkle the unflavored gelatin over 1/4 cup of cold water. Allow it to sit undisturbed for about 5 minutes so the gelatin can bloom and absorb the water, transforming into a thick, gelatinous mass. This step is crucial for achieving that delightful chewy texture in your homemade orange candy.
Step 4: Combine Ingredients
Once the syrup has thickened and the gelatin has bloomed, remove the saucepan from heat. Stir the bloomed gelatin into the syrup until it fully dissolves, creating a smooth mixture. Then, add the unsalted butter and the fresh orange zest. Stir continuously until the butter melts completely, combining all the rich flavors together in your homemade orange candy.
Step 5: Cool Mixture
After combining all the ingredients, allow the mixture to cool at room temperature for 1 to 2 hours. It should thicken to a consistency similar to honey, thick yet pourable. This cooling phase is essential for the candy to develop its texture, so be patient and let it rest until the mixture is no longer hot to the touch.
Step 6: Set Candy
Prepare a greased dish or candy molds by coating them lightly with oil or non-stick spray. Pour the cooled mixture into the prepared dish or molds, smoothing out the top with a spatula. Let the candy set at room temperature for an additional 1 to 2 hours, then transfer it to the refrigerator. Chill for 4 to 6 hours, or overnight, until fully firmed up.
Step 7: Cut and Serve
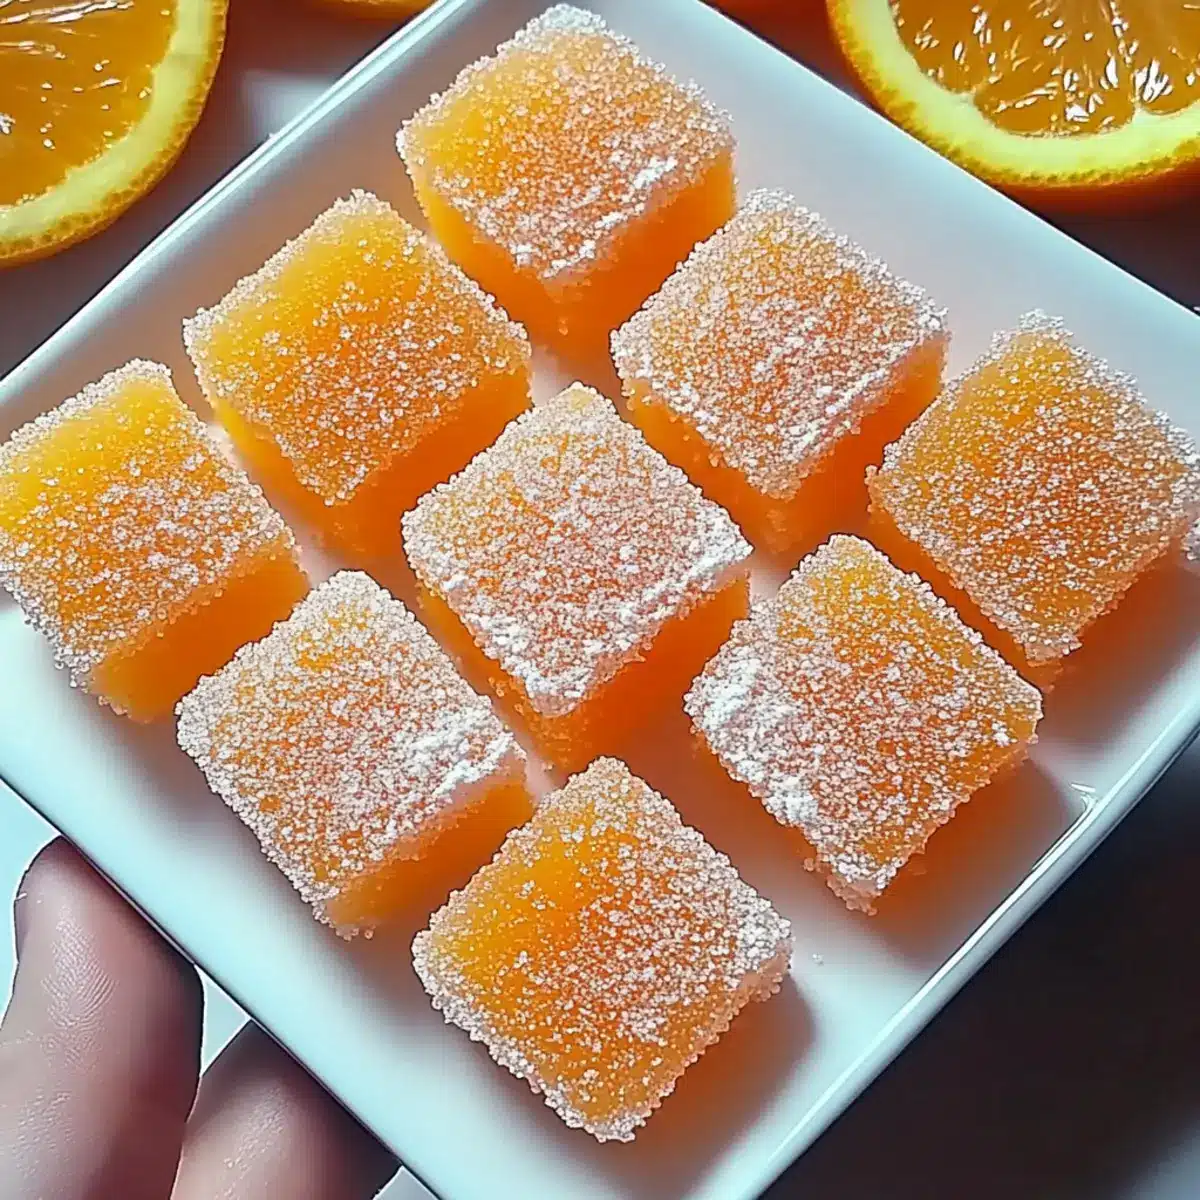
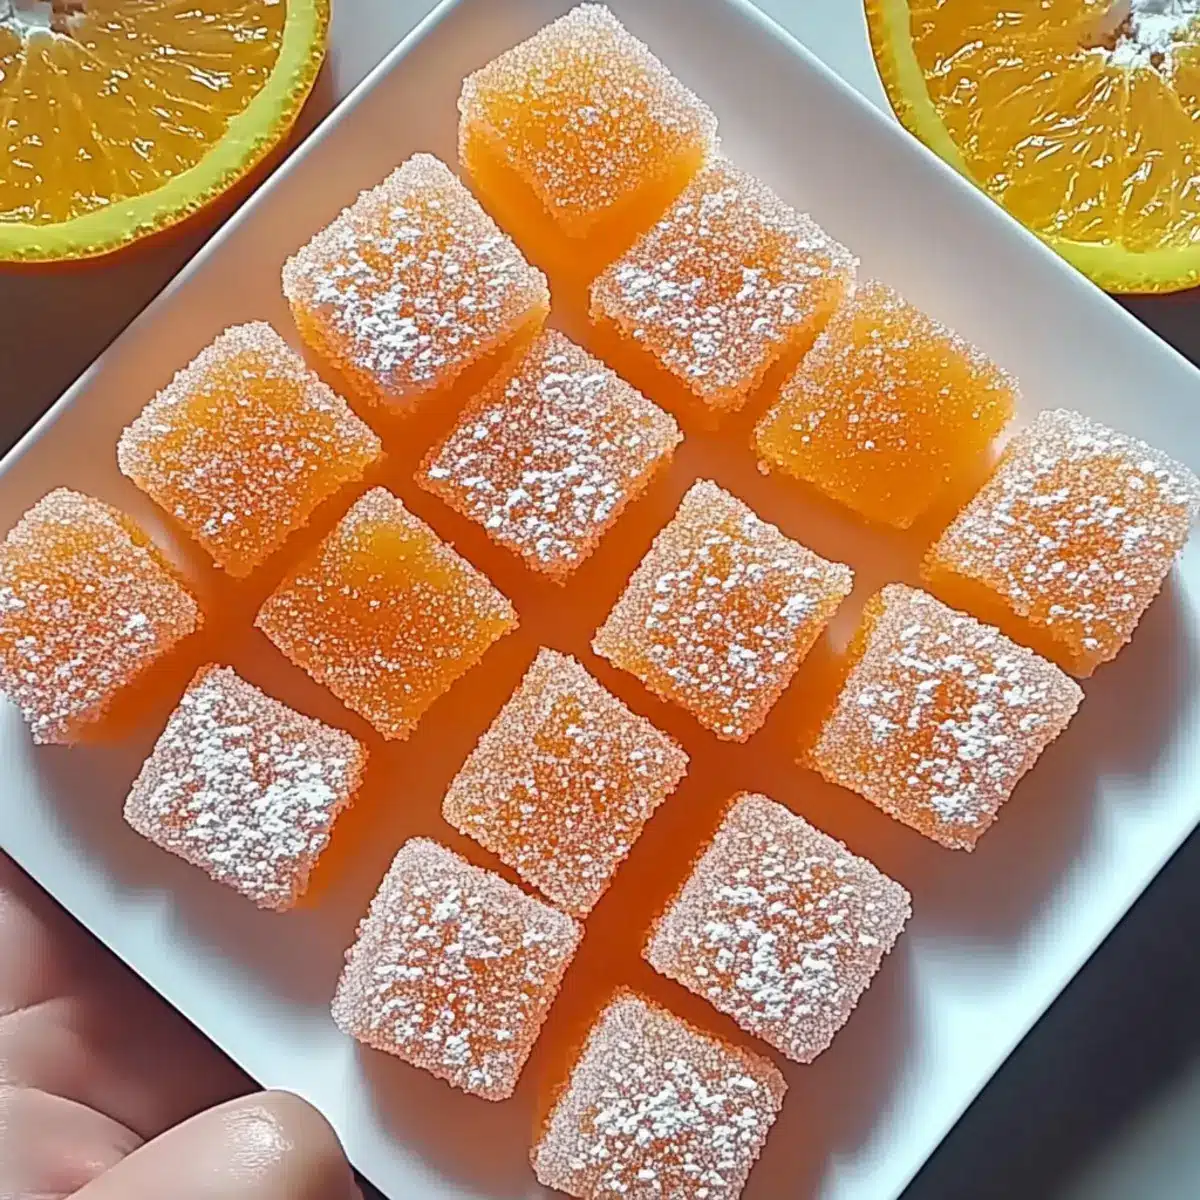
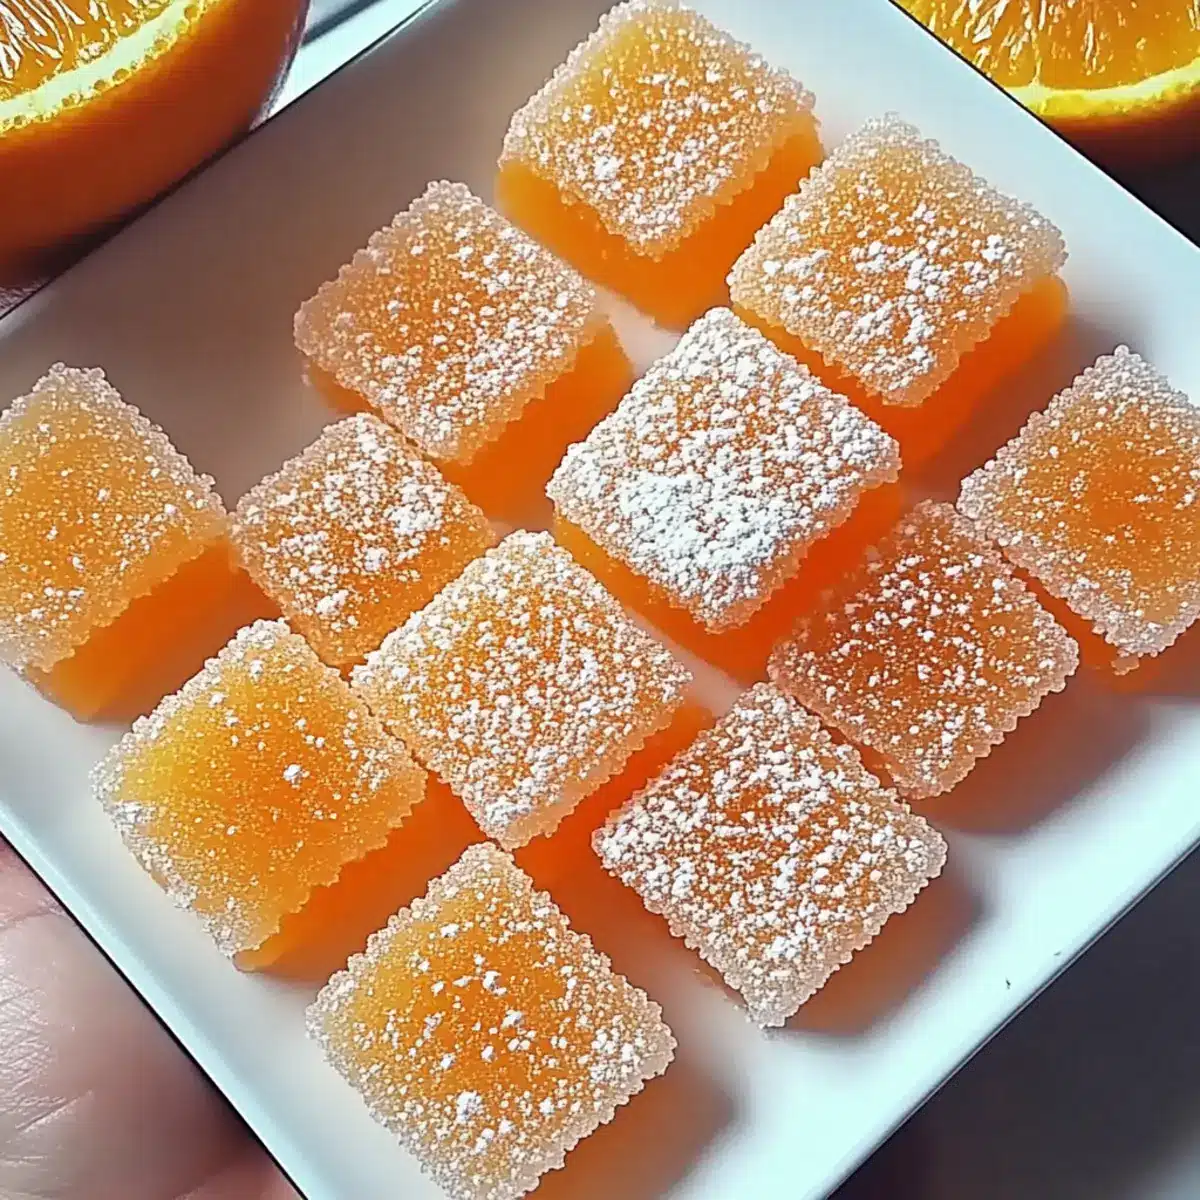
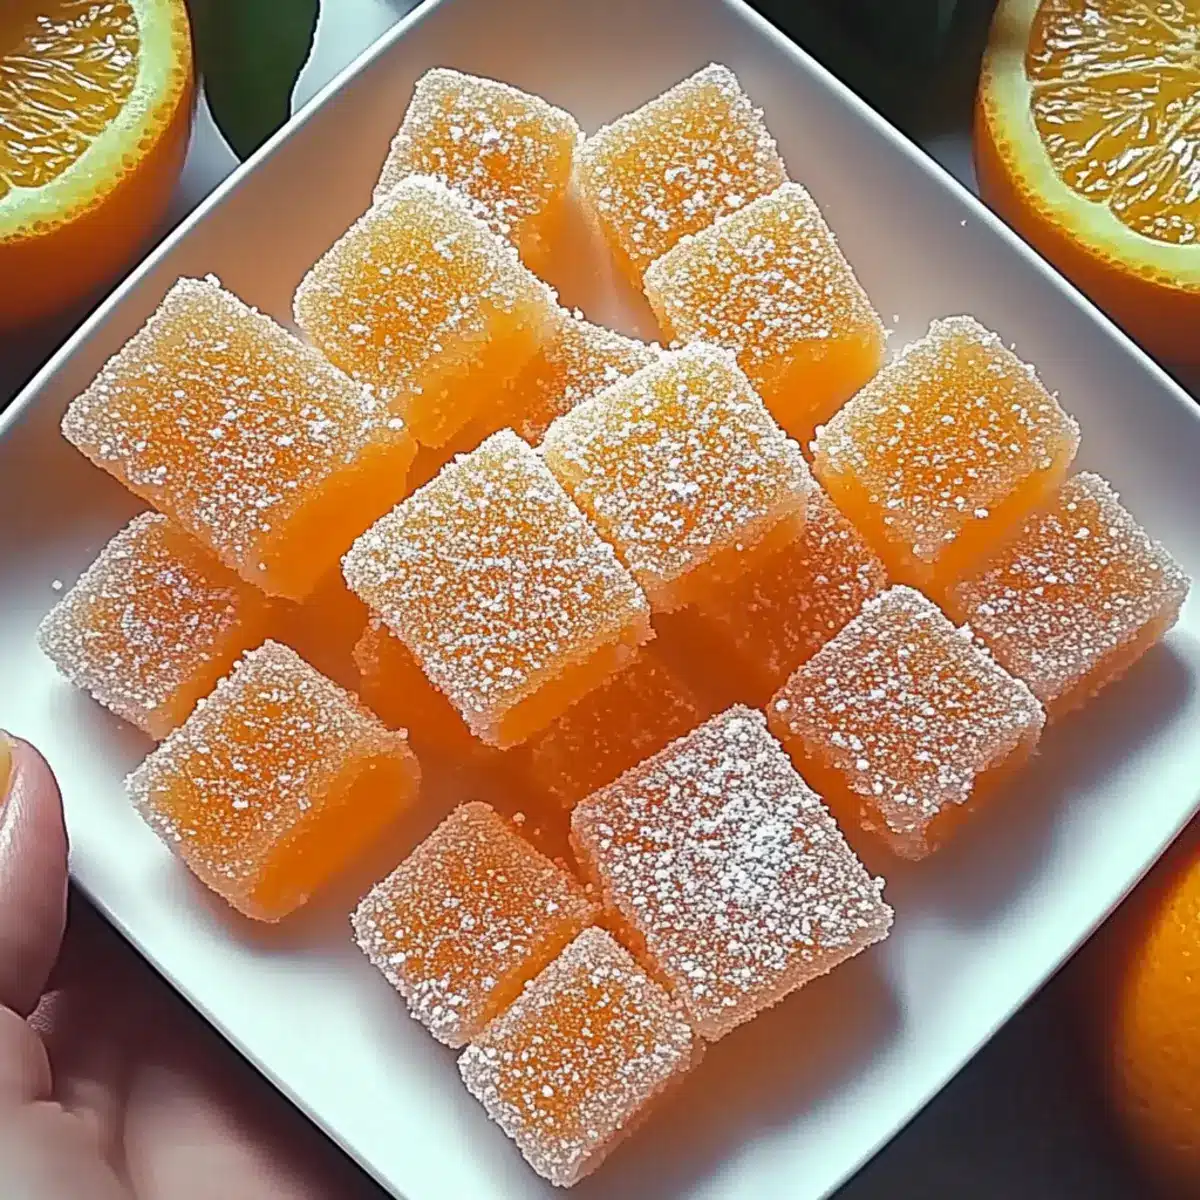
Once fully set, gently remove the candy from the dish or molds, taking care not to break the pieces. Use a sharp knife to cut the candy into bite-sized squares or shapes, depending on your preference. If desired, roll them in powdered sugar to prevent stickiness and add a touch of sweetness before serving your delightful homemade orange candy!
How to Store and Freeze Homemade Orange Candy
-
Room Temperature: Store your homemade orange candy in an airtight container for up to 1 week, ensuring it remains fresh and chewy.
-
Refrigeration: For optimal firmness, keep the candy in the fridge where it will last up to 2 weeks. Remember to cover it to maintain its flavor.
-
Freezer: If you want to prolong its life, you can freeze the candy for up to 2 months. Thaw in the fridge or at room temperature before enjoying.
-
Reheating: If your candy becomes too sticky after storage, gently reheat it in a saucepan and add a bit more bloomed gelatin to restore its lovely chewy texture.
Expert Tips for Homemade Orange Candy
-
Achieve Perfect Texture: Ensure the syrup reaches a honey-thick consistency; undercooking will lead to a gooey candy, while overcooking can make it hard.
-
Patience is Key: Allow the mixture to cool and set properly; rushing this step often results in sticky or misshapen candies.
-
Zest Wisely: Use only the vibrant outer peel of the oranges. Avoiding the white pith will keep your homemade orange candy from tasting bitter.
-
Manage Stickiness: If the candy turns out too sticky, reheat the mixture gently and stir in a bit more bloomed gelatin to improve texture.
-
Customization is Fun: Feel free to switch fruits or adjust sweetness levels in your recipe; this way, you can tailor your homemade orange candy to suit everyone’s taste!
What to Serve with Classic Homemade Orange Candy
Indulging in the sweetness of homemade orange candy creates an enchanting opportunity to craft a delightful meal experience.
-
Herbal Tea: The soothing notes of chamomile or peppermint provide a calming contrast to the sweet, citrusy flavors of the candy.
-
Cheese Platter: A selection of creamy brie or sharp cheddar adds a savory dimension to your dessert spread, harmonizing beautifully with the candy’s sweetness.
-
Colorful Fruit Salad: Fresh berries, kiwi, and melons bring vibrant color and refreshing juiciness, enhancing the overall citrus theme.
-
Chocolate Dipped Pretzels: The salty crunch of pretzels coated in chocolate pairs perfectly with the chewy candy, creating a satisfying sweet-and-salty balance.
-
Sparkling Lemonade: This refreshing drink offers a zesty kick that echoes the bright flavors of the candy while cleansing the palate beautifully.
-
Coconut Macaroons: Chewy and sweet, these delightful cookies offer a tropical twist that complements the citrus notes in the orange candy.
Enjoy experimenting as you create a vibrant, multi-textured experience that accentuates the joy of your sweet citrus creation!
Homemade Orange Candy Variations
Customize your homemade orange candy with these delightful twists that will take your taste buds on an adventure!
-
Citrus Medley: Add zest and juice from lemons or limes for a tangy twist. The combination brings a delightful brightness that complements the sweetness beautifully.
-
Vegan Option: Substitute unflavored gelatin with agar-agar for a vegan-friendly candy that still has that fabulous chewy texture. Now everyone can savor this treat without worry!
-
Sweetness Adjustments: Modify the sugar content to match your preferred sweetness level. Try using honey or agave syrup for a natural, smooth sweetness that enhances the orange flavor.
-
Nutty Crunch: Roll your candy pieces in crushed nuts or shredded coconut for a crunchy texture. This added layer creates a fun contrast against the chewy candy.
-
Spicy Surprise: Infuse the syrup with a hint of cayenne pepper or chili powder for a delightful spicy kick. The heat adds an unexpected twist that elevates the citrus flavor.
-
Herbal Hint: Stir in a dash of rosemary or thyme into the syrup for a green herbal note. It’s a subtle twist that can make the flavors pop even more!
-
Chocolate Coating: After cutting your candy, dip each piece in melted dark or milk chocolate. The rich chocolate layer pairs wonderfully with the sweet citrus, creating a decadent treat.
-
Berry Fusion: Incorporate a splash of raspberry or cranberry juice for a gorgeous color and a fruity tang. This delicious addition balances the orange candy’s sweetness perfectly.
Each of these variations is an opportunity to experiment and find your favorite version. And if you’re interested in more citrus-inspired delights, don’t forget to check out these scrumptious Cranberry Orange Shortbread cookies! They are fabulous as well!
Make Ahead Options
These Classic Homemade Orange Candy treats are perfect for meal prep enthusiasts! You can prepare the syrup and gelatin mixture up to 24 hours in advance, storing them separately in the refrigerator until you’re ready to combine them. This not only saves time but also allows the flavors to meld beautifully overnight. When you’re ready to finish the candy, simply heat the syrup mixture until warm, stir in the bloomed gelatin, and follow the remaining steps as usual. To maintain quality and prevent stickiness, ensure you refrigerate the fully set candy in an airtight container for up to two weeks—just as delicious when made ahead!
Classic Homemade Orange Candy Recipe FAQs
How do I choose the best oranges for this recipe?
Absolutely! For the best results in your Classic Homemade Orange Candy, look for oranges with a firm texture and vibrant color. The skin should be smooth and free of blemishes—preferably organic. If you can smell a fragrant citrus aroma, it’s a good indicator of ripeness! Avoid any that have dark spots all over, as these might be overripe or starting to spoil.
How should I store my homemade orange candy?
To keep your homemade orange candy fresh, store it in an airtight container at room temperature for up to 1 week. If you want to prolong its deliciousness, you can refrigerate it for up to 2 weeks in a covered container. Just make sure it’s completely cool before storing, to avoid condensation, which could affect the texture.
Can I freeze homemade orange candy?
Yes! You can freeze your delicious homemade orange candy for up to 2 months. Just wrap it tightly in plastic wrap and place it in a freezer-safe bag or container. When you’re ready to enjoy it, thaw the candy in the refrigerator overnight or at room temperature for a few hours. If it feels sticky after thawing, simply reheat it gently to restore its chewiness.
What should I do if my candy is too sticky?
If your candy turns out too sticky, don’t worry! You can remedy this by gently reheating the candy mixture in a saucepan over low heat. Stir in a bit more bloomed gelatin to enhance the candy’s texture. Aim for a consistency that’s thick yet pourable, similar to honey. Once mixed, let it cool again before setting—your homemade orange candy will be back to its chewy self in no time!
Are there any dietary considerations I should be aware of?
Certainly! This Classic Homemade Orange Candy can be made vegan by using agar-agar instead of gelatin and substituting the butter with coconut oil or simply omitting it altogether. Always check if you or anyone consuming the candy has allergies, especially to citrus fruits. Additionally, the recipe can be adjusted for sweetness by using less sugar or opting for honey or agave syrup as alternatives, making it customizable for different dietary needs.
Can I customize the sweetness of the candy?
Absolutely! You can tailor the sweetness of your homemade orange candy to your liking. If you prefer a less sweet version, simply reduce the amount of granulated sugar. Alternatively, you can use natural sweeteners like honey or agave syrup. Just make sure to adjust the ratios slightly since these alternatives may change the candy’s structure and texture. Happy experimenting!
Delicious Homemade Orange Candy for a Zesty Sweet Treat
Ingredients
Equipment
Method
- Wash the fresh oranges thoroughly under cool water, zest them to yield about 2 tablespoons of zest, then juice them to collect approximately 3/4 cup of juice.
- In a medium saucepan, combine the orange juice, 1/4 cup of water, granulated sugar, and corn syrup over medium heat, stirring continuously until the sugar dissolves. Allow to simmer for about 10 minutes.
- In a small bowl, sprinkle the unflavored gelatin over 1/4 cup of cold water and let it sit for about 5 minutes to bloom.
- Remove the syrup from the heat, stir in the bloomed gelatin until fully dissolved, then add unsalted butter and orange zest, stirring until combined.
- Allow the mixture to cool at room temperature for 1 to 2 hours until thickened to a honey-like consistency.
- Prepare a greased dish or molds, pour in the cooled mixture, smooth the top, and let it set at room temperature for 1 to 2 hours, then refrigerate for 4 to 6 hours.
- Once set, remove the candy, cut into squares or shapes, and optionally roll in powdered sugar before serving.
Leave a Reply