
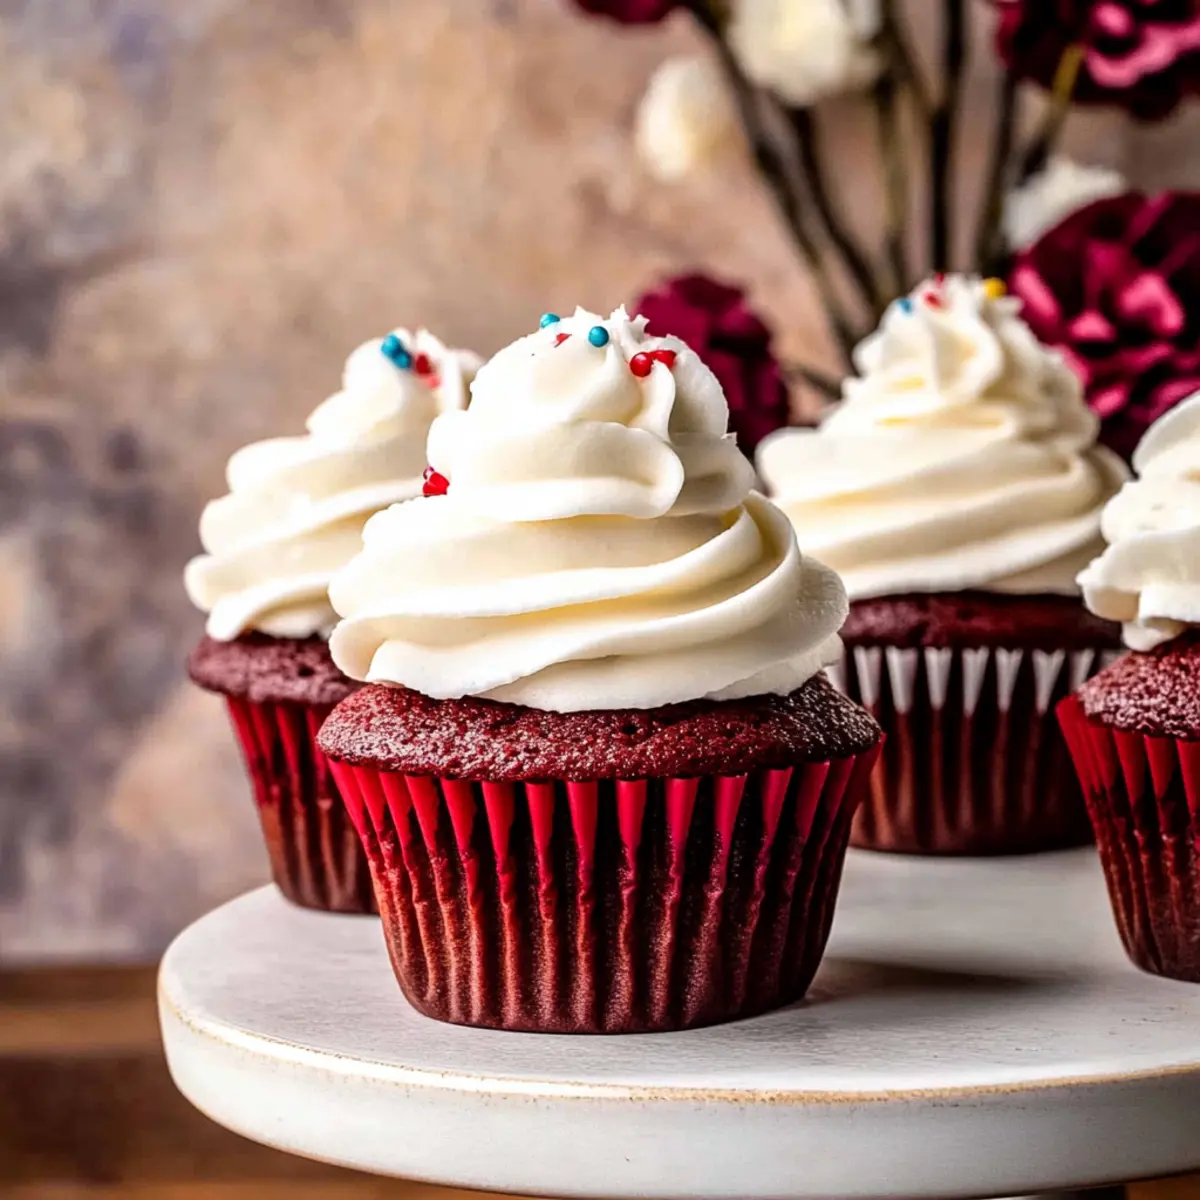
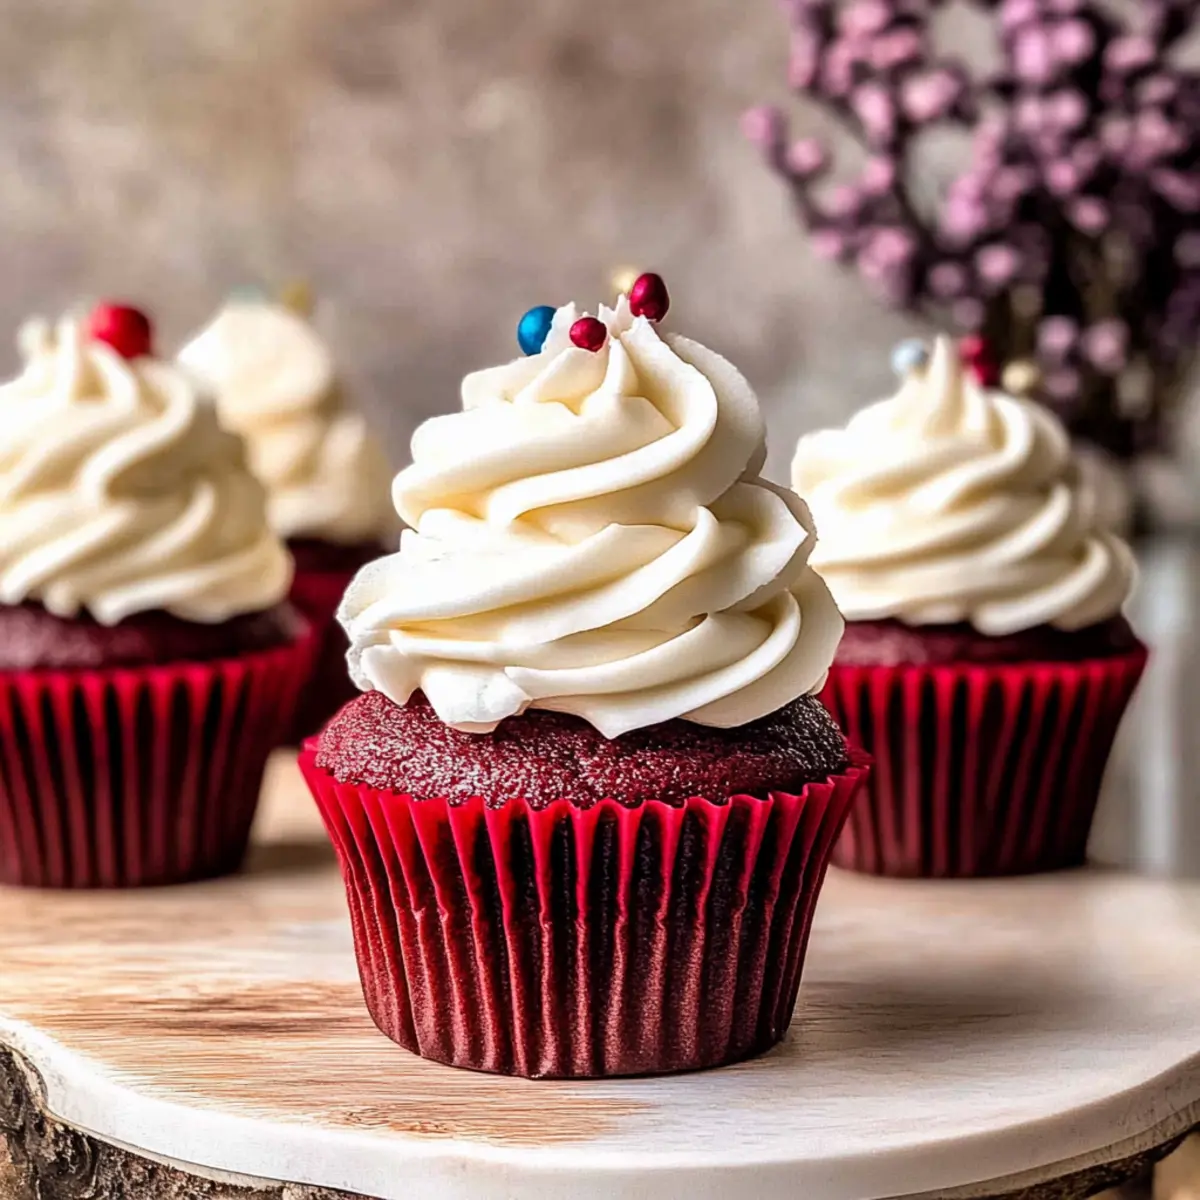
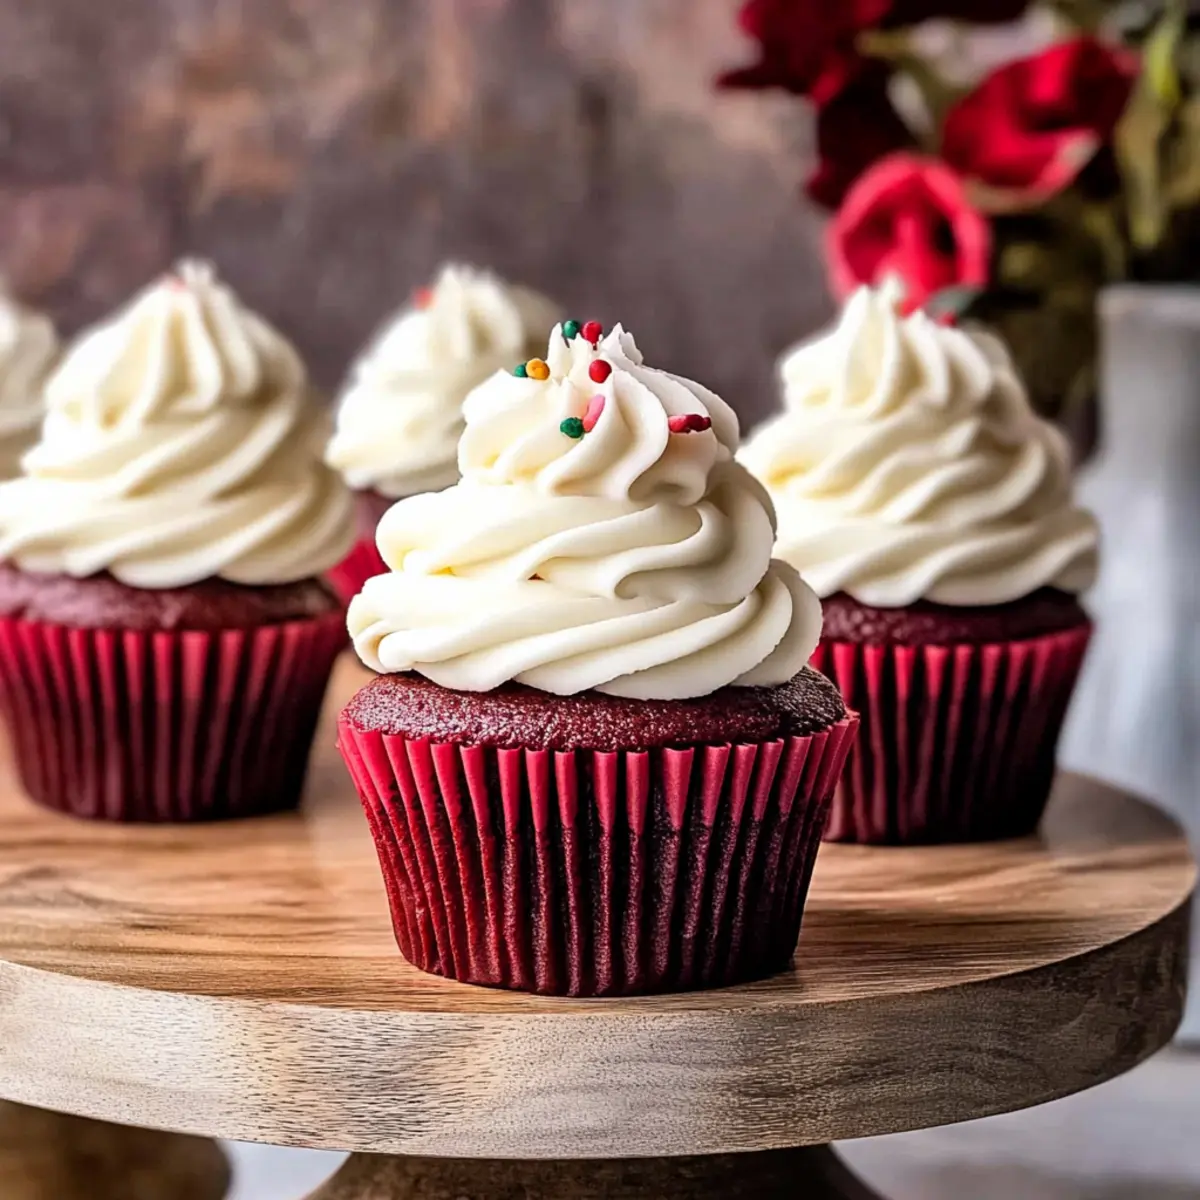
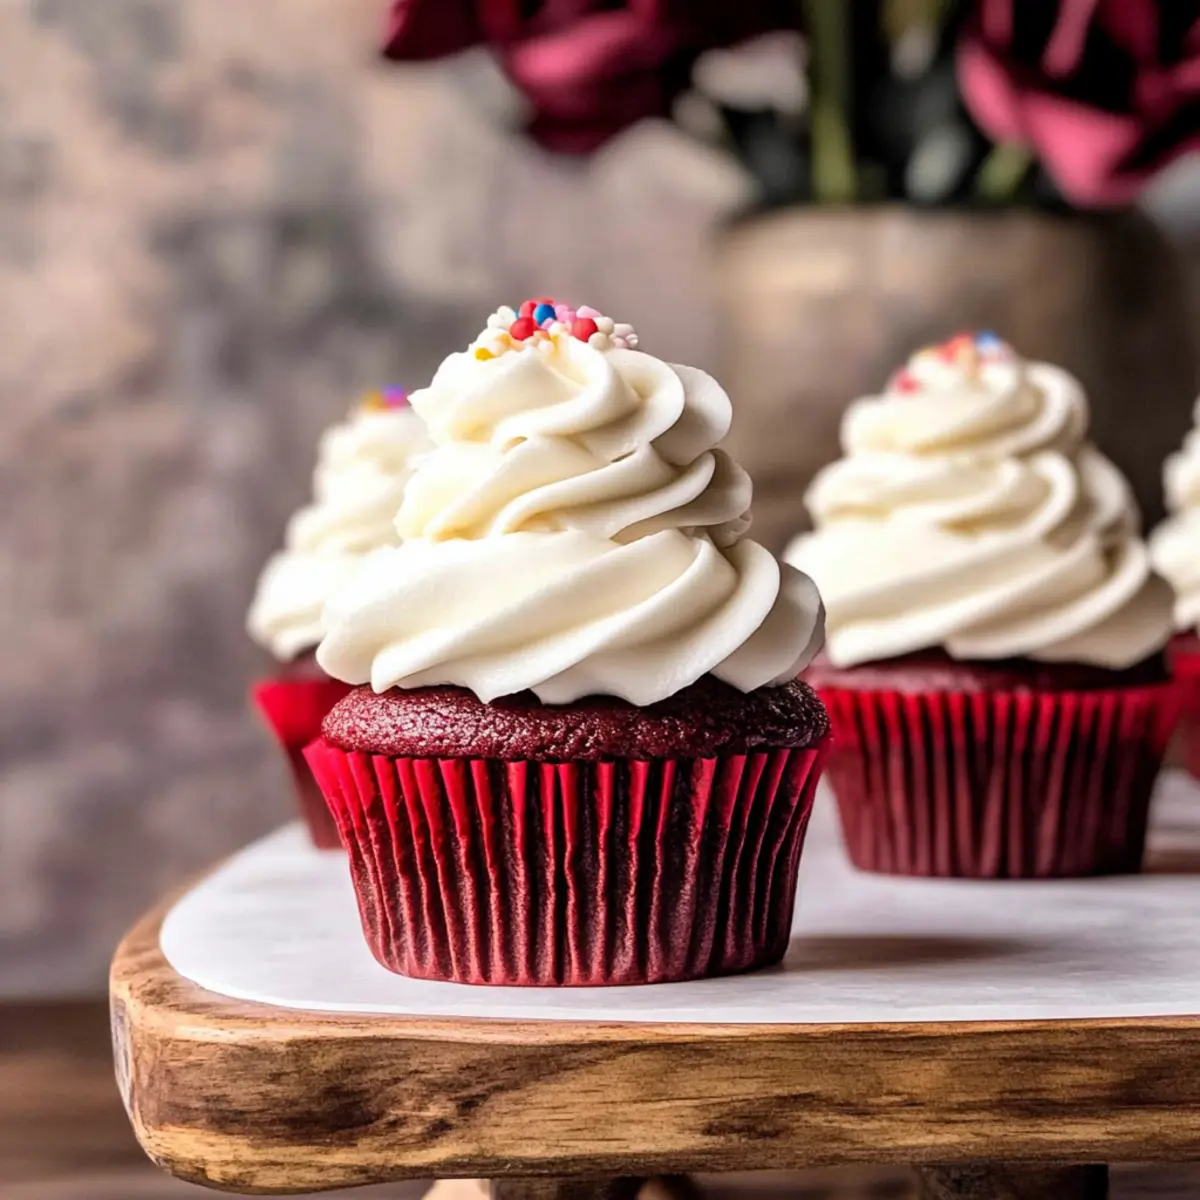
As I sifted through the vibrant red cake flour, I couldn’t help but feel the excitement of creating something special. These Red Velvet Cupcakes are not just any dessert; they are moist, cocoa-infused delights topped with a tangy cream cheese frosting that brings a festive touch to any occasion. Whether you’re planning a romantic date night or celebrating a birthday, these cupcakes are your perfect companion. With their quick prep time and impressive visual appeal, they’re sure to become a staple in your dessert repertoire. Plus, they are freezer-friendly, so you can whip up a batch ahead of time and always be ready for any sweet cravings that come your way. Ready to dive into this delightful baking adventure? Let’s get started!
Why are Red Velvet Cupcakes So Irresistible?
Moisture and Flavor: The secret lies in the rich cocoa-infused batter that produces a soft, delectable texture everyone loves.
Easy to Make: With straightforward steps, you don’t need to be a baking expert to create these delightful cupcakes.
Perfect for Any Occasion: Whether it’s a cozy family gathering or a grand celebration, these cupcakes elevate any dessert table.
Topping Perfection: The tangy cream cheese frosting adds a luxurious finish that balances the sweetness beautifully. And if you’re looking to try something different, consider making Red Lobster Biscuit Chicken Pot Pie for a savory contrast, or whip up 4 Ingredient Gluten Free Chocolate Oat Cookies for a gluten-free treat.
Freeze and Enjoy: Make a batch ahead and freeze them; they’re just as delicious when defrosted! Indulge in these charming cupcakes and watch them disappear in no time.
Red Velvet Cupcake Ingredients
For the Cupcakes
- All-purpose flour – Provides the perfect structure for your red velvet cupcakes; remember to spoon and level for accuracy.
- Cocoa powder (Dutch process) – Adds a subtle chocolate flavor and rich color; you can substitute with regular cocoa, but expect a color shift.
- Baking powder – Ensures your cupcakes rise to fluffy perfection; always check for freshness.
- Baking soda – Works with the acidic elements for a great rise; store it in a cool, dry place to maintain potency.
- Salt – Enhances flavor, an essential ingredient to balance sweetness.
- Unsalted butter – Introduces richness and moisture; make sure it’s softened for effective creaming.
- Granulated sugar – Sweetens and contributes to the texture; adjust for personal taste but keep its importance in mind.
- Egg and egg yolk – Provides moisture and richness; using room temperature is key for blending perfectly.
- Vanilla extract – Infuses warmth; opt for pure vanilla for the best flavor.
- Buttermilk – Ensures moisture and tenderness; make it room temperature or sub with milk plus vinegar or lemon juice.
- Red gel food coloring – Gives your cupcakes that iconic hue; gel is preferable for a deep color punch.
For the Frosting
- Cream cheese (cold) – The star of the frosting with its tangy richness; keep it cold before mixing for ideal texture.
- Powdered sugar – Sweetens and thickens the frosting; sifting ensures a smooth consistency.
- Sprinkles (optional) – Add a festive touch with any color; a little bit of fun never hurts!
Indulging in these red velvet cupcakes means you’re in for a delightful treat. Happy baking!
Step‑by‑Step Instructions for Irresistibly Moist Red Velvet Cupcakes with Cream Cheese Frosting
Step 1: Preheat Your Oven
Begin your baking adventure by preheating your oven to 350°F (175°C). While the oven warms up, prepare your cupcake pan by lining it with 12 cupcake liners. This step is crucial for ensuring your red velvet cupcakes come out easily and maintain their beautiful shape.
Step 2: Mix Dry Ingredients
In a medium bowl, whisk together 1 ½ cups of all-purpose flour, 1 tablespoon of cocoa powder, 1 teaspoon of baking powder, ½ teaspoon of baking soda, and ½ teaspoon of salt. This mix will ensure all dry ingredients are combined evenly, helping your cupcakes rise perfectly. Set this bowl aside for later use.
Step 3: Cream Butter and Sugar
In a large mixing bowl, cream together ½ cup of softened unsalted butter and 1 cup of granulated sugar using an electric mixer on medium speed. Blend the mixture for about 1-2 minutes until it turns light and fluffy. This step introduces air into the mixture, promising a lovely rise and texture in your red velvet cupcakes.
Step 4: Incorporate Eggs and Vanilla
Add 1 large egg, 1 egg yolk, and 1 teaspoon of vanilla extract to the butter and sugar mixture. Beat these ingredients together on medium speed for another 1-2 minutes until the mixture is well blended and smooth. This is where your cupcakes start to develop richness and flavor.
Step 5: Combine Wet and Dry Ingredients
Now, gradually add the dry ingredients from Step 2 to the creamed mixture while alternating with ¾ cup of buttermilk. Start and end with the dry ingredients, mixing gently until just combined. In the final moments, fold in 1 tablespoon of red gel food coloring to achieve that vibrant color that red velvet cupcakes are known for.
Step 6: Fill Cupcake Liners
Using a scoop or spoon, portion the batter into the prepared cupcake liners, filling each about ¾ full. This helps ensure your red velvet cupcakes bake evenly and rise nicely. Place the filled pan in your preheated oven and bake for 17-20 minutes, or until a toothpick inserted in the center comes out clean.
Step 7: Cool the Cupcakes
Once baked, remove the pan from the oven and allow the cupcakes to cool in the pan for about 10 minutes. Afterward, carefully transfer the cupcakes to a wire rack to cool completely. This step is essential for maintaining the moisture and structure of your red velvet cupcakes.
Step 8: Prepare the Cream Cheese Frosting
While the cupcakes are cooling, prepare your cream cheese frosting. In a mixing bowl, beat ½ cup of softened unsalted butter until fluffy, around 5-10 minutes. Then, add 8 ounces of cold cream cheese, mixing until smooth and well incorporated. Finally, sift in 2-3 cups of powdered sugar, combining until you reach a creamy and smooth frosting consistency.
Step 9: Frost the Cupcakes
Once the red velvet cupcakes have cooled completely, fill a piping bag with the cream cheese frosting. Pipe the frosting onto each cupcake generously, forming beautiful swirls. If desired, sprinkle some colorful sprinkles on top for an extra festive touch. Each bite will be a delightful combination of moist cake and rich frosting!
Red Velvet Cupcakes Variations & Substitutions
Feel free to adjust this dreamy recipe to suit your taste buds or dietary needs!
- Gluten-Free: Swap all-purpose flour with a gluten-free blend for a delicious gluten-free treat. Just ensure your baking powder is gluten-free too!
- Mini Cupcakes: Use a mini cupcake pan for bite-sized delights. Adjust baking time to about 10-12 minutes for perfectly sized mini versions!
- Chocolate Chip Twist: Fold in mini chocolate chips for an extra layer of richness that brings a delightful surprise in every bite. Just imagine the blend of flavors!
- Add Nuts: Replace sprinkles with chopped walnuts or pecans for added crunch and a nutty flavor that pairs beautifully with the softness of the cupcake.
- Different Frosting: Get creative by swapping the cream cheese frosting with a vanilla buttercream or a whipped cream topping for a lighter twist.
- Spice it Up: Add a teaspoon of cinnamon or nutmeg into the batter for a warm, spiced flavor that dances on your palate.
- Savory Variation: Consider topping the cupcakes with a faint sprinkle of sea salt or flaked salt for a fun sweet-salty combination that tantalizes your taste buds!
- Vegan Option: For a plant-based version, replace dairy ingredients with almond milk and coconut oil; use flax eggs instead of the egg for a wonderful vegan alternative.
With all these exciting twists, you might even want to plan a cupcake tasting! And if you’re loving the idea of baking but craving something non-sweet as well, don’t miss out on these savory Beef Enchiladas for a complete culinary adventure!
Make Ahead Options
These Red Velvet Cupcakes are perfect for busy cooks looking to save time in the kitchen! You can bake the cupcakes up to 3 days in advance and store them in an airtight container at room temperature to maintain their moisture. If you want to prepare the cream cheese frosting ahead of time, whip it up and keep it chilled in the fridge for up to 24 hours; just remember to let it come to slightly above room temperature before piping. When you’re ready to serve, simply frost the cooled cupcakes and add some festive sprinkles—this way, you’ll have delicious homemade desserts with minimal effort!
What to Serve with Red Velvet Cupcakes
Delight your guests with an array of pairings that elevate the experience of these scrumptious treats.
-
Fresh Berries: The tartness of raspberries or strawberries complements the sweetness, adding a refreshing burst to each bite.
-
Chocolate Covered Strawberries: A decadent duo to savor alongside your cupcakes, they provide a rich and fruity contrast that’s romantic and fun.
-
Mocha Coffee: The robust flavor of coffee enhances the cocoa notes of the cupcakes, creating a harmonious balance that coffee lovers will adore.
-
Milkshakes: A thick, creamy milkshake brings nostalgia and joy, making each cupcake taste even sweeter. Experiment with chocolate or vanilla flavors!
-
Creamy Cheesecake Bites: These little bites act as an indulgent counterpart, providing a rich and silky texture that will melt in your mouth.
-
Mini Fruit Tarts: The crisp crust and tangy fruit filling offer a delightful crunch and a pop of color to your dessert spread.
-
Vanilla Ice Cream: Serve a scoop of vanilla ice cream on the side; its creaminess beautifully contrasts the softness of the red velvet cupcakes, enhancing their overall enjoyment.
-
Lavender Lemonade: This floral and refreshing drink takes the pairing to a whole new level, adding a hint of elegance to your dessert table.
-
Chocolate Ganache: A drizzle of warm ganache enriches each cupcake, intensifying the chocolate flavor while adding a luxurious touch.
-
Nutty Biscotti: Pair with a comforting cup of tea or coffee for a delightful crunch that complements the soft texture of the red velvet cupcakes.
How to Store and Freeze Red Velvet Cupcakes
Room Temperature: Store the red velvet cupcakes in an airtight container at room temperature for up to 3 days. This keeps them moist and delicious.
Fridge: If you’re not enjoying them right away, these cupcakes can be kept in the fridge for up to a week. Let them reach room temperature before serving for the best flavor.
Freezer: Freeze the cupcakes individually in plastic wrap and then place them in an airtight container for up to 3 months. Allow them to thaw at room temperature before frosting or serving.
Reheating: If you prefer warm cupcakes, you can microwave them individually for about 10-15 seconds. Just be careful not to overheat, as they’ll dry out.
Expert Tips for Red Velvet Cupcakes
-
Precision Matters: Use a kitchen scale for accurate measurements; 1 cup of flour should equal 125 grams for perfect cupcakes.
-
Temperature Check: Ensure all wet ingredients, especially the buttermilk and eggs, are at room temperature to avoid gummy textures.
-
Frosting Technique: Keep cream cheese cold while mixing with softened butter. This will maintain structure when piping onto red velvet cupcakes.
-
Oven Quality: Always preheat your oven properly to ensure even baking; inconsistent temperatures can lead to uneven results.
-
Storage Insight: These cupcakes can last up to three days in an airtight container at room temperature. Always allow them to come to room temperature before serving for the best taste.
Red Velvet Cupcakes Recipe FAQs
How do I choose ripe ingredients for Red Velvet Cupcakes?
Absolutely! For the best results, ensure your eggs are at room temperature, as they mix better and contribute to a fluffier texture. For buttermilk, it should also be warmed slightly to around room temperature. This ensures smooth blending of the ingredients. When selecting red gel food coloring, opt for high-quality gel for the deepest color possible.
What is the best way to store Red Velvet Cupcakes?
Store your red velvet cupcakes in an airtight container at room temperature for up to 3 days. If you choose to keep them longer, feel free to refrigerate them for up to a week. Just remember to allow them to come back to room temperature before serving for the best flavor and texture.
Can I freeze Red Velvet Cupcakes?
Certainly! To freeze your cupcakes, start by wrapping each one individually in plastic wrap. Then, place them in an airtight container. They can stay fresh for up to 3 months in the freezer. When you’re ready to enjoy them, simply thaw at room temperature. If desired, frost them after they’ve thawed for the best presentation!
What are some common troubleshooting tips for Red Velvet Cupcakes?
If your cupcakes turn out too dense, it may be due to overmixing or using cold ingredients. Always ensure your wet items are at room temperature and mix until just combined. If they dome up too high or crack, your oven temperature might be too high, so consider using an oven thermometer to ensure consistent heat.
Are Red Velvet Cupcakes safe for those with dietary restrictions?
While these cupcakes contain common allergens like gluten, dairy, and eggs, you can make adjustments for specific dietary needs. Substitute all-purpose flour with a gluten-free blend, and consider using dairy-free butter and cream cheese alternatives. These small changes can help accommodate various diets, but always check specific brands for potential allergens.
Irresistibly Moist Red Velvet Cupcakes with Cream Cheese Frosting
Ingredients
Equipment
Method
- Preheat your oven to 350°F (175°C) and line a cupcake pan with 12 cupcake liners.
- In a medium bowl, whisk together the flour, cocoa powder, baking powder, baking soda, and salt.
- In a large mixing bowl, cream together the softened butter and granulated sugar until light and fluffy.
- Add the egg, egg yolk, and vanilla extract; beat until well blended and smooth.
- Gradually add the dry ingredients to the creamed mixture, alternating with the buttermilk, mixing gently.
- Fold in the red gel food coloring until evenly incorporated.
- Portion the batter into the cupcake liners, filling each about ¾ full. Bake for 17-20 minutes.
- Allow the cupcakes to cool in the pan for 10 minutes before transferring to a wire rack to cool completely.
- To prepare the frosting, beat the softened butter until fluffy, then add the cold cream cheese and beat until smooth.
- Sift in the powdered sugar and mix until creamy and smooth.
- Frost the cooled cupcakes with the cream cheese frosting and add sprinkles if desired.
Leave a Reply