
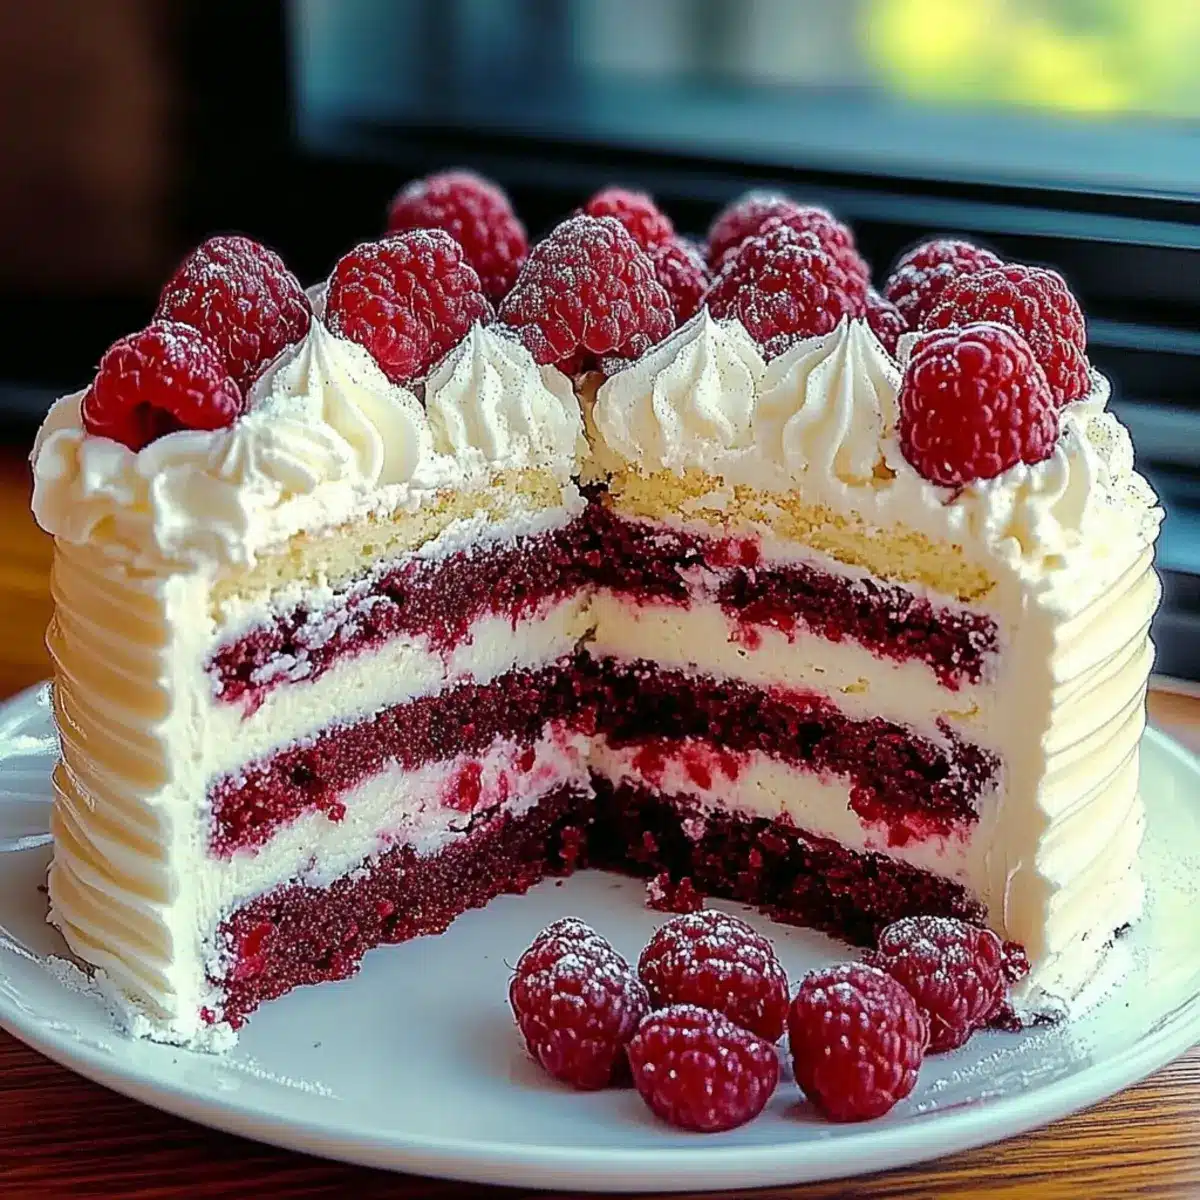
With each slice of the White Chocolate Raspberry Dream Cake, you’re taken on a delightful journey of taste and texture. This stunning dessert pairs the creamy sweetness of white chocolate with the bright, tart notes of fresh raspberries, creating a perfect balance that dances on your palate. Whether you’re a busy home cook looking to impress or simply seeking a comforting treat, this recipe is both simple to whip up and special enough for any occasion. Plus, it’s versatile: easily adjust it for gluten-free diets or swap in your favorite fruits like strawberries or blueberries for a fun twist. Curious how to create this impressive cake and bring a touch of indulgence to your homemade desserts? Let’s dive into the details!
Why Is This Cake So Irresistible?
Indulgent Flavors: The blend of creamy white chocolate and tart raspberries creates a delightful dessert experience that’s hard to resist.
Versatile Options: Easily adaptable for gluten-free diets or fruit preferences, swap in strawberries or blueberries to suit your taste.
Simple Steps: Perfect for busy cooks, this cake comes together effortlessly without compromising on elegance.
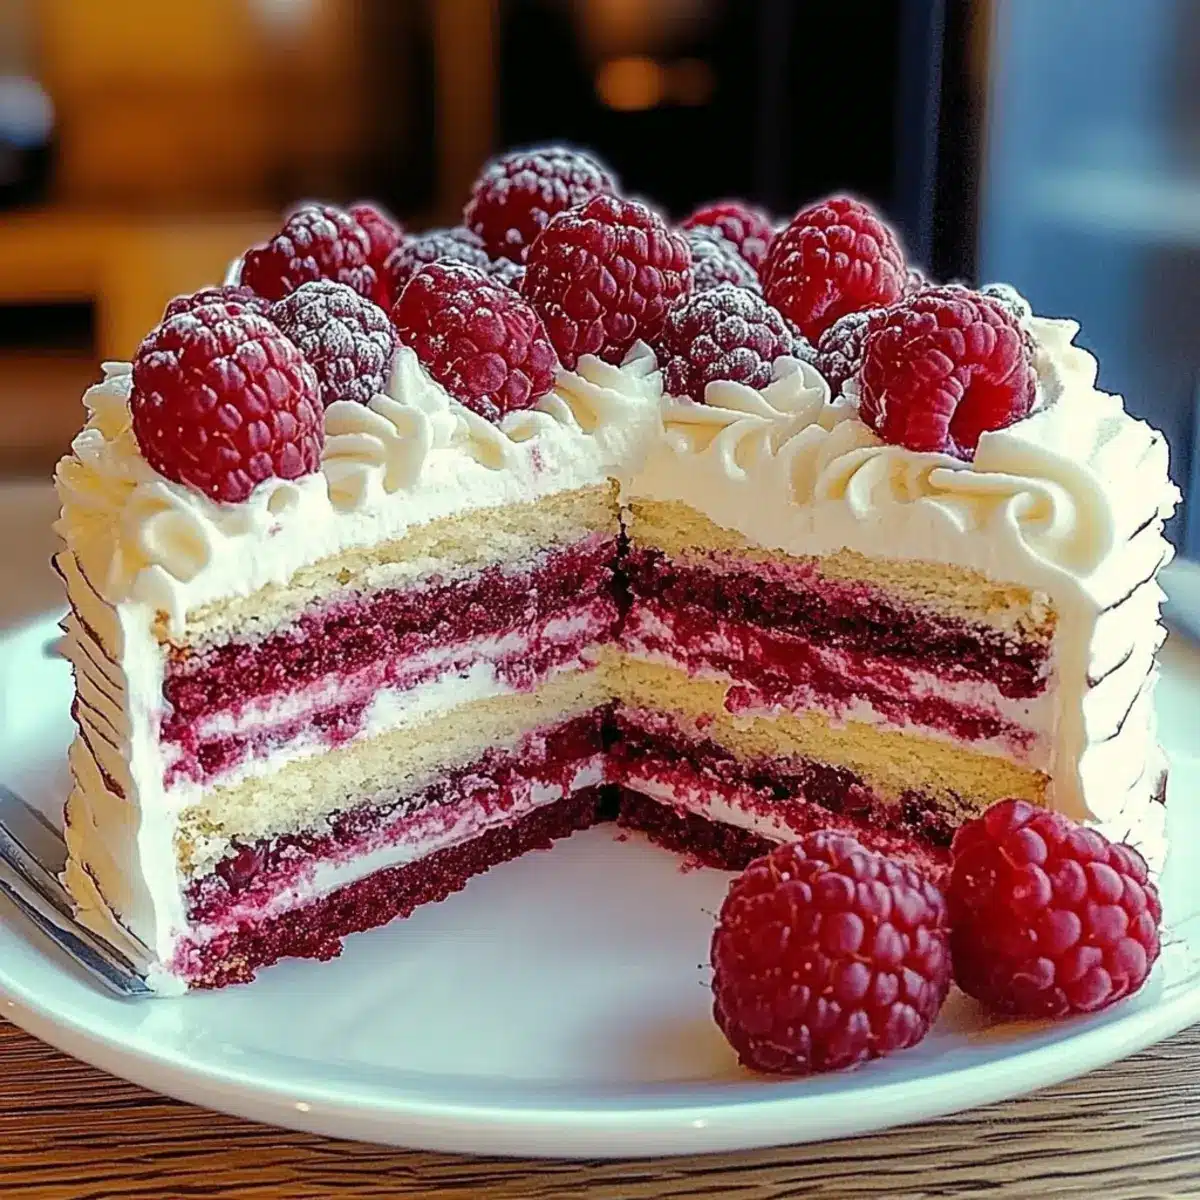
Showstopping Presentation: Its stunning layers and toppings make it a centerpiece for any gathering, sure to impress friends and family.
Decadent Texture: Enjoy every slice, featuring a light, airy cake crowned with a luscious whipped cream frosting. Don’t miss out on pairing it with a delightful scoop of vanilla ice cream or check out our Soft Batch Chocolate for even more sweet inspiration!
White Chocolate Raspberry Dream Cake Ingredients
For the Cake
- All-purpose flour – Provides structure and stability. Substitution: Use a gluten-free flour blend for a gluten-free version.
- Granulated sugar – Adds sweetness to balance the tang of raspberries. Can reduce by ¼ cup for a less sweet flavor.
- Unsalted butter – Contributes to the cake’s moisture and richness. Make sure it’s softened for easy creaming.
- Milk – Keeps the cake moist and tender. No direct substitutions mentioned, but can use a dairy alternative for lactose-free.
- Large eggs – Binds ingredients together and helps with leavening. Ensure eggs are at room temperature for even mixing.
- Baking powder – Provides leavening to help the cake rise. Ensure it’s fresh for best results.
- Vanilla extract – Enhances flavors with aromatic notes. Consider using high-quality pure vanilla for the best flavor.
- Salt – Balances sweetness and enhances flavors. Essential even in sweet recipes.
For the Mix-Ins
- White chocolate chips – Adds rich sweetness and creamy texture. Chop a white chocolate bar as a substitute if chips are unavailable.
- Fresh raspberries – Provides tartness and moisture. Frozen raspberries are a suitable alternative but must be thawed and drained to avoid excess moisture.
For the Frosting
- Heavy whipping cream – Used for frosting, adds creaminess. Ensure it’s cold for better whipping results.
- Powdered sugar – Sweetens the whipped cream frosting, ensuring a smooth finish. Important for achieving the right frosting consistency.
- Vanilla extract (for whipped cream) – Adds additional flavor to the frosting. Use pure extract for optimal taste.
Step‑by‑Step Instructions for White Chocolate Raspberry Dream Cake
Step 1: Preheat the Oven and Prepare Pans
Begin by preheating your oven to 350°F (175°C). While it warms up, grease and flour two 9-inch round cake pans, ensuring an even distribution of flour to prevent sticking. This crucial step will set you up for easy cake removal once baked.
Step 2: Cream Butter and Sugar
In a large mixing bowl, combine softened unsalted butter with granulated sugar. Use an electric mixer to cream the mixture on medium speed until it’s light and fluffy, about 3-5 minutes. The color will change to a pale yellow, indicating that the air has been incorporated for a soft, tender White Chocolate Raspberry Dream Cake.
Step 3: Incorporate the Eggs and Vanilla
Crack the large eggs into the creamed mixture, one at a time, mixing well after each addition to ensure they are fully incorporated. Stir in pure vanilla extract, allowing its aromatic flavors to meld with the butter and sugar. You should notice the batter becoming richer and creamier after this step.
Step 4: Combine Dry Ingredients
In a separate bowl, whisk together all-purpose flour, baking powder, and salt until evenly mixed. This ensures an even distribution of leavening agents in your cake. Gradually add this dry mixture to the wet ingredients, alternating with milk, starting and ending with the flour mixture, and mixing until just combined to maintain that fluffy texture.
Step 5: Fold in Chocolate and Raspberries
Gently fold in the white chocolate chips and fresh raspberries into the batter using a spatula. Be careful not to overmix or crush the raspberries, retaining their shape for a delightful burst of flavor in your White Chocolate Raspberry Dream Cake. The white chocolate will add richness, while the raspberries bring a tangy freshness.
Step 6: Bake the Cake Layers
Evenly divide the batter between the prepared cake pans. Place them in the preheated oven and bake for 25-30 minutes, or until a toothpick inserted into the center comes out clean. You’ll know they are done when the cakes are golden brown and begin to pull away from the edges of the pans.
Step 7: Cool the Cakes
Once baked, remove the pans from the oven and let them cool in the pans for about 10 minutes. After that, carefully transfer the layers to a wire rack to cool completely. This cooling step is crucial for avoiding a soggy cake when you start frosting your White Chocolate Raspberry Dream Cake.
Step 8: Prepare the Frosting
For the luscious frosting, combine cold heavy whipping cream, powdered sugar, and a splash of vanilla extract in a mixing bowl. Using a hand mixer or stand mixer, beat on medium-high until soft peaks form, which should take about 3-5 minutes. The frosting should be fluffy and hold its shape, perfect for covering your dream cake.
Step 9: Assemble the Cake
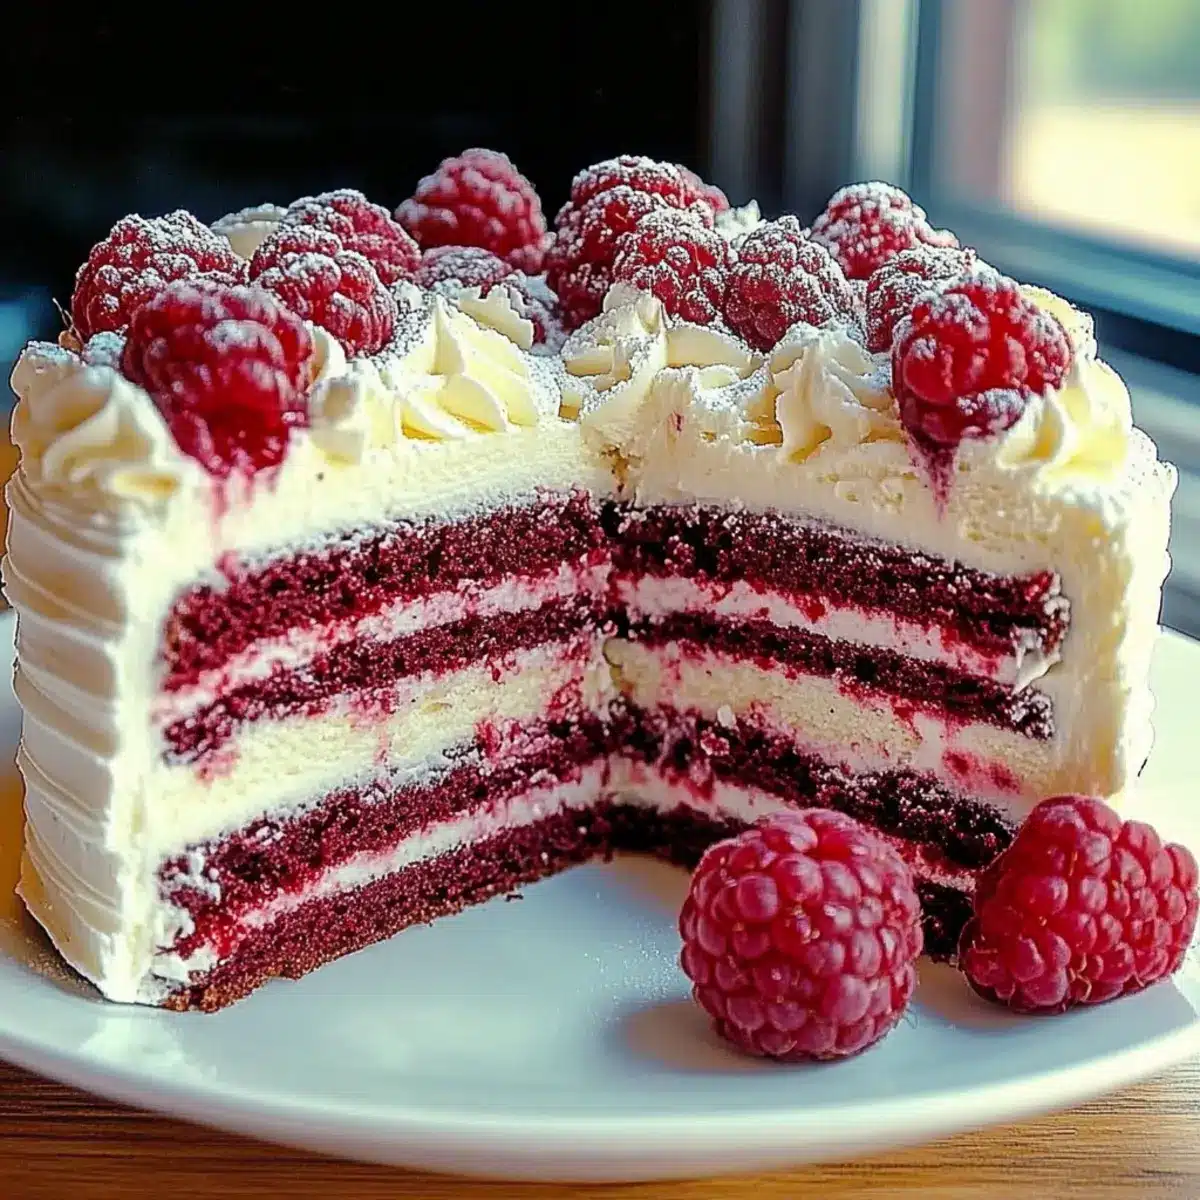
Place one layer of the cooled cake on a serving plate. Spread a generous layer of the whipped cream frosting over the top. Carefully position the second layer on top and cover the entire cake with the remaining frosting, smoothing it out for a beautiful finish that highlights the White Chocolate Raspberry Dream Cake’s deliciousness.
Step 10: Garnish and Serve
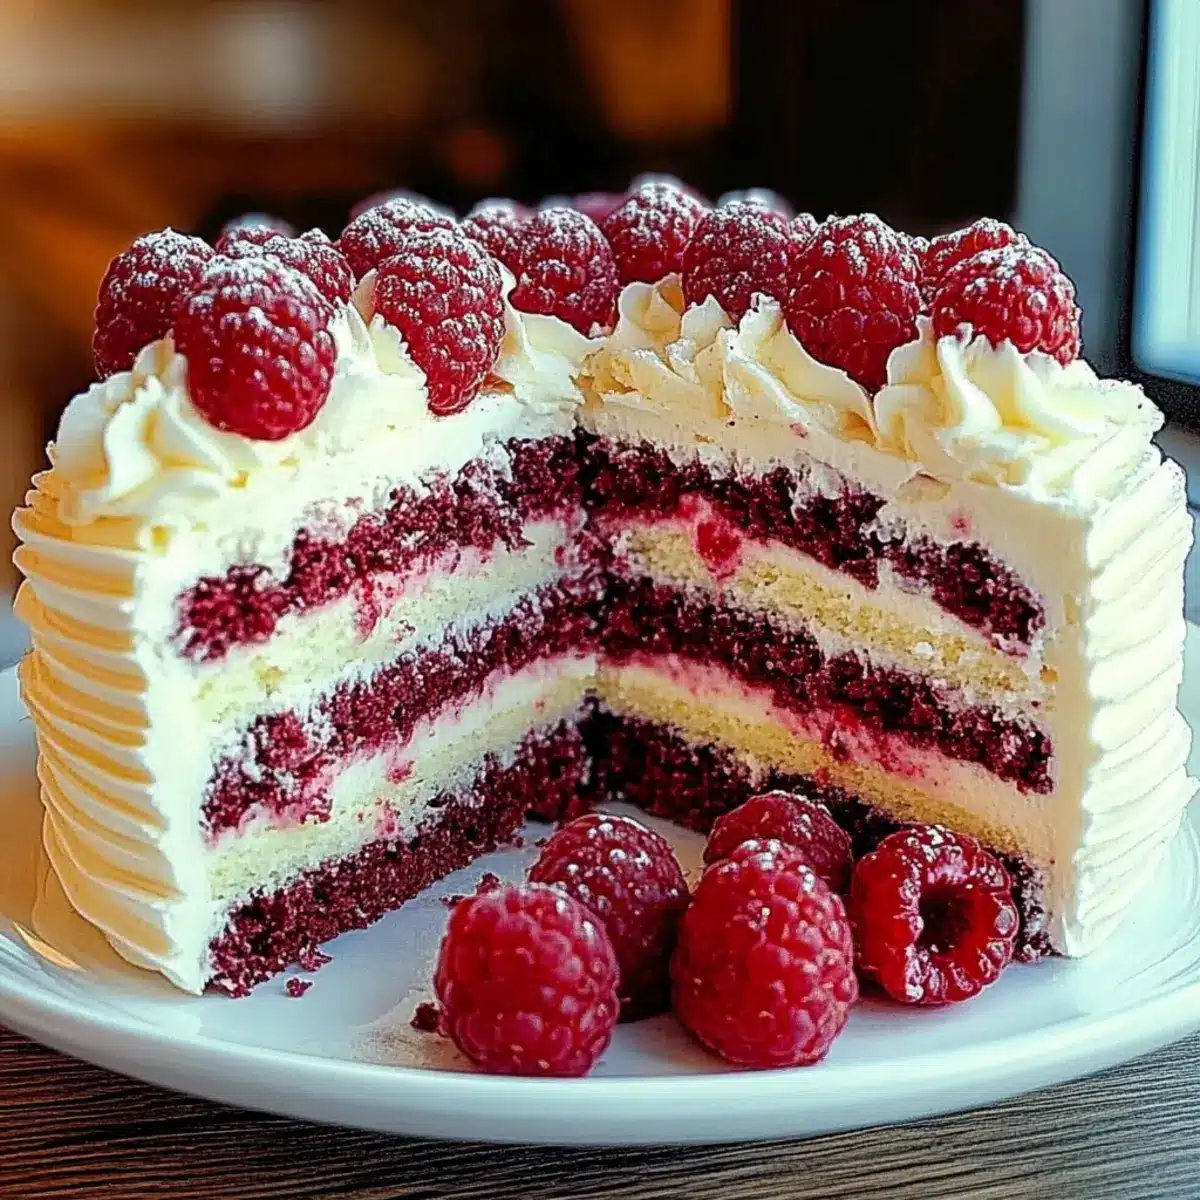
To elevate your cake, garnish the top with fresh raspberries and white chocolate shavings, if desired. This adds a pop of color and extra indulgence. Slice and serve your masterpiece chilled, enjoying the delightful combination of creamy and fruity flavors that make this cake truly irresistible.
White Chocolate Raspberry Dream Cake Variations
Feel free to let your creativity shine and customize this delightful cake to suit your taste buds!
- Gluten-Free: Use a high-quality gluten-free flour blend to enjoy the same fluffy texture without gluten.
- Berry Swap: Replace raspberries with strawberries or blueberries for a completely different fruity flavor profile.
- Flavor Boost: Add a tablespoon of raspberry puree in between the cake layers for an extra burst of flavor.
- Chocolate Twist: Experiment with chocolate frosting instead of whipped cream for a richer taste experience.
- Cream Cheese Frosting: Swap whipped cream for cream cheese frosting for a tangy depth that beautifully complements the sweetness.
- Minty Fresh: Incorporate some finely chopped mint leaves into the frosting for a refreshing herbal note.
- Layered Indulgence: Add layers of crushed cookies or graham crackers between the cake for a delightful texture contrast.
- Spicy Kick: Introduce a pinch of cayenne pepper or cinnamon to the batter for a surprising spicy undertone.
No matter how you choose to make this cake your own, it’s sure to leave an unforgettable impression. And don’t forget, this cake pairs wonderfully with a cup of Whipped Hot Chocolate or as a sweet treat alongside our French Chocolate Flan for a complete dessert experience!
Expert Tips for White Chocolate Raspberry Dream Cake
-
Soften Your Butter: Make sure your unsalted butter is completely softened. This helps create a light, airy batter that ensures your White Chocolate Raspberry Dream Cake rises beautifully.
-
Handle the Raspberries Gently: When folding in the raspberries, be careful not to crush them. This preserves their shape and gives delightful bursts of tartness throughout the cake.
-
Don’t Overmix: Mix the batter just until the ingredients are combined. Overmixing can lead to a dense cake texture instead of the lightness you desire.
-
Cool Before Frosting: Ensure your cake layers are completely cool before adding the frosting. Frosting a warm cake may cause the whipped cream to melt, affecting the overall presentation.
-
Adapt for Dietary Needs: If you’re making a gluten-free version, use a high-quality gluten-free flour blend to achieve similar results while keeping your cake deliciously soft and fluffy.
What to Serve with White Chocolate Raspberry Dream Cake
Elevate your dessert experience by pairing this gorgeous cake with delightful accompaniments that enhance its flavors.
-
Vanilla Ice Cream: The creamy richness of vanilla ice cream complements the cake’s sweet white chocolate and tart raspberries, creating a heavenly bite.
-
Fresh Berries: A medley of fresh strawberries, blueberries, and raspberries on the side adds a burst of flavor and vibrant color, enhancing the cake’s berry sweetness.
-
Mint Leaves: A few fresh mint leaves can give a refreshing contrast, brightening each bite and adding an aromatic touch that pairs beautifully with the cake’s creamy texture.
-
Chocolate Ganache: A rich chocolate ganache drizzled over the cake provides a decadent element, combining the sweet chocolate notes with a hint of dark richness.
-
Lemon Curd: The tartness of lemon curd serves as a zesty contrast to the cake’s indulgence, balancing the sweetness with a tangy kick that awakens the palate.
-
Sparkling Wine: A glass of crisp sparkling wine brings a celebratory feel, effervescing in your mouth and cutting through the richness of the cake, perfect for special occasions.
Storage Tips for White Chocolate Raspberry Dream Cake
- Room Temperature: If you plan to enjoy your cake within 1-2 days, store it in a cool, dry place covered with a cake dome or plastic wrap to keep it moist.
- Fridge: For up to 3 days, place your White Chocolate Raspberry Dream Cake in an airtight container to prevent it from drying out while allowing flavors to meld beautifully.
- Freezer: To preserve freshness for longer, freeze unfrosted cake layers wrapped tightly in plastic wrap and then aluminum foil for up to 3 months.
- Reheating: If frozen, thaw the cake layers overnight in the fridge and assemble with frosting once fully thawed. Enjoy as a delightful dessert moment any time!
Make Ahead Options
Preparing the White Chocolate Raspberry Dream Cake ahead of time is a fantastic strategy for busy home cooks looking to save some time without sacrificing flavor. You can mix the cake batter and refrigerate it for up to 24 hours before baking; just be sure to cover it tightly to avoid drying out. The baked cake layers can be made ahead as well; wrap them in plastic wrap and refrigerate for up to 3 days or freeze for longer storage. To maintain quality, allow the cake to cool completely before wrapping. When you’re ready to serve, simply frost with your whipped cream and garnish for a deliciously fresh dessert that’s just as delightful as when made fresh!
White Chocolate Raspberry Dream Cake Recipe FAQs
How should I choose the raspberries for the cake?
Absolutely! When selecting fresh raspberries, look for plump, bright berries with no dark spots or mushiness. The best raspberries should be fragrant and firm to the touch, indicating they’re ripe and ready to provide that wonderful tartness to your White Chocolate Raspberry Dream Cake.
How long can I store leftovers of the cake?
You can store your White Chocolate Raspberry Dream Cake in an airtight container in the refrigerator for up to 3 days. Make sure it’s well-covered to prevent it from drying out. It’s a great way to enjoy a sweet treat over a few days – if it lasts that long, that is!
Can I freeze the cake for later use?
Yes, indeed! To freeze your White Chocolate Raspberry Dream Cake, I recommend freezing the unfrosted layers. Wrap each layer tightly in plastic wrap, followed by aluminum foil, and they can last up to 3 months in the freezer. When you’re ready to serve, simply thaw them overnight in the refrigerator before frosting and assembling for a lovely dessert.
What if my cake is too dense?
Very! If your White Chocolate Raspberry Dream Cake turns out too dense, it could be due to overmixing after adding the flour. To avoid this next time, mix until just combined. Also, ensure that your baking powder is fresh, as old leavening agents can lead to a less fluffy cake.
Are there any dietary considerations I need to know about?
Definitely! If you’re catering to gluten sensitivities, you can substitute all-purpose flour with a high-quality gluten-free flour blend. Just ensure that you read the labels for any potential allergens and verify other ingredients, like white chocolate, to find options that suit your dietary needs.
What if I have leftovers; can I repurpose or mix in fruit?
Yes, the more the merrier! If you find yourself with leftover cake, you can repurpose it by crumbling the leftover slices into parfaits with yogurt and more fresh fruit or even turning them into cake pops. Additionally, if you’d like, feel free to mix in your favorite fruits such as strawberries or blueberries for a flavorful twist!
White Chocolate Raspberry Dream Cake – A Slice of Bliss
Ingredients
Equipment
Method
- Preheat your oven to 350°F (175°C). Grease and flour two 9-inch round cake pans.
- In a large mixing bowl, cream softened unsalted butter with granulated sugar until light and fluffy, about 3-5 minutes.
- Incorporate the eggs, one at a time, mixing well after each addition, then stir in vanilla extract.
- Whisk together flour, baking powder, and salt in a separate bowl. Gradually add dry mixture to wet ingredients, alternating with milk.
- Fold in white chocolate chips and raspberries gently with a spatula.
- Divide the batter between the prepared pans and bake for 25-30 minutes or until golden brown.
- Cool the cakes in the pans for about 10 minutes, then transfer to a wire rack to cool completely.
- Whip together heavy cream, powdered sugar, and vanilla extract until soft peaks form.
- Assemble the cake by spreading frosting between layers and around the entire cake.
- Garnish with fresh raspberries and white chocolate shavings before serving.
Leave a Reply