
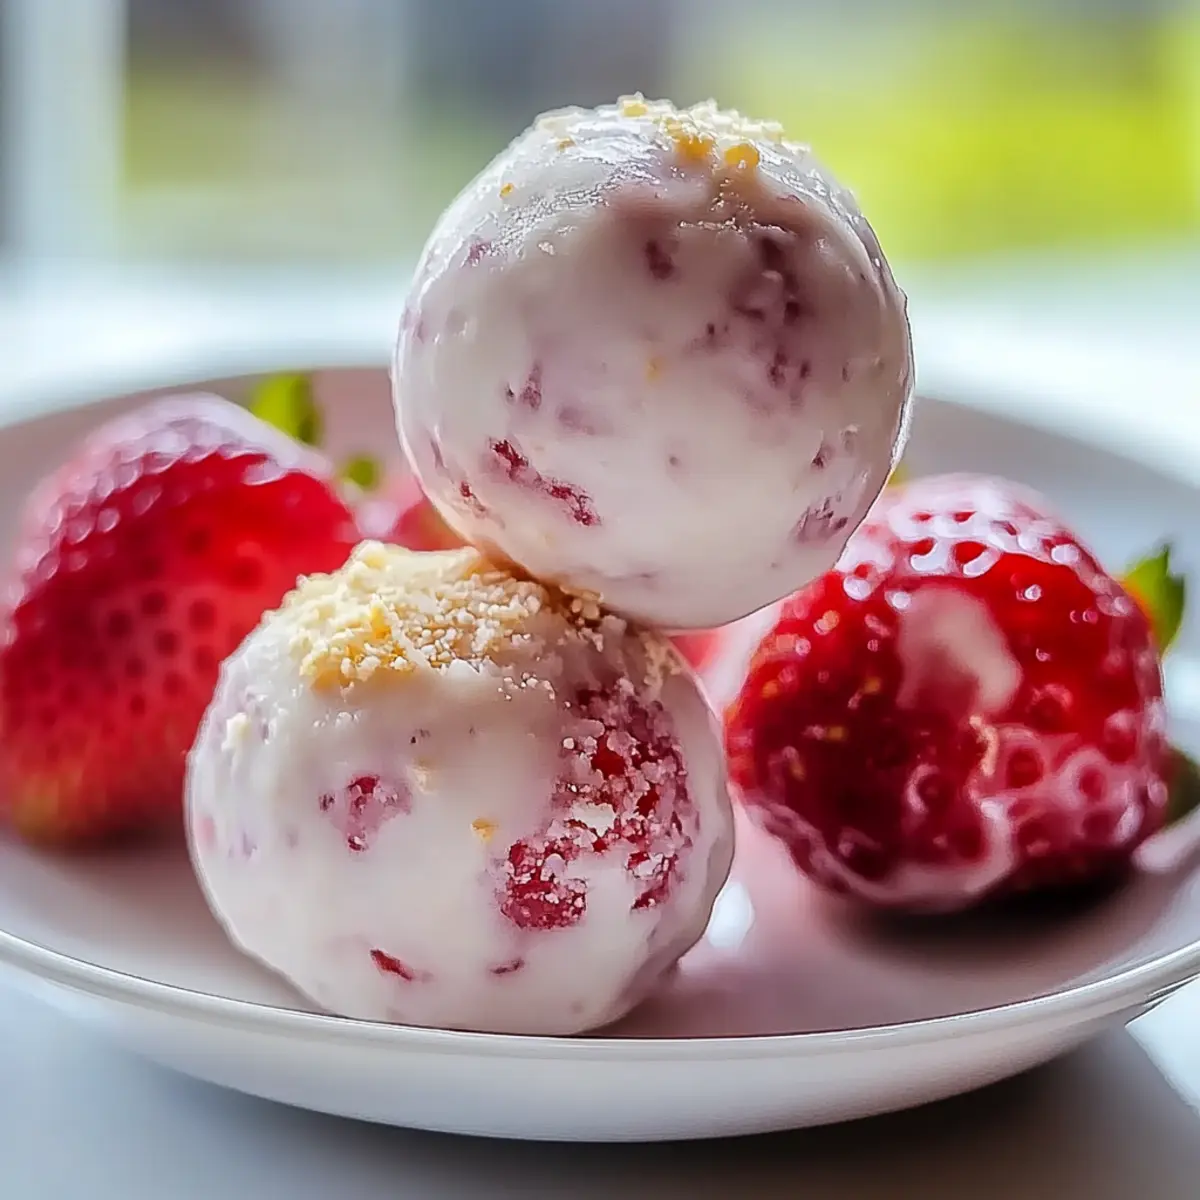
As I stood at my kitchen counter, a dreamy vision of summer’s vibrant strawberries flooded my mind. The allure of no-bake Strawberry Cheesecake Protein Balls became irresistible, promising a snack that’s not only delicious but also healthy. These delightful bites are perfect for those moments when you crave a sweet treat but want to stay on the nutritious side of life. Packed with protein and customizable to your heart’s content, they’re ideal for a post-workout boost or a late-night indulgence without the guilt. Plus, quick to prepare and easy to store, they’ll soon become your new go-to snack. Ready to dive into a world where indulgence meets health? Let’s explore how to whip up these delightful protein-packed morsels!
Why are Strawberry Cheesecake Protein Balls a must-try?
Irresistible Flavor: These protein balls capture the essence of strawberry cheesecake in every bite!
No Baking Required: Say goodbye to the oven! This no-bake recipe is quick and perfect for those busy days.
Customizable Goodness: Switch up the ingredients! With easy substitutions like almond butter for peanut butter, you can make them your own.
Perfect for Any Time: Ideal for a post-workout snack, dessert, or even breakfast on-the-go. They’ll satisfy your cravings with a healthy twist.
Nutrient-Packed: With around 100 calories and 6g of protein per ball, you can indulge while staying on track.
Whether you’re looking for an easy treat or a nutritional boost, these Strawberry Cheesecake Protein Balls will fit perfectly into your lifestyle. For more delightful recipes, check out Butterfinger Balls Decadent or Baked Broccoli Cheese Balls!
Strawberry Cheesecake Protein Balls Ingredients
For the Base
• Rolled Oats – Acts as the base, providing structure; substitute with ground oats or almond meal for variation.
• Protein Powder – Adds protein content; swap with your favorite flavor for a personalized touch.
• Almond Butter – Functions as a binding agent and adds creaminess; peanut butter can be used as an alternative.
For Sweetness and Flavor
• Honey – Natural sweetener that helps in binding; maple syrup can be an option for vegan diets.
• Strawberries – Fresh ingredient that infuses natural sweetness and flavor; frozen strawberries should be well-drained before mixing.
• Cream Cheese – Contributes creaminess and cheesecake flavor; for a lighter version, use low-fat cream cheese or Greek yogurt.
These delightful Strawberry Cheesecake Protein Balls are not only nutritious but also incredibly adaptable, ensuring everyone gets to enjoy them their way!
Step‑by‑Step Instructions for Strawberry Cheesecake Protein Balls
Step 1: Combine Dry Ingredients
In a large mixing bowl, combine rolled oats and your choice of protein powder. Stir them together until they are well integrated and there are no clumps. This will create a sturdy base for your Strawberry Cheesecake Protein Balls. The mixture should be dry and evenly combined, setting the stage for the next steps.
Step 2: Add Wet Ingredients
Next, introduce the creamy almond butter and natural honey into the dry mixture. Using a sturdy spatula or spoon, mix everything together until it forms a thick, dough-like consistency. This process should take about 2-3 minutes, and the mixture will start to hold together nicely, making it easier to shape.
Step 3: Incorporate Fillings
Gently fold in the chopped strawberries and softened cream cheese into your thick dough. Ensure the strawberries are evenly distributed throughout the mixture for bursts of flavor in each ball. This step will require about 1-2 minutes of gentle folding until the strawberries are surrounded by the creamy cheesecake blend, enhancing the taste of your Strawberry Cheesecake Protein Balls.
Step 4: Shape Balls
With clean hands, start forming the mixture into 1-inch balls. Roll each portion between your palms until they are smooth and even. This step may take around 5 minutes, and it’s best to work quickly as the mixture might get sticky. If needed, wet your hands slightly to handle the dough more easily.
Step 5: Chill
Once all the balls are shaped, place them on a parchment-lined baking sheet, leaving a little space between each one. Refrigerate the tray for at least 30 minutes. This chilling time will allow the Strawberry Cheesecake Protein Balls to firm up, making them easier to enjoy and giving the flavors time to meld beautifully.
What to Serve with Strawberry Cheesecake Protein Balls?
These delightful bites are perfect companions for elevating your healthy snack experience.
-
Creamy Yogurt Parfait: Layer yogurt with fresh berries for a refreshing contrast, enhancing the fruity flavors of your protein balls.
-
Green Smoothie: A blended mix of spinach, banana, and almond milk introduces earthy greens to balance sweetness, making your snack both nourishing and refreshing.
-
Nutty Granola: A sprinkle of crunchy granola adds texture and pairs beautifully with the smooth protein balls for a satisfying bite.
-
Fresh Fruit Salad: Combining seasonal fruits like kiwi, pineapple, and blueberries creates vibrant color and brightness that complements the strawberry notes.
-
Chilled Herbal Tea: A refreshing glass of mint or chamomile tea provides a calming balance, perfect for a cozy snack break.
-
Dark Chocolate Dipped Strawberries: Indulge your sweet tooth! The rich, slightly bitter chocolate adds a luxurious touch to your healthy snack.
-
Honey Drizzle: A light drizzle of honey on top of the yogurt or fruit enhances natural sweetness, making every bite feel indulgent.
-
Almond Milk: Pair with a glass of smooth almond milk, amplifying the nutty flavors while keeping your snack light and wholesome.
-
Coconut Chips: Crunchy, toasted coconut chips introduce a tropical twist that plays well with the cheesecake flavor of the protein balls.
Strawberry Cheesecake Protein Balls Variations
Feel free to get creative with these delightful protein balls and make them your own!
- Nut-Free: Swap almond butter for sunflower seed butter to cater to nut allergies while keeping that creamy texture.
- Chocolate Lovers: Add a handful of dark chocolate chips into the mix for a rich chocolatey twist that’s sure to delight every sweet tooth. A touch of cocoa powder can also elevate the flavor.
- Coconut Bliss: Roll the finished balls in shredded coconut for a tropical touch; it adds an enticing crunch and lovely island vibes.
- Berry Medley: Replace strawberries with other berries like blueberries or raspberries for a different fruity flavor profile; the vibrant colors will make your protein balls pop!
- Extra Creamy: Use Greek yogurt instead of cream cheese for a lighter texture and a protein boost, perfect if you want a tangy zing in each bite.
- Spiced Up: Add a pinch of cinnamon or nutmeg to the oat mixture to introduce warm spices that resonate beautifully with the cheesecake flavor.
- Healthy Fats: Mix in a tablespoon of chia seeds or flaxseeds for an added crunch and a booster of healthy fats and fiber, perfect for a heart-healthy snack.
- Crispy Coating: For a fun twist, dip the balls in a layer of melted dark chocolate and let them set in the fridge for an indulgent treat—think of them like mini chocolate-covered cheesecakes!
By customizing these Strawberry Cheesecake Protein Balls, you can make them fit your taste or dietary needs perfectly. Enjoy exploring the different flavor combinations! For some more fun protein-packed treats, try out Protein Pudding Indulge or the creamy Salted Caramel Cheesecake for additional sweet inspiration.
Make Ahead Options
These Strawberry Cheesecake Protein Balls are a fantastic option for meal prep enthusiasts! You can prepare the mixture up to 24 hours in advance and store it in the refrigerator. Simply combine your rolled oats, protein powder, almond butter, and honey, then cover it tightly to maintain freshness. You can also chop the strawberries and soften the cream cheese ahead of time, storing them separately until you’re ready to incorporate them. When you’re prepared to serve, just mix in the strawberries and cream cheese, shape the balls, and chill them for about 30 minutes before enjoying. This method saves you time on busy days while ensuring your protein balls are just as delicious!
Expert Tips for Strawberry Cheesecake Protein Balls
-
Accurate Measurements: Make sure to measure ingredients properly. This precision ensures optimal texture and taste for your Strawberry Cheesecake Protein Balls.
-
Food Processor Shortcut: Use a food processor to mix all the ingredients. It saves time and blends everything evenly, creating a smoother dough.
-
Sticky Fingers Solution: If your hands get sticky while rolling, wet them slightly. This trick will help you shape the balls without the mix sticking to your fingers.
-
Chilling is Key: Don’t skip the chilling step! It enhances the flavors and helps the balls hold their shape, making them easier to eat.
-
Versatile Storage: Store your protein balls in an airtight container in the fridge for up to a week, or freeze them for longer-lasting snacks!
How to Store and Freeze Strawberry Cheesecake Protein Balls
Fridge: Store your Strawberry Cheesecake Protein Balls in an airtight container in the refrigerator for up to 1 week, maintaining their chewy texture and flavor.
Freezer: For longer storage, freeze the protein balls in a single layer on a baking sheet, then transfer to a freezer-safe bag or container. They will last for up to 3 months.
Thawing: When ready to enjoy, simply remove the desired amount and let them thaw in the fridge for a few hours or on the countertop for about 30 minutes.
Reheating: If you prefer them slightly warm, microwave them for about 10-15 seconds—just enough to enjoy that delightful creamy texture!
Strawberry Cheesecake Protein Balls Recipe FAQs
What type of strawberries should I use?
Absolutely! Fresh strawberries are ideal as they bring a burst of natural sweetness and flavor to your protein balls. If using frozen strawberries, make sure they are well-drained and chopped to prevent excess moisture that might alter the texture of your mix.
How should I store Strawberry Cheesecake Protein Balls?
For optimal freshness, store your Strawberry Cheesecake Protein Balls in an airtight container in the refrigerator for up to a week. This method helps maintain their soft and chewy texture. If you want to enjoy them longer, you can freeze them; they’ll keep well for up to 3 months in a freezer-safe bag or container.
Can I freeze Strawberry Cheesecake Protein Balls?
Yes! To freeze, first place the protein balls in a single layer on a baking sheet, ensuring they don’t touch. Once frozen solid, transfer them to a freezer-safe bag or container. When you’re ready to indulge, just take out the desired amount and let them thaw in the refrigerator for a few hours or on the countertop for about 30 minutes.
What if my mixture is too sticky to roll into balls?
Don’t worry! If you find that your mixture is a bit too sticky, I recommend wetting your hands slightly before rolling the balls. This simple trick can help the mixture slip off your fingers more easily, making it a breeze to shape them. You can also chill the dough for about 15 minutes to help firm it up.
Are there any dietary considerations I should be aware of?
Very! If you have nut allergies, consider swapping almond butter for sunflower seed butter. Additionally, for a vegan option, you can use maple syrup instead of honey and choose a non-dairy cream cheese alternative. Always check labels if you or your friends have specific dietary restrictions.
How can I customize my Strawberry Cheesecake Protein Balls?
The more the merrier! You can easily personalize your protein balls by using different protein powder flavors, adding chocolate chips, or incorporating different fruits like blueberries or raspberries for a tasty twist. Don’t hesitate to get creative with your ingredients to fit your palate!
Strawberry Cheesecake Protein Balls for Guilt-Free Indulgence
Ingredients
Equipment
Method
- In a large mixing bowl, combine rolled oats and your choice of protein powder. Stir until well integrated.
- Add almond butter and honey into the dry mixture. Mix until it forms a dough-like consistency.
- Fold in chopped strawberries and cream cheese until evenly distributed.
- Form the mixture into 1-inch balls. Roll between palms until smooth.
- Place shaped balls on a parchment-lined baking sheet and refrigerate for at least 30 minutes.
Leave a Reply