
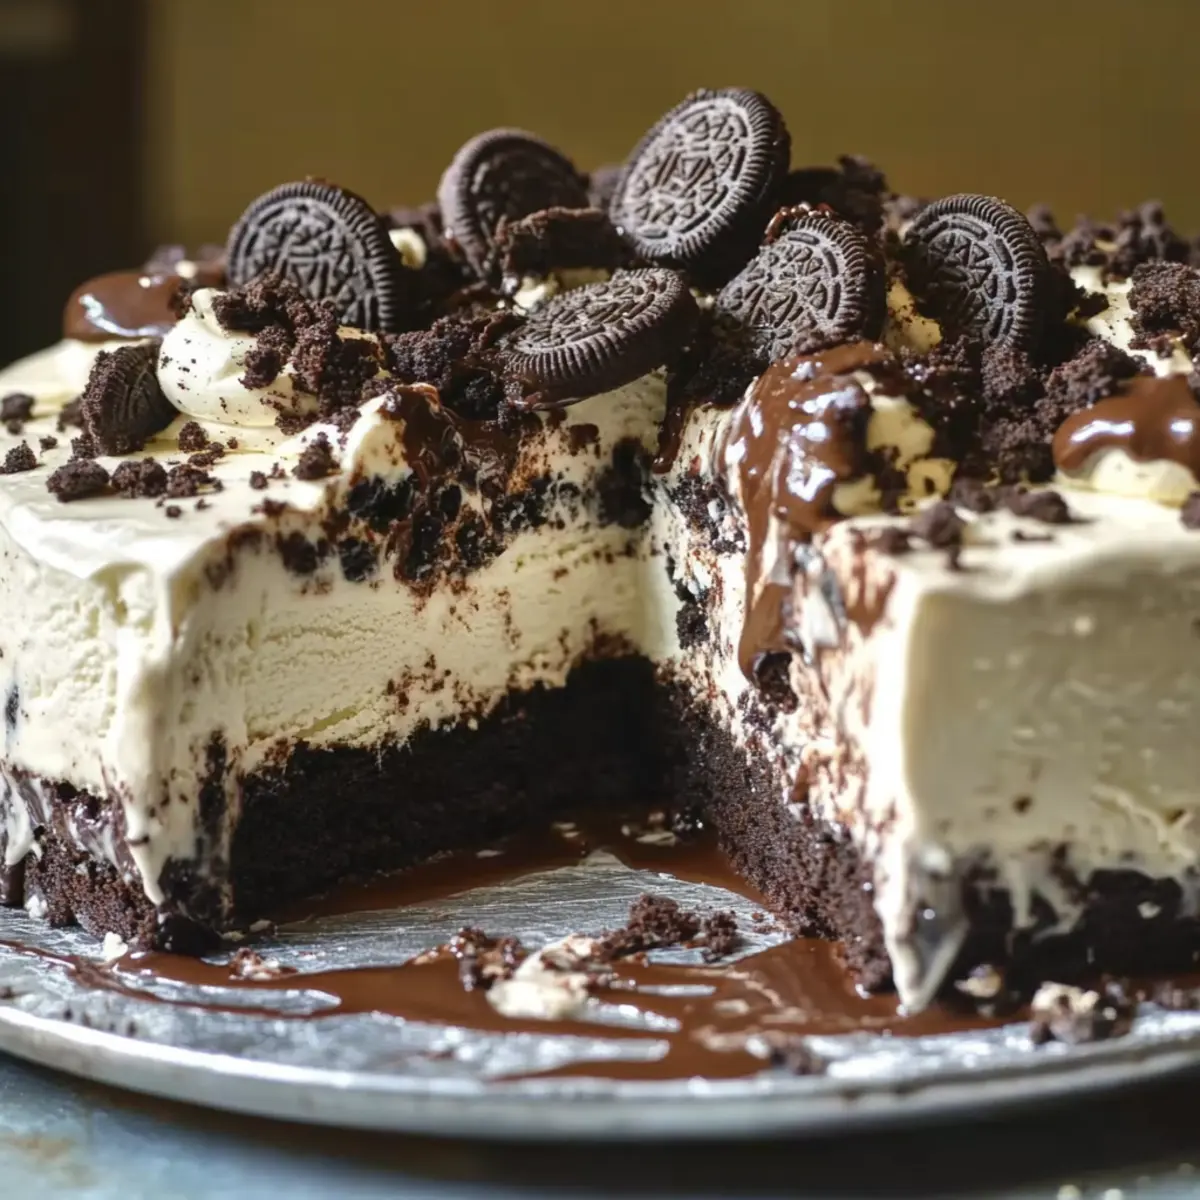
As I stood in my kitchen on a sun-soaked afternoon, a sudden realization hit me: sometimes, the simplest treats create the most delightful memories. Enter my Easy No-Bake Chocolate Oreo Ice Cream Cake. This frozen indulgence is not just an ordinary dessert—it’s a showstopper that combines velvety vanilla ice cream with the satisfying crunch of Oreos and a dreamy drizzle of chocolate. Whipping it up takes just 10 minutes, making it ideal for those impromptu gatherings or summer celebrations. Plus, since it’s a no-bake delight, you can skip the oven and keep your kitchen cool. Trust me, once you dive into this rich, creamy masterpiece, you’ll wonder why you hadn’t tried it sooner! Are you ready to treat yourself and impress your loved ones with a dessert that screams joy?
Why is this Ice Cream Cake a Must-Try?
Indulgent Flavor: The combination of rich chocolate cake and creamy vanilla ice cream delights the palate, providing a heavenly experience in every bite.
Quick & Easy: It takes just 10 minutes of prep time to whip this up, perfect for anyone short on time but big on flavor!
No-Bake Convenience: No oven means you can enjoy this treat anytime, keeping your kitchen cool in the summer heat.
Perfect for Parties: This cake is a guaranteed crowd-pleaser, making it ideal for gatherings or to impress guests at a moment’s notice.
Customizable Fun: Feel free to tweak it! Try swapping regular Oreos or using different ice cream flavors for your personal twist, just like with my Gluten Free Chocolate bites!
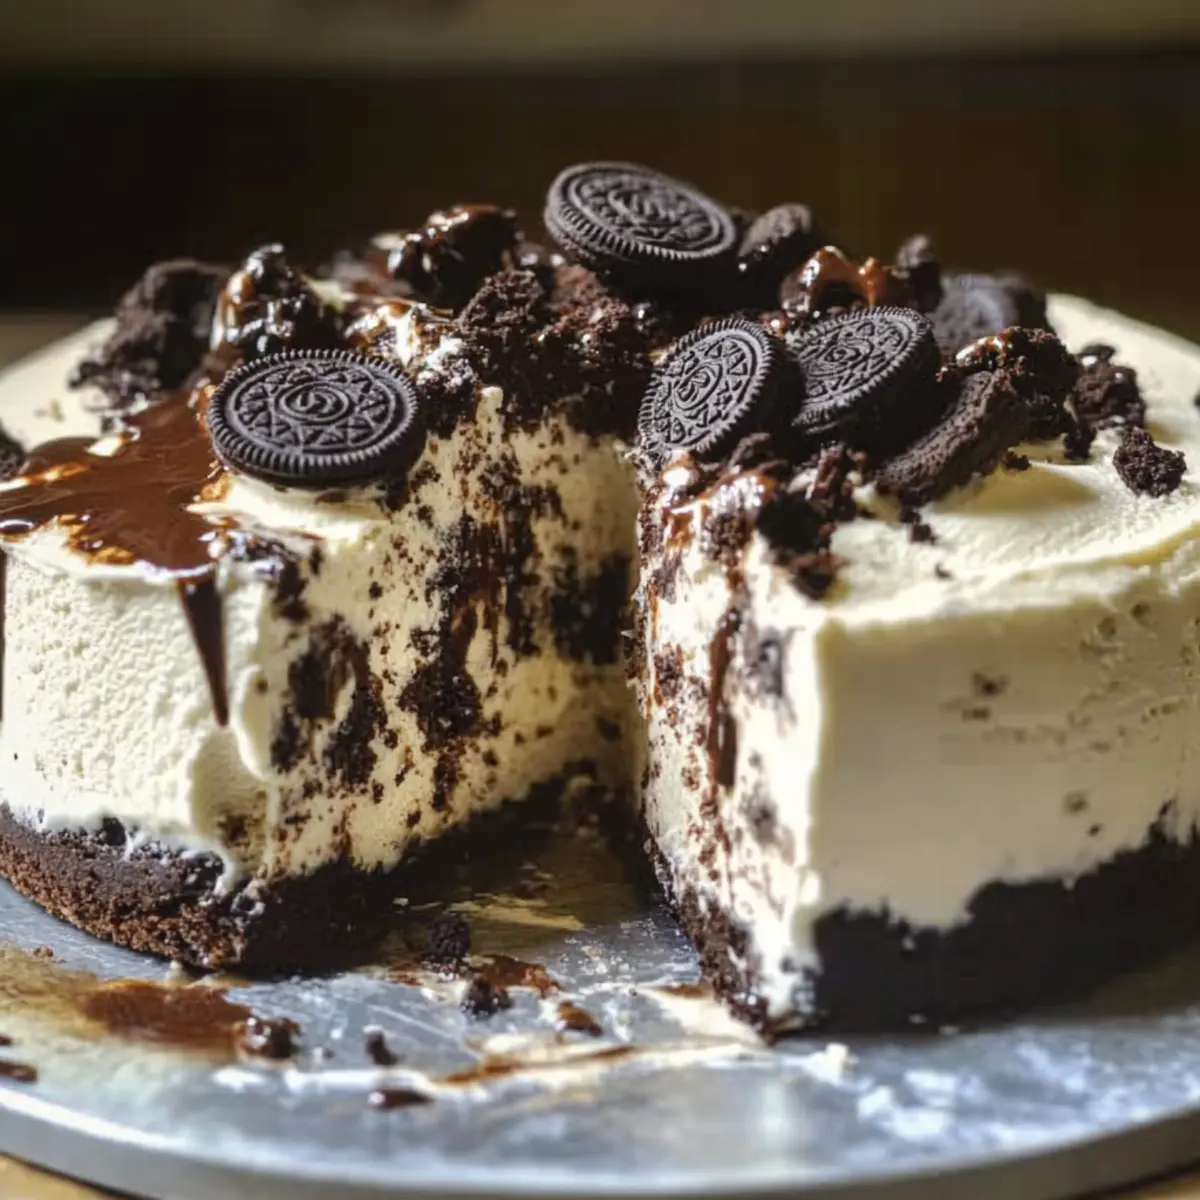
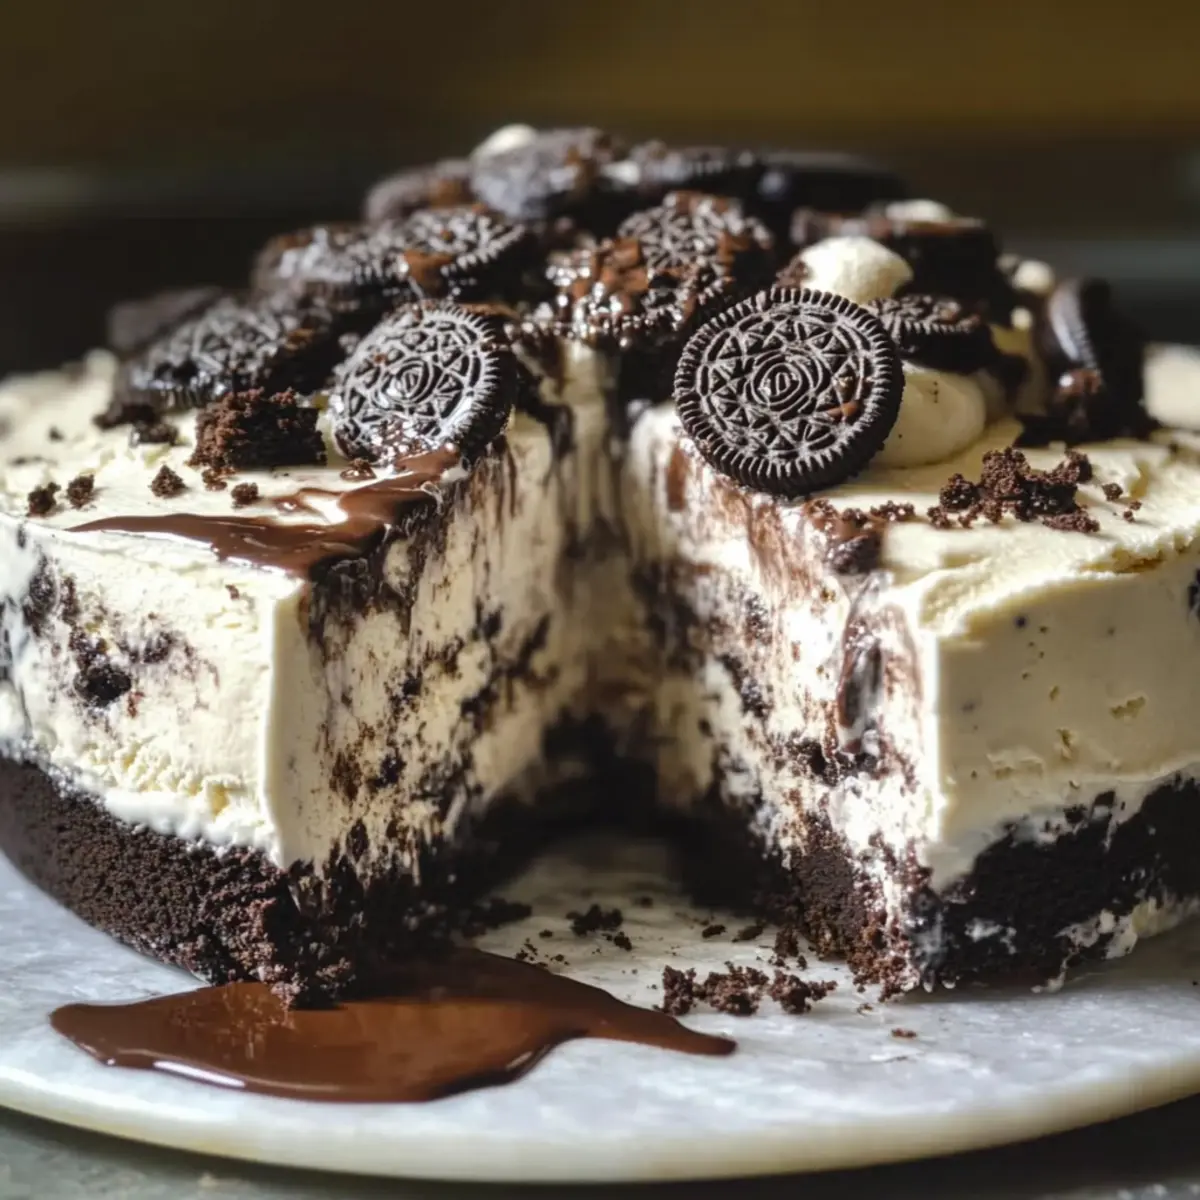
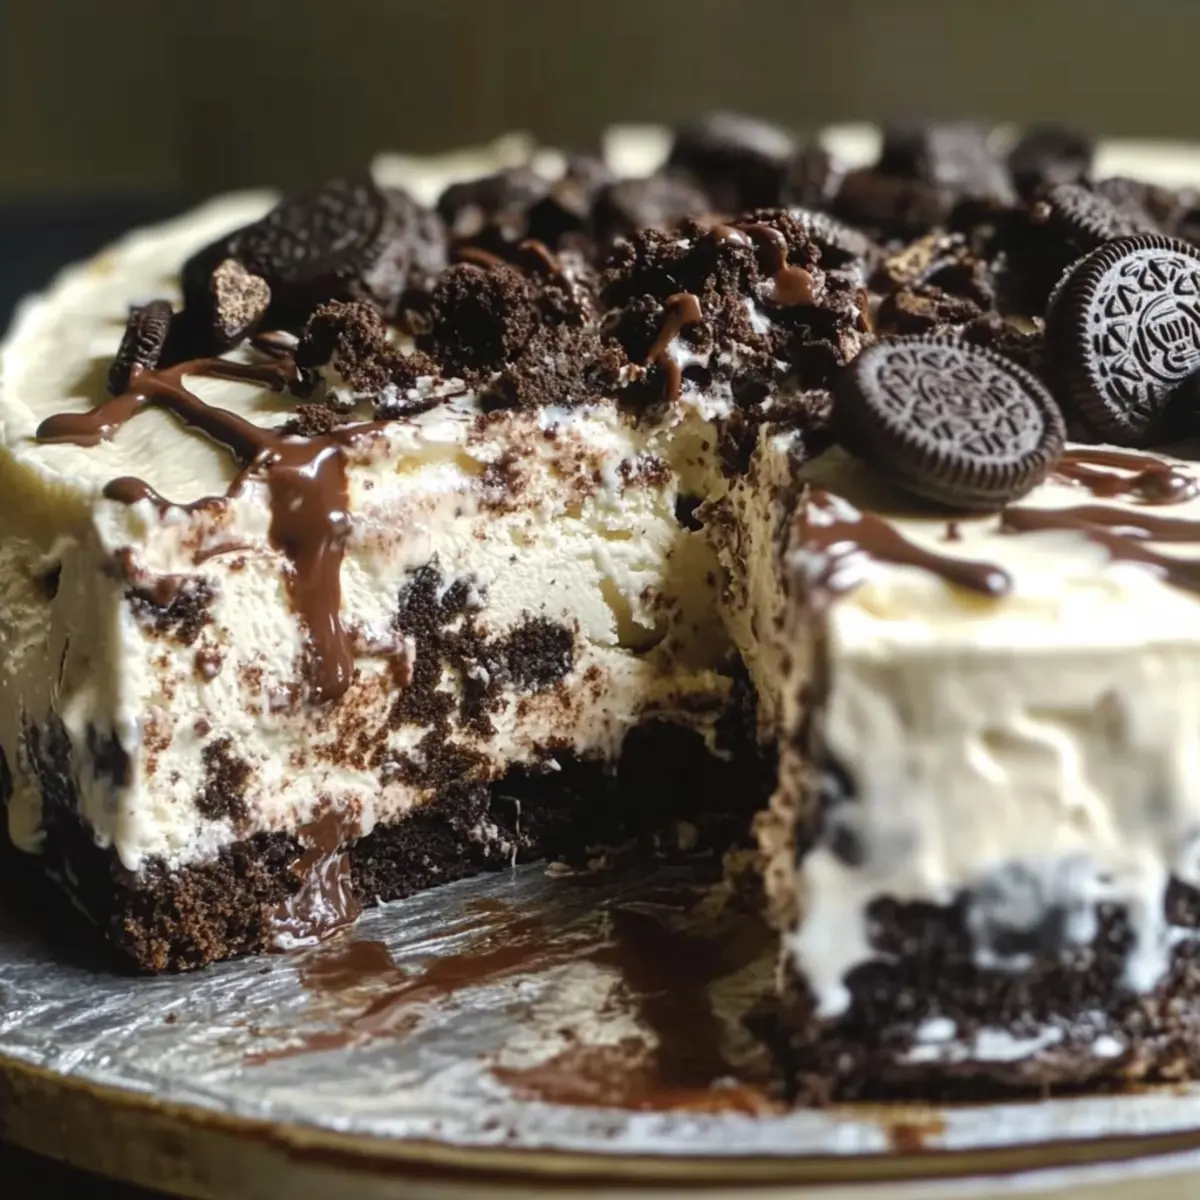
With its delicious layers and beautiful presentation, this Frozen Chocolate Oreo Ice Cream Cake will become a favorite in your dessert repertoire.
Frozen Chocolate Oreo Ice Cream Cake Ingredients
For the Base
- Oreos – The crunchy foundation of the cake that adds texture; you can also use chocolate sandwich cookies for a twist.
- Chocolate Cake – Store-bought pound or Bundt cake provides richness; ideal for keeping things quick and easy.
For the Ice Cream Layer
- Vanilla Ice Cream – The star ingredient that creates creaminess; make sure it’s very soft to mix easily.
- Chocolate Sauce – Adds extra flavor and a lovely sheen; using warm sauce helps it blend better with the ice cream.
For the Toppings
- Dark Chocolate – Perfect for melting and drizzling on top; it balances the sweetness of the cake beautifully.
- Butter – Aids in melting the chocolate smoothly while enriching the overall flavor profile.
This Frozen Chocolate Oreo Ice Cream Cake marries the richness of ice cream with the crunch of Oreos in a delightful, no-bake dessert that’s sure to win over your heart!
Step‑by‑Step Instructions for Frozen Chocolate Oreo Ice Cream Cake
Step 1: Prepare the Pan
Start by lightly greasing a 10-inch springform pan with cooking spray or butter. This preparation ensures that your Frozen Chocolate Oreo Ice Cream Cake will release easily once it’s set. Set the pan aside on a stable surface, ready for the crust that you’ll create in the next step.
Step 2: Mix the Crust
In a large mixing bowl, crush about 1/3 of the Oreos into fine crumbs. Combine these crumbs with crumbled chocolate cake until well mixed. This mixture will serve as the crunchy base of your cake. Once combined, transfer it to the greased springform pan, tightly pressing the mixture into the bottom to form a solid layer.
Step 3: Combine with Ice Cream
Scoop 2/3 quart of very soft vanilla ice cream into the bowl with your crust mixture. Using a spatula, gently fold the ice cream into the crust until well mixed. This step should take about 2-3 minutes. Once combined, spread this creamy layer evenly over the pressed crust in the pan, smoothing the surface with the spatula.
Step 4: Layer the Ice Cream
In a separate bowl, take the remaining vanilla ice cream and add the leftover Oreo crumbs along with a swirl of chocolate sauce. Mix gently until just combined, which should take 1-2 minutes. Spread this ice cream mixture evenly over the previous layer in the pan, ensuring an even distribution for a beautiful layered effect.
Step 5: Finish with Toppings
Press the remaining Oreo pieces into the top of your assembled cake, and drizzle generously with more chocolate sauce to make it visually appealing. This topping adds both texture and flavor, enhancing your Frozen Chocolate Oreo Ice Cream Cake. Use a spatula to spread any remaining ice cream to create an even surface.
Step 6: Freeze the Cake
Cover the springform pan tightly with plastic wrap or aluminum foil, and place it in the freezer for at least 4 hours, or preferably overnight. This chilling time is crucial for the cake to firm up and flavors to meld beautifully. When it’s ready, the cake should be firm to the touch.
Step 7: Serve
Once the cake has set, remove it from the freezer and let it sit at room temperature for about 5 minutes. This brief wait will make unmolding easier. Carefully run a knife around the edge before gently removing the springform. For an eye-catching finish, drizzle with melted dark chocolate before slicing into wedges.
How to Store and Freeze Frozen Chocolate Oreo Ice Cream Cake
Fridge: Store leftovers tightly covered in the fridge for up to 3 days. However, the texture will be best preserved when kept in the freezer.
Freezer: Keep the Frozen Chocolate Oreo Ice Cream Cake in the freezer, wrapped securely in plastic wrap, for up to one week. This keeps it fresh and delicious for those late-night cravings!
Airtight Container: If possible, transfer the cake to an airtight container. This helps maintain its flavor and prevents freezer burn.
Reheating: When ready to serve, let the cake sit at room temperature for about 5 minutes for easier slicing. Drizzle with melted chocolate before enjoying!
Frozen Chocolate Oreo Ice Cream Cake Variations
Feel free to unleash your creativity and customize this dessert to suit your taste buds!
-
Regular Oreos: Swap chocolate Oreos for classic Oreos to enjoy a different flavor twist.
-
Ice Cream Swaps: Try swapping vanilla ice cream for flavors like cookies and cream or mint chocolate chip for a new delightful surprise.
-
Cake Alternatives: Use red velvet or even a gluten-free chocolate cake for diverse flavor profiles and dietary preferences, such as my Gluten Free Chocolate.
-
Whipped Cream Layer: Incorporate a layer of whipped cream between the ice cream and chocolate cake for a luscious, creamy surprise that takes your cake to new heights.
-
Nutty Crunch: Add crushed nuts, like almonds or pecans, on top for an added crunch and richness that pairs beautifully with chocolate.
-
Express Your Heat: Drizzle some spicy chocolate sauce or add a pinch of cayenne pepper to the chocolate drizzle for a surprising kick of heat that complements the dessert’s sweetness.
-
Boozy Kick: For adults-only, add a splash of your favorite liqueur to the ice cream layer or chocolate sauce—think Kahlúa or Bailey’s for extra indulgence.
-
Decorative Touch: Serve with a side of my Whipped Hot Chocolate for added flair and make every slice feel like a treat for a party!
These variations ensure that each time you make your Frozen Chocolate Oreo Ice Cream Cake, you can serve up something exciting and personalized!
Make Ahead Options
These Frozen Chocolate Oreo Ice Cream Cakes are perfect for busy home cooks looking to save time! You can prepare the crust and ice cream layers up to 24 hours in advance. Start by making the crust and pressing it into the pan, then refrigerate it until you’re ready to mix in the ice cream. Additionally, you can assemble the entire cake and freeze it up to 3 days ahead of serving. Just ensure it’s tightly wrapped to maintain its quality and flavor. When you’re ready to serve, let the cake sit at room temperature for about 5 minutes before unmolding, then drizzle with melted chocolate for that extra touch. You’ll have a delightful dessert ready to impress without the last-minute rush!
Expert Tips for Frozen Chocolate Oreo Ice Cream Cake
-
Soft Ice Cream: Ensure your vanilla ice cream is very soft before mixing. This helps in achieving a smooth and creamy consistency in your Frozen Chocolate Oreo Ice Cream Cake.
-
Grease Properly: Lightly greasing the springform pan prevents sticking and ensures a smooth release. Don’t skip this step for the best results!
-
Chill Time: Allow the cake to freeze overnight for optimal firmness and flavor melding. Rushing this step can lead to a mushy cake when sliced.
-
Layering Technique: For beautiful layers, gently spread each ice cream mixture without overmixing. This maintains a gorgeous visual appeal in every slice.
-
Allow Resting Time: Before unmolding, let the cake sit at room temperature for about 5 minutes. This makes it easier to release from the pan and prevents breaking.
What to Serve with Frozen Chocolate Oreo Ice Cream Cake
This delightful dessert is the perfect centerpiece to elevate any gathering, combining rich flavors and indulgent textures.
-
Creamy Whipped Cream: A dollop of homemade whipped cream adds a light, airy contrast to the dense cake layers, enhancing each bite.
-
Fresh Berries: Strawberries or raspberries provide a burst of tartness that complements the sweetness, refreshing the palate between bites.
-
Chocolate Sauce Drizzle: More of that luscious chocolate sauce can be artfully drizzled over the slices, intensifying the decadent experience.
-
Crunchy Cookie Crumbles: Sprinkle additional crushed Oreos on top before serving for a visual delight and an extra crunch that pairs perfectly with the smooth ice cream.
-
Nutty Ice Cream: Pair with a scoop of toasted almond or hazelnut ice cream to introduce a lovely nuttiness and contrast against the chocolate and cream.
-
Cold Brew Coffee: Serving with a chilled glass of cold brew coffee creates a delightful balance, enhancing the rich flavors of the cake’s chocolatey goodness.
-
Minty Mojito: A refreshing mint mojito served alongside can cleanse the palate, giving that extra layer of brightness that will keep the party vibes going.
-
Chocolate-Covered Pretzels: The salty crunch of chocolate-covered pretzels offers a delightful contrast to the sweet cake, creating a fun textural experience for your guests.
Frozen Chocolate Oreo Ice Cream Cake Recipe FAQs
How do I choose ripe ingredients for this recipe?
Absolutely! For the best outcome, ensure your vanilla ice cream is very soft and at room temperature before mixing. This makes it easier to fold into the crust and ensures a creamy texture. Additionally, for Oreos, look for ones without any dark spots or signs of staleness; they should be crisp for the best flavor.
How should I store the Frozen Chocolate Oreo Ice Cream Cake?
To keep the cake fresh, wrap it securely in plastic wrap and store it in the freezer where it can last for up to one week. If you have leftovers, you can transfer them to an airtight container, which helps maintain flavor and prevents freezer burn.
Can I freeze the cake for a longer period?
Yes, you can freeze the Frozen Chocolate Oreo Ice Cream Cake! It will stay fresh for up to three months if tightly wrapped. To freeze, ensure it’s well covered with plastic wrap or in an airtight container. When you’re ready to serve, allow it to thaw in the refrigerator for a few hours or at room temperature for about 5 minutes before slicing.
What should I do if the cake is too soft when I slice it?
If the cake turns out too soft, it likely didn’t freeze long enough. For best results, aim to freeze for at least 4 hours, but overnight is even better. If you’re in a pinch, you can place it back in the freezer for an additional hour before serving. Always let it sit out for a few minutes to soften slightly, making slicing easier.
Are there any dietary considerations for this recipe?
Very! This cake is not suitable for those with gluten allergies if using regular Oreos. You can easily swap them for gluten-free Oreos to accommodate dietary needs. Keep in mind that it contains dairy and sugar, so those with lactose intolerance or dietary restrictions should plan accordingly. Always check ingredient labels for allergens.
Can I add my own toppings or variations?
The more the merrier! You can customize your Frozen Chocolate Oreo Ice Cream Cake by adding a layer of whipped cream, using different ice cream flavors like mint chocolate chip or cookies and cream, or topping it with fresh fruits like strawberries or raspberries for a refreshing twist. Enjoy experimenting!
Decadent Frozen Chocolate Oreo Ice Cream Cake You'll Love
Ingredients
Equipment
Method
- Prepare the Pan: Lightly grease a 10-inch springform pan with cooking spray or butter.
- Mix the Crust: Crush 1/3 of the Oreos into fine crumbs, combine with crumbled chocolate cake, and press into the bottom of the pan.
- Combine with Ice Cream: Fold 2/3 quart of very soft vanilla ice cream into the crust mixture and spread evenly.
- Layer the Ice Cream: Mix remaining vanilla ice cream with leftover Oreo crumbs and chocolate sauce, then spread over the first ice cream layer.
- Finish with Toppings: Press remaining Oreo pieces on top and drizzle with chocolate sauce.
- Freeze the Cake: Cover with plastic wrap and freeze for at least 4 hours or overnight.
- Serve: Let the cake sit at room temperature for about 5 minutes before removing from the pan.
Leave a Reply