
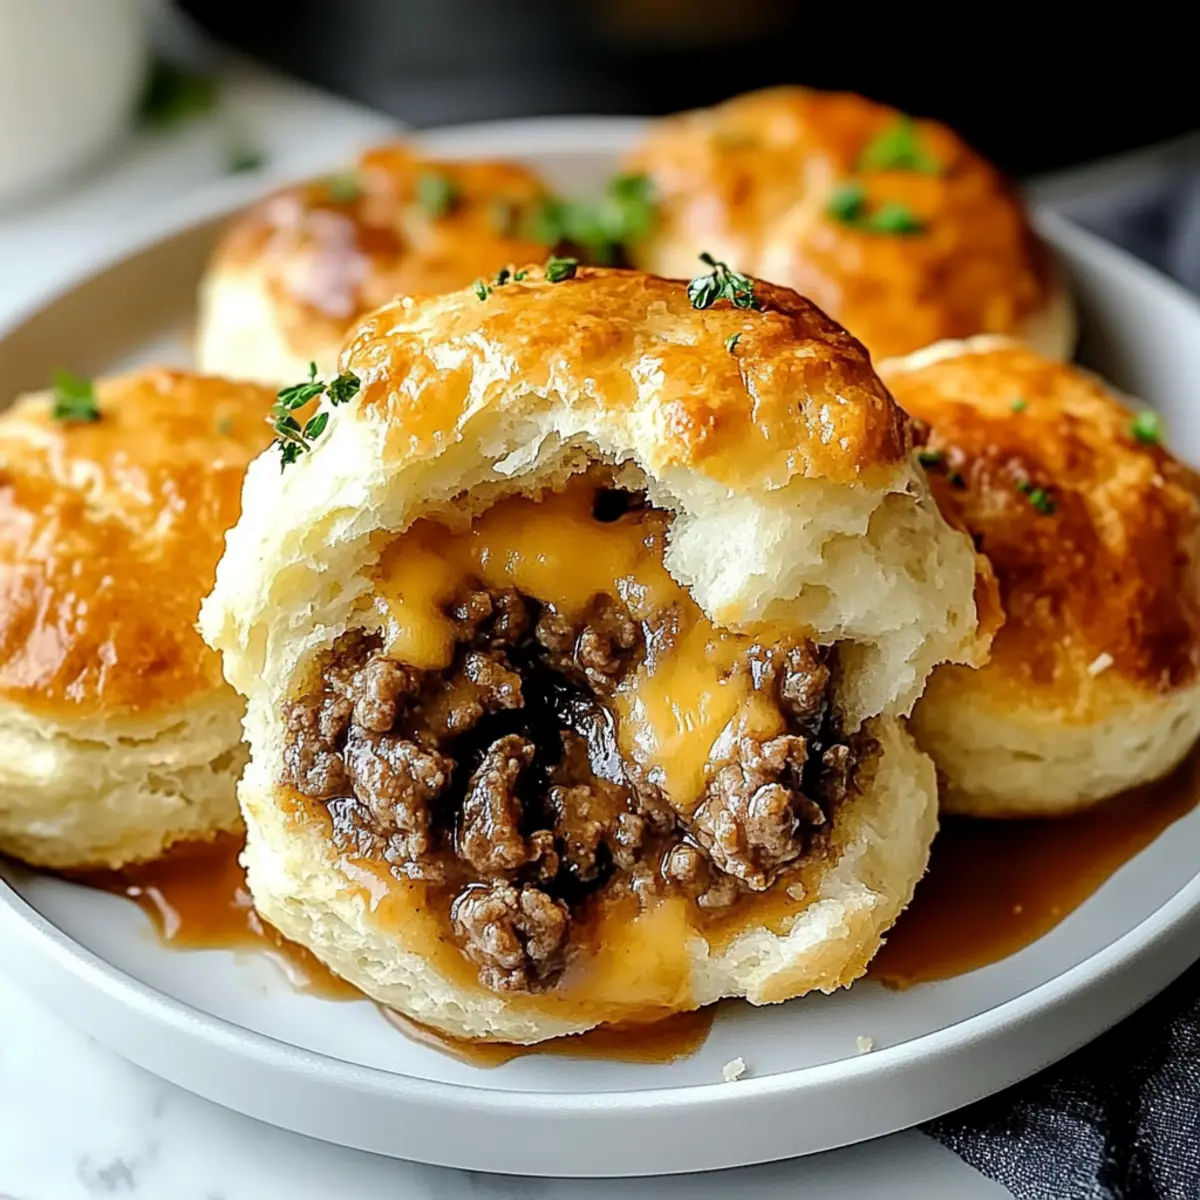
The moment I pulled these golden-brown Cheesy Beef Biscuit Bombs from the oven, the mouthwatering aroma filled my kitchen, making it impossible to resist sneaking a bite. These little delights are not just easy to prepare; they’re the ultimate comfort food, perfect for breakfast, a quick snack, or even a cozy dinner. With a flaky exterior and a rich, cheesy beef filling, each bite is a savory reminder of the joys of homemade cooking. Plus, their customizable nature means you can swap in your favorite meats and cheeses, tailoring them to your family’s taste buds. Are you ready to bring some joy to your table with these delicious biscuit bombs? Let’s dive in!

Why are Cheesy Beef Biscuit Bombs irresistible?
Comforting, warm bites: These Cheesy Beef Biscuit Bombs deliver cozy satisfaction, perfect for any meal or snack time. Quick and easy: With just a few simple steps, you can whip up a batch in no time. Customizable filling: Tailor the recipe to your liking by mixing different meats and cheeses, just like in our Beef Enchiladas or Crab Rangoon Bombs. Crowd-pleasing appeal: Whether you’re hosting a dinner or enjoying a cozy night in, these savory treats are sure to impress. Perfectly flaky texture: The golden, flaky biscuit encases a gooey center, making each bite a delightful experience!
Cheesy Beef Biscuit Bombs Ingredients
-
For the Filling
• Ground Beef – Provides a rich and savory filling; use ground turkey or chicken for a lighter flavor.
• Shredded Cheddar Cheese – Creates a gooey, cheesy center that balances the richness of the beef; mozzarella or Monterey Jack can also be used.
• Cream Cheese (softened) – Adds creaminess and helps bind the filling; essential for a smooth texture.
• Grated Parmesan Cheese – Adds a salty, umami flavor, enhancing the overall filling; nutritional yeast can be a vegan substitute.
• Garlic Powder – Offers aromatic depth to the filling; fresh garlic can be used but adjust the quantity to taste.
• Onion Powder – Provides mild sweetness and savory depth; fresh onions can substitute, but will alter texture.
• Black Pepper – Adds a slight kick to balance the richness; adjust based on preference. -
For the Dough
• Refrigerated Biscuit Dough – Serves as the outer layer that bakes into soft and flaky biscuits; ensure it’s fresh for the best results.
• Melted Butter – Brush on the biscuits before baking for a golden finish.
These Cheesy Beef Biscuit Bombs are not just easy to make but also melt in your mouth, bringing comfort food to your table in a delightful package!
Step‑by‑Step Instructions for Cheesy Beef Biscuit Bombs
Step 1: Preheat the Oven
Begin by preheating your oven to 375°F (190°C) to ensure it reaches the perfect temperature for baking. This step is crucial for achieving a golden and flaky exterior on your Cheesy Beef Biscuit Bombs. While the oven heats, you can prepare your filling and dough, making the process smooth and efficient.
Step 2: Brown the Ground Beef
In a large skillet, cook 1 pound of ground beef over medium heat for about 6-8 minutes, stirring occasionally until it is fully browned and no longer pink. Make sure to break the beef into small pieces for even cooking. Once browned, drain any excess grease and set the skillet aside to cool slightly while you prepare the seasoning.
Step 3: Season the Beef
Return to the skillet with the cooked ground beef and stir in garlic powder, onion powder, and black pepper. Cook for an additional 1-2 minutes to allow the spices to bloom and enhance the flavor of your filling. Once fragrant, remove from heat and let the mixture cool slightly while you gather the cheese ingredients.
Step 4: Prepare the Cheese Mixture
In a mixing bowl, combine 4 ounces of softened cream cheese, 1 cup of shredded cheddar cheese, and ¼ cup of grated Parmesan cheese. Use a fork or spatula to mix until the cheeses are well-blended and creamy. This mixture will add velvety richness to your Cheesy Beef Biscuit Bombs, balancing the savory filling perfectly.
Step 5: Combine Meat and Cheese
Once the beef has cooled to a warm temperature, gently fold the beef mixture into the cheese mixture until everything is evenly combined. This creates a delicious filling that complements the biscuit dough. Set the filling aside as you prepare to shape the biscuits, making sure it’s not too hot when you fill the dough.
Step 6: Prepare the Biscuit Dough
Open a tube of refrigerated biscuit dough and separate each biscuit. Gently flatten each biscuit into a circle, about 4 inches in diameter, on a clean surface. Aim for an even thickness to ensure they bake properly. This will serve as the delightful outer layer of your Cheesy Beef Biscuit Bombs.
Step 7: Fill the Biscuit Dough
Spoon a generous tablespoon of the beef and cheese filling into the center of each flattened biscuit. Be careful not to overfill; a little goes a long way! Once filled, fold the dough over the filling, pinching the edges firmly to seal each biscuit bomb completely. This step is crucial to prevent any filling from leaking during baking.
Step 8: Arrange on Baking Sheet
Place the sealed biscuit bombs onto a baking sheet lined with parchment paper, ensuring they have some space between them for even baking. This allows the hot air to circulate, creating perfectly cooked Cheesy Beef Biscuit Bombs. Brush each top with melted butter for a shiny, golden finish.
Step 9: Bake to Perfection
Bake the Cheesy Beef Biscuit Bombs in your preheated oven for 12-15 minutes. Keep an eye on them, looking for a golden-brown color on top and a cooked-through appearance. The aroma filling your kitchen will be irresistible, signaling that these comforting snacks are almost ready!
Step 10: Cool and Serve
Once baked, remove the biscuit bombs from the oven and let them cool for a few minutes on the baking sheet. This resting time helps the filling settle, ensuring a delightful bite. Serve warm, paired with marinara sauce or your favorite condiment, and enjoy the cheesy, savory goodness wrapped in flaky bliss!

Expert Tips for Cheesy Beef Biscuit Bombs
-
Seal Tightly: Make sure to pinch the edges of the biscuit dough firmly to prevent any leakage during baking. A proper seal is key to enjoying a mess-free bite!
-
Avoid Overfilling: It’s tempting to load up on that cheesy beef filling, but be mindful—a generous tablespoon is plenty. Overfilling can lead to bursting during baking!
-
Use Fresh Dough: Opt for fresh refrigerated biscuit dough for the best texture and rise. Check the expiration date to ensure maximum fluffiness and flavor.
-
Brush for Shine: Don’t skip brushing the tops with melted butter before baking. This simple step adds a beautiful golden finish and extra richness to the biscuit bombs.
-
Experiment with Fillings: Feel free to customize your cheesy beef biscuit bombs by adding veggies or different cheese blends. It’s a fun way to personalize each batch!
-
Reheat with Care: If you have leftovers, reheat in the oven instead of the microwave for the best texture. This keeps the biscuits flaky and delightful!
How to Store and Freeze Cheesy Beef Biscuit Bombs
- Fridge: Store leftovers in an airtight container for up to 3-4 days. Reheat in the oven to preserve the flaky texture, around 350°F (175°C) for about 10 minutes.
- Freezer: For longer storage, freeze biscuit bombs before baking. Place them in a single layer in a zip-top bag, ensuring no air is trapped. They can last up to 3 months.
- Baking from Frozen: When ready to enjoy, bake directly from the freezer at 350°F (175°C) for 15-18 minutes. No need to thaw—this keeps the biscuits fluffy and delicious!
- Reheating: To reheat baked biscuit bombs, use the oven rather than a microwave. This keeps them crispy and ensures that cheesy goodness inside is warm and melty!
What to Serve with Cheesy Beef Biscuit Bombs
Looking to create the perfect meal alongside these savory delights? Here are some tasty pairings to elevate your dining experience.
-
Marinara Sauce: A tangy dipping sauce that adds a burst of flavor, complementing the cheesy goodness beautifully.
-
Crisp Green Salad: Fresh greens tossed in a light vinaigrette provide a refreshing contrast to the warm, rich biscuit bombs.
-
Roasted Vegetables: Seasonal veggies caramelized to perfection offer a delightful texture and sweet balance to the savory bombs.
-
Garlic Bread: Sliced and buttery, it’s a classic pairing that enhances the comfort food vibe while adding a crispy texture.
-
Coleslaw: A crunchy, creamy side brings a satisfying contrast and a touch of brightness that elevates the meal.
-
Sweet Potato Fries: Crispy and slightly sweet, they perfectly complement the savory, cheesy filling for a delightful experience.
-
Crisp Sparkling Water: The fizz refreshes your palate between bites, making each taste of the biscuit bombs even more enjoyable.
-
Chocolate Chip Cookies: End the meal on a sweet note with a classic dessert, balancing the savory #CheesyBeefBiscuitBombs perfectly!
Cheesy Beef Biscuit Bombs: Customize to Perfection
Embrace the joy of tailoring your Cheesy Beef Biscuit Bombs with these delightful variations that excite your palate!
-
Vegetable-Loaded: Add diced bell peppers or spinach for a nutritious crunch. Loads of goodness elevate flavor!
-
Spicy Kick: Toss in chopped jalapeños or a dash of hot sauce for a spicy twist that will make your tastebuds dance with joy.
-
Different Meats: Swap ground beef for turkey, chicken, or even seasoned pork to find a new family favorite. Each meat brings its own flair!
-
Cheese Fusion: Experiment with cheese blends; try pepper jack for extra heat or feta for a tangy bite. It’s all about your cheesy dreams!
-
Herb Infusion: Mix in fresh herbs like parsley or cilantro to brighten the filling. The scents alone will make your kitchen feel like home.
-
Crunch Factor: Add a handful of crispy bacon bits or crushed tortilla chips for an unexpected and delightful texture surprise!
-
Savory Seasonings: Consider adding taco seasoning or Italian herbs to diversify the flavor profile, making these bombs even more irresistible.
-
Gourmet Touch: Top with a sprinkle of truffle oil or a drizzle of balsamic glaze before serving for an elegant lift, reminiscent of high-end dining.
Whether you’re feeling adventurous or just want to stick to the classics, these variations offer something for everyone. For more comfort food inspiration, check out our delicious Cheesy Taco Potatoes or warm, comforting Red Lobster Biscuit Chicken Pot Pie to make your dining moments even more special!
Make Ahead Options
These Cheesy Beef Biscuit Bombs are perfect for meal prep enthusiasts! You can prepare the filling—combining the cooked ground beef, cream cheese, and shredded cheddar—up to 24 hours in advance. Simply refrigerate the mixture in an airtight container until you’re ready to assemble. Additionally, you can separate and flatten the biscuit dough, then keep it wrapped in the refrigerator for up to 3 days. When it’s time to serve, fill the biscuit rounds with the chilled beef and cheese mixture, seal them tightly, and bake according to the original instructions. This way, you can enjoy these comforting snacks with minimal effort, just as delicious as fresh-made!
Cheesy Beef Biscuit Bombs Recipe FAQs
How do I select the best ground beef for the filling?
Absolutely! Look for ground beef with a good fat content, ideally between 80/20 and 90/10. This balance ensures your filling remains juicy without being greasy. Freshness is essential, so check for a bright red color without any dark spots or an off-smell. If you prefer a leaner option, ground turkey or chicken is a great alternative!
What’s the best way to store leftover Cheesy Beef Biscuit Bombs?
For the best results, refrigerate your leftover biscuit bombs in an airtight container for up to 3-4 days. This keeps them fresh and delicious! When you reheat, the oven at 350°F (175°C) is your friend—just pop them in for about 10 minutes to revive that flaky texture.
Can I freeze Cheesy Beef Biscuit Bombs?
Yes, you can! I recommend freezing them before baking for the best texture. Simply place them in a single layer in a zip-top bag, ensuring to remove as much air as possible. They’ll stay perfectly good for up to 3 months. When you’re ready to enjoy, bake from frozen at 350°F (175°C) for 15-18 minutes—no thawing needed!
What should I do if my biscuit bombs leak while baking?
If you find your biscuit bombs leaking filling, it may be due to overfilling or not sealing the dough properly. To prevent future leaks, be cautious with portion sizes; a generous tablespoon of filling is usually sufficient. Make sure to pinch the edges tightly and check that your biscuit dough remains fresh to ensure a good seal.
Are Cheesy Beef Biscuit Bombs suitable for my dog?
While it might be tempting to share, these biscuit bombs aren’t the best snack for your furry friend. The fillings contain ingredients like garlic and onion powder, which can be toxic to dogs. If you want to treat your pet, consider making a separate batch with dog-safe ingredients like plain ground beef and veggies!
What if I have allergies to dairy or beef?
No problem at all! This recipe is quite adaptable. For a dairy-free version, you can substitute the cream cheese and cheeses with plant-based alternatives like cashew cream or vegan cheese. Similarly, opt for ground beef or turkey, and try using lentils or mushrooms for a fantastic vegetarian filling that adds depth and flavor!

Cheesy Beef Biscuit Bombs: Your New Favorite Comfort Snack
Ingredients
Equipment
Method
- Preheat your oven to 375°F (190°C).
- Brown 1 pound of ground beef over medium heat for 6-8 minutes until fully browned.
- Season the beef with garlic powder, onion powder, and black pepper, cooking for another 1-2 minutes.
- In a mixing bowl, combine cream cheese, shredded cheddar cheese, and grated Parmesan cheese.
- Fold the beef mixture into the cheese mixture until combined.
- Open and flatten each biscuit into a circle, approximately 4 inches in diameter.
- Fill each biscuit with a generous tablespoon of the beef and cheese filling and seal properly.
- Arrange on a baking sheet lined with parchment paper and brush the tops with melted butter.
- Bake for 12-15 minutes until golden brown.
- Let cool for a few minutes before serving warm.
Leave a Reply