
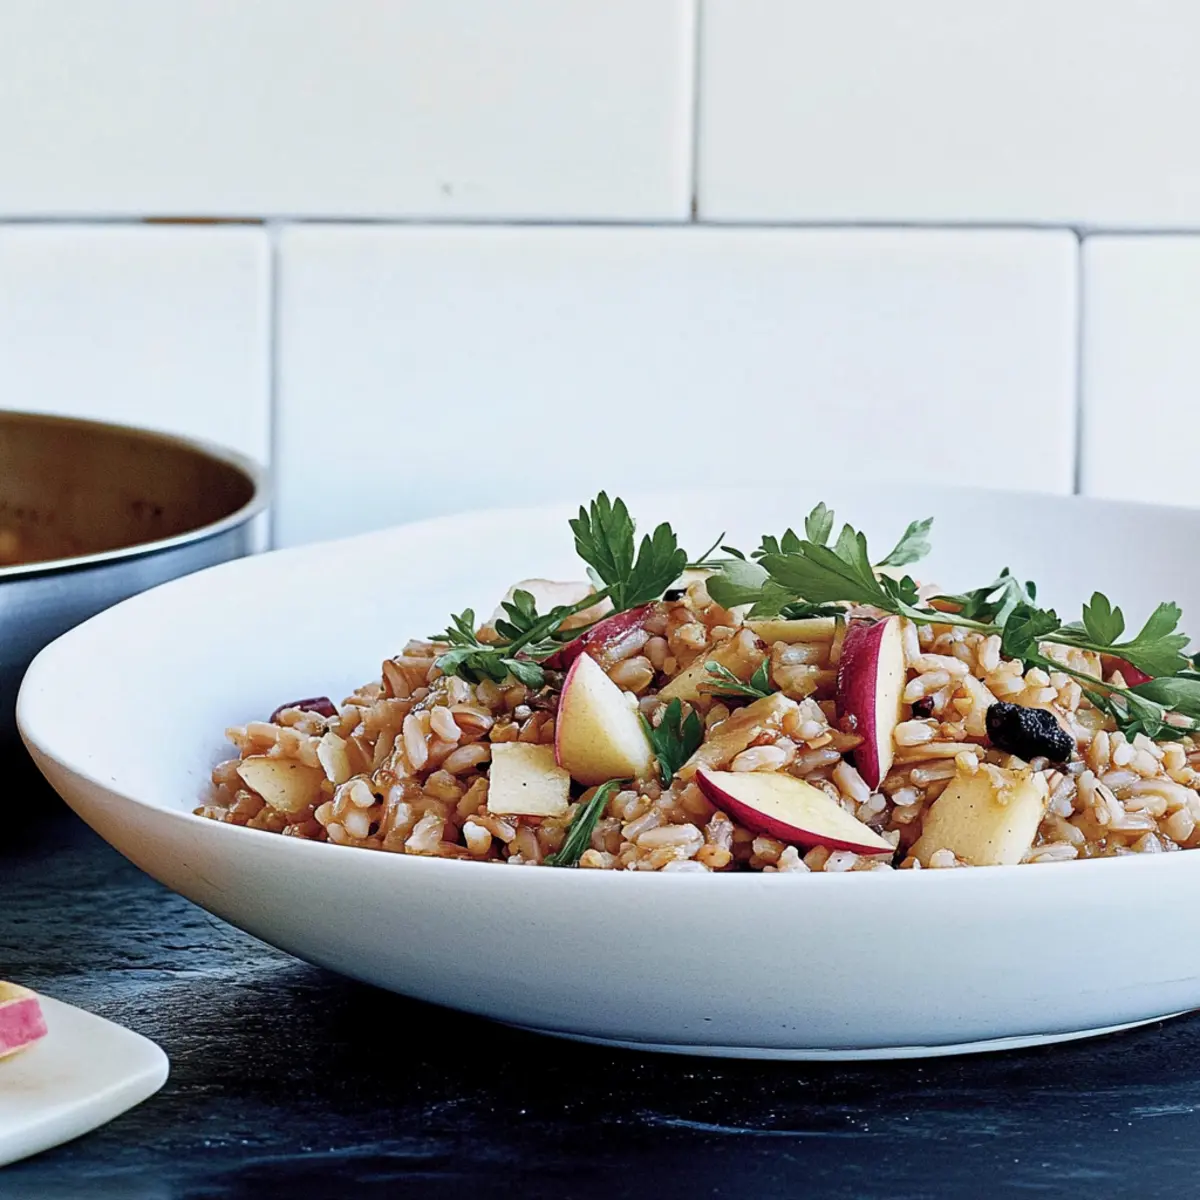
Tucked away in the pantry, farro is often overlooked, but it deserves a spotlight! In this recipe for Apple Cider–Cooked Farro, we’re elevating this wholesome grain with a delightful twist that marries its nutty richness with the sweet and tangy vibes of apple cider. The best part? It’s not only quick to prepare but also versatile enough to shine as a side dish or serve as the base for grain bowls bursting with toppings. Imagine sitting down to a warm bowl of farro, perfectly plump and infused with vibrant flavors—comfort in every bite. Are you ready to transform your dining experience with this easy, delicious recipe? Let’s dive in!
Why Choose Apple Cider–Cooked Farro?
Nutrient-Packed: This dish boasts the health benefits of farro, which is high in fiber and protein, making it a nourishing choice. Unique Flavor: The apple cider infusion gives an unexpected sweetness that enhances the dish, balancing perfectly with its nutty undertones. Quick Preparation: Ready in just about 30-40 minutes, it’s ideal for busy weeknights or last-minute gatherings. Versatile Base: Serve it alongside roasted vegetables or as a hearty base for grain bowls. Plus, for more delightful uses of seasonal ingredients, check out our tasty Apple Fritter Bites. Satisfying Texture: Expect a beautifully chewy, fluffy grain that stands up to various toppings and sauces, making every meal feel special.
Apple Cider–Cooked Farro Ingredients
Get ready to discover the magic of farro with this delightful recipe!
For the Farro
- Farro – This hearty grain adds a wonderful nuttiness; it’s chewy and filling, making it perfect for cozy meals.
- Water – Coconut or vegetable broth can elevate the flavor even more, infusing the farro with depth.
- Salt – Just a pinch enhances the overall taste; feel free to adjust based on preference.
For the Sweetness
- Apple Cider – The star of the dish, it lends a sweet-tart flavor that harmonizes beautifully with the farro; opt for unsweetened for less sugar.
Let’s embark on this culinary journey of making delicious Apple Cider–Cooked Farro!
Step‑by‑Step Instructions for Apple Cider–Cooked Farro
Step 1: Rinse the Farro
Begin by rinsing 1 cup of farro under cold running water in a fine-mesh sieve. This process helps remove any dust or impurities, ensuring a cleaner cook. Give it a good shake to remove excess water, then set aside as you prepare the cooking mixture.
Step 2: Combine Ingredients
In a medium-sized pot, combine the rinsed farro, 1 ½ cups of apple cider, ½ cup of water (or vegetable broth for extra flavor), and a pinch of salt. Stir the mixture gently, ensuring the farro is well-distributed in the liquid, which will enhance the overall taste of your Apple Cider–Cooked Farro.
Step 3: Bring to a Boil
Place the pot over medium-high heat and bring the mixture to a rolling boil. Keep an eye on it to prevent overflow; the bubbling cider will release enticing aromas into your kitchen. Once boiling, prepare to transition to the next step for perfect cooking.
Step 4: Simmer
Reduce the heat to low, cover the pot with a lid, and allow the farro to simmer gently for 30-40 minutes. Stir occasionally to prevent sticking, and check for doneness; the farro should be tender yet still chewy, soaking up all that glorious apple cider flavor.
Step 5: Fluff and Rest
Once cooked, remove the pot from the heat and let it sit, covered, for an additional 5 minutes. This step allows the farro to absorb any remaining liquid fully. After resting, fluff the farro gently with a fork to separate the grains and enhance the texture of your Apple Cider–Cooked Farro.
Step 6: Adjust Seasoning
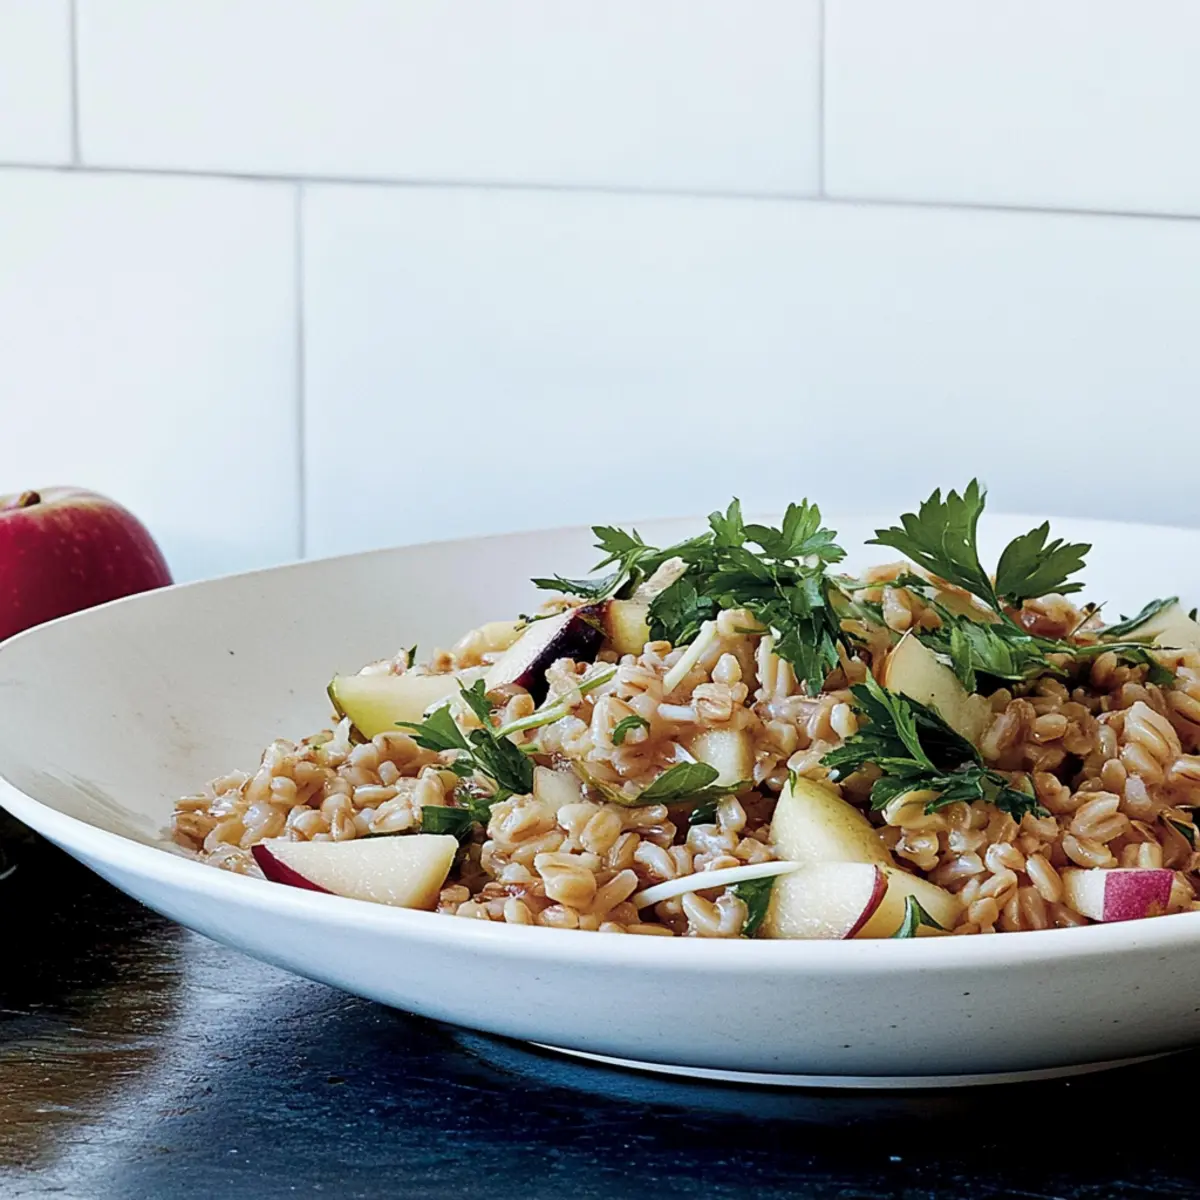
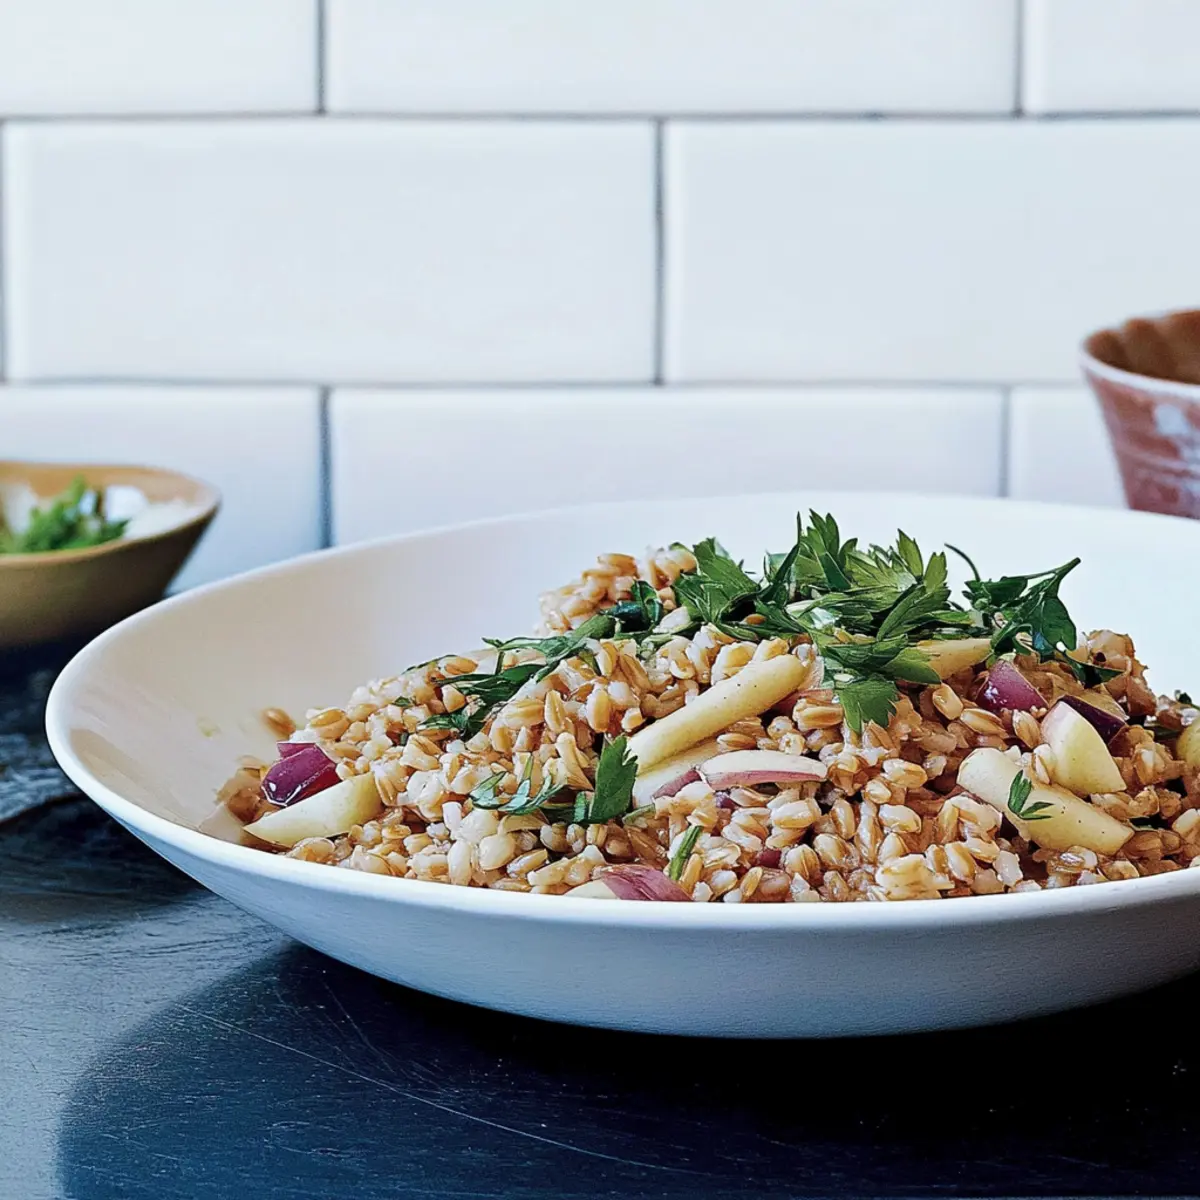
Taste your farro and adjust the seasoning with more salt if desired. Feel free to stir in your choice of herbs or sautéed vegetables for added flavor and nutrition. Your Apple Cider–Cooked Farro is now ready to be enjoyed as a delightful side dish or grain bowl base!
How to Store and Freeze Apple Cider–Cooked Farro
- Fridge: Store cooked Apple Cider–Cooked Farro in an airtight container for up to 1 week. Make sure it’s completely cooled before sealing to maintain texture.
- Freezer: For longer storage, freeze individual portions in airtight bags or containers for up to 3 months. Label with the date for convenient meal prep!
- Reheating: To reheat, thaw overnight in the fridge if frozen, then warm in a saucepan over low heat, adding a splash of water or broth for moisture as needed.
- Quality Check: Always check for any off-smells or changes in texture before consuming leftovers; freshness is key to enjoying this delightful dish!
Expert Tips for Apple Cider–Cooked Farro
- Perfect Texture: Ensure farro is cooked al dente; overcooking can make it mushy. It should have a nice chewy bite in your Apple Cider–Cooked Farro.
- Soaking Benefits: Soak farro in water for a couple of hours beforehand to reduce cooking time and aid digestion.
- Flavor Boost: Incorporate fresh herbs like thyme or rosemary for a fragrant lift, or sauté veggies beforehand to add depth.
- Taste Test: Always adjust seasoning before serving; start with a pinch of salt and add to your preference for the best results.
- Storage Tips: Keep leftovers in an airtight container in the fridge for up to a week; it reheats nicely and can enhance salads.
Apple Cider–Cooked Farro Variations
Feel free to take this recipe to new heights with exciting variations that cater to your tastes!
-
Gluten-Free: Substitute farro with quinoa or brown rice for a gluten-free option without sacrificing flavor or texture.
Swapping farro for quinoa will give you a fluffy, nutritious base that pairs beautifully with apple cider’s sweetness. -
Spiced Up: Add a pinch of cinnamon or nutmeg while cooking for a warm, cozy spice infusion.
These spices complement the apple cider and create a delightful aroma that will fill your kitchen! -
Nutty Crunch: Toss in toasted walnuts or pecans for a delightful crunch and additional protein.
The combination of soft farro and crunchy nuts creates a satisfying texture that you won’t want to miss. -
Fruity Twist: Incorporate dried fruits like cranberries or apricots into the cooking process for a sweet and tangy punch.
This adds bursts of flavor and texture, transforming your farro into a sweet delight that’s perfect for fall gatherings. -
Savory Swap: Replace apple cider with vegetable broth for a savory twist that works beautifully in hearty grain bowls.
This alternative gives the farro a rich base that you can enhance with toppings like sautéed greens or roasted vegetables. -
Heat It Up: Spice things up with a dash of crushed red pepper flakes for a little heat.
The warmth of the chili will offset the sweetness of the cider, adding a unique layer of flavor to your dish.
For more delicious ways to use seasonal ingredients, consider trying these Apple Fritter Bites for a dessert that complements your meal beautifully.
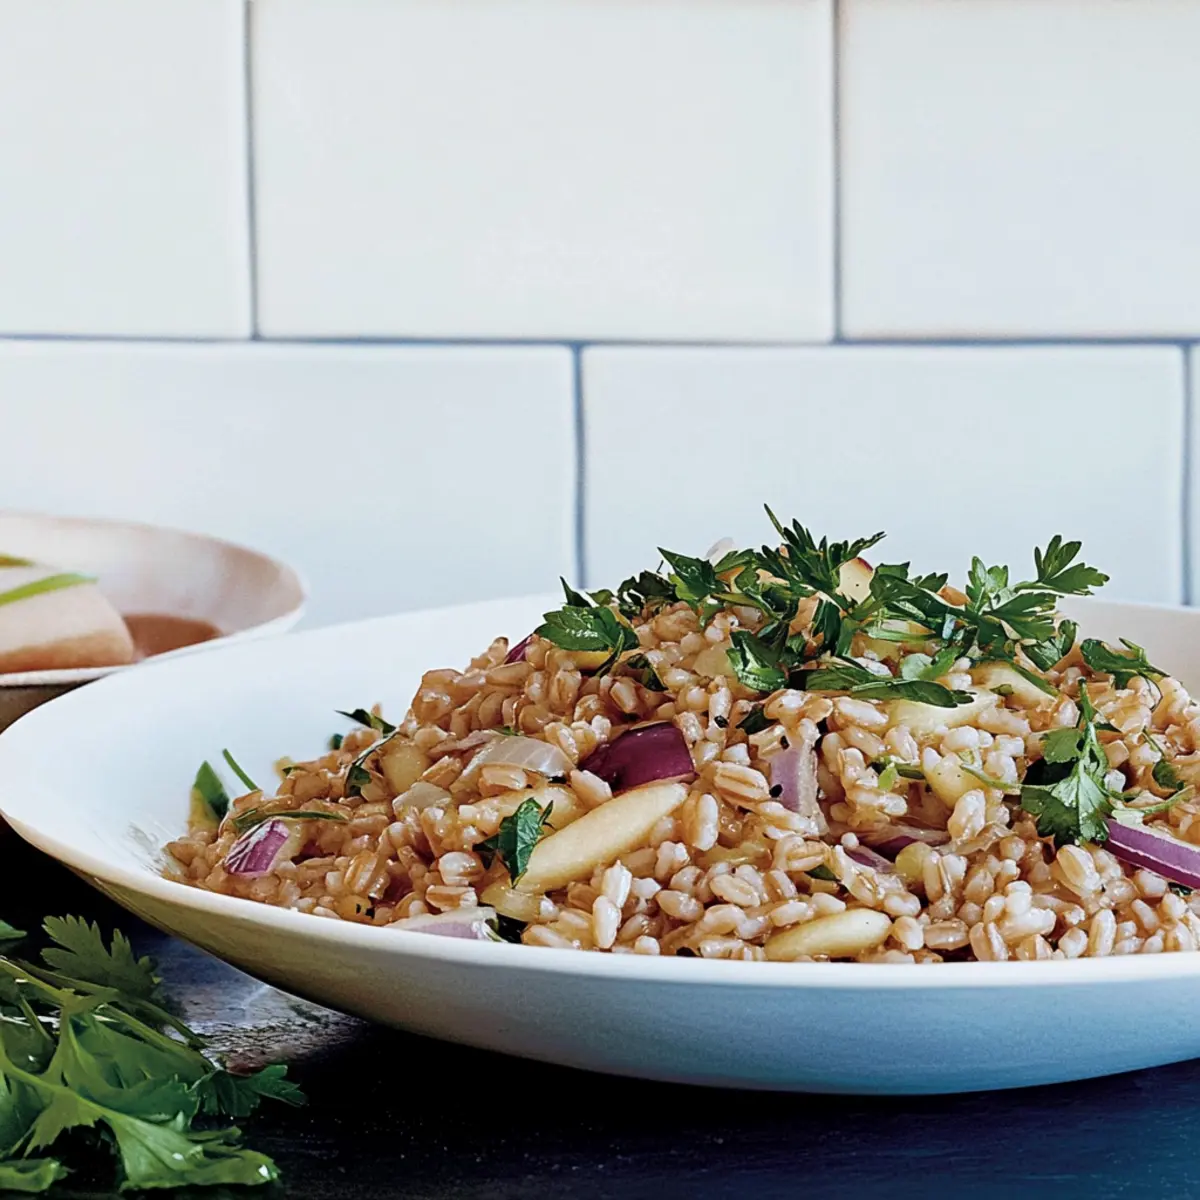
- Classic Comfort: Stir in some sautéed onions or garlic for a classic flavor boost.
These beloved aromatics will enhance the dish and make your kitchen smell divine while cooking.
Customize your Apple Cider–Cooked Farro in any of these delightful ways, and watch as it becomes a new family favorite at your table!
What to Serve with Apple Cider–Cooked Farro
Imagine a cozy dinner table filled with heartwarming dishes that sing of comfort and delight. Here are some perfect pairings to elevate your meal!
-
Roasted Root Vegetables: Tossed with olive oil and herbs, they provide a lovely caramelized sweetness that complements the farro beautifully.
-
Garlic Sautéed Greens: The slight bitterness of kale or spinach balances the sweet-tart apple cider, adding a pop of color and nutrition to your plate.
-
Grilled Chicken: Marinated in herbs and spices, it brings a protein-packed option that enhances the dish’s hearty qualities while keeping it light.
-
Cranberry Walnut Salad: A refreshing side that introduces tart and crunchy elements, perfectly contrasting the chewy farro and providing a burst of color.
-
Spiced Butternut Squash Soup: Creamy and comforting, this soup pairs wonderfully with farro, offering warmth and depth to your dining experience.
-
Savory Herb Vinaigrette: Drizzle over a mixed greens salad before serving; it adds a zing that contrasts nicely with the farro’s rich flavor.
-
Apple Crisp: End your meal on a sweet note with a warm, bubbly dessert that mirrors the apple notes in your farro while offering a delightful crunch.
Make Ahead Options
Preparing Apple Cider–Cooked Farro in advance is a fantastic way to save time during your busy week! You can cook the farro up to 3 days ahead and refrigerate it in an airtight container. To maintain its fluffy texture, make sure it’s stored tightly to prevent excess moisture from seeping in. When you’re ready to serve, simply reheat the farro on the stovetop or in the microwave, adding a splash of water or apple cider to restore its moisture. This way, you’ll enjoy that delicious nutty flavor and perfect texture without any hassle on the day of your meal!
Apple Cider–Cooked Farro Recipe FAQs
What type of farro should I use for this recipe?
You can use either pearled, semi-pearled, or whole farro. Pearled farro cooks the fastest, usually in about 30 minutes. For a nutty flavor and chewy texture, semi-pearled works great. Whole farro, while more nutritious, may take longer to cook, around 40-50 minutes.
How can I store leftover Apple Cider–Cooked Farro?
Absolutely! Store your cooked farro in an airtight container in the refrigerator for up to 1 week. Ensure it has cooled completely before sealing to maintain the texture. If you plan on using it throughout the week, portion it out for easy access.
Can I freeze Apple Cider–Cooked Farro?
Yes, you can! For freezing, allow it to cool, then transfer the farro into airtight freezer bags or containers, labeling them with the date. It can be stored for up to 3 months. When you’re ready to use it, thaw overnight in the fridge and reheat with a splash of water or broth to restore moisture.
What should I do if my farro is too chewy or hard after cooking?
Very! If your farro is still tough, it likely needs a bit more time. Simply add a splash of water or broth to the pot, cover, and simmer for an additional 5-10 minutes until it’s to your desired doneness. Remember, the texture should be al dente, as it will soften a bit while resting.
Is this recipe suitable for gluten-free diets?
The farro in this recipe is not gluten-free, but you can substitute it with gluten-free grains like quinoa or brown rice. Adjust cooking times appropriately since different grains will have varying requirements. Always check the labels to make sure they align with any dietary restrictions.
Can I use different types of cider?
Absolutely! If you want to try something different, pear cider or even a dry white wine can provide a new flavor twist to your Apple Cider–Cooked Farro. Just keep in mind that the essence of the dish will change slightly, so adjust seasonings accordingly to maintain balance.
Delicious Apple Cider–Cooked Farro for Cozy Meals
Ingredients
Equipment
Method
- Rinse the farro under cold running water in a fine-mesh sieve.
- Combine the rinsed farro, apple cider, water, and a pinch of salt in a medium-sized pot.
- Bring the mixture to a rolling boil over medium-high heat.
- Reduce the heat to low, cover the pot, and let the farro simmer for 30-40 minutes.
- Remove the pot from heat and let it rest, covered, for 5 minutes.
- Fluff the farro gently with a fork and adjust seasoning if necessary.
Leave a Reply