
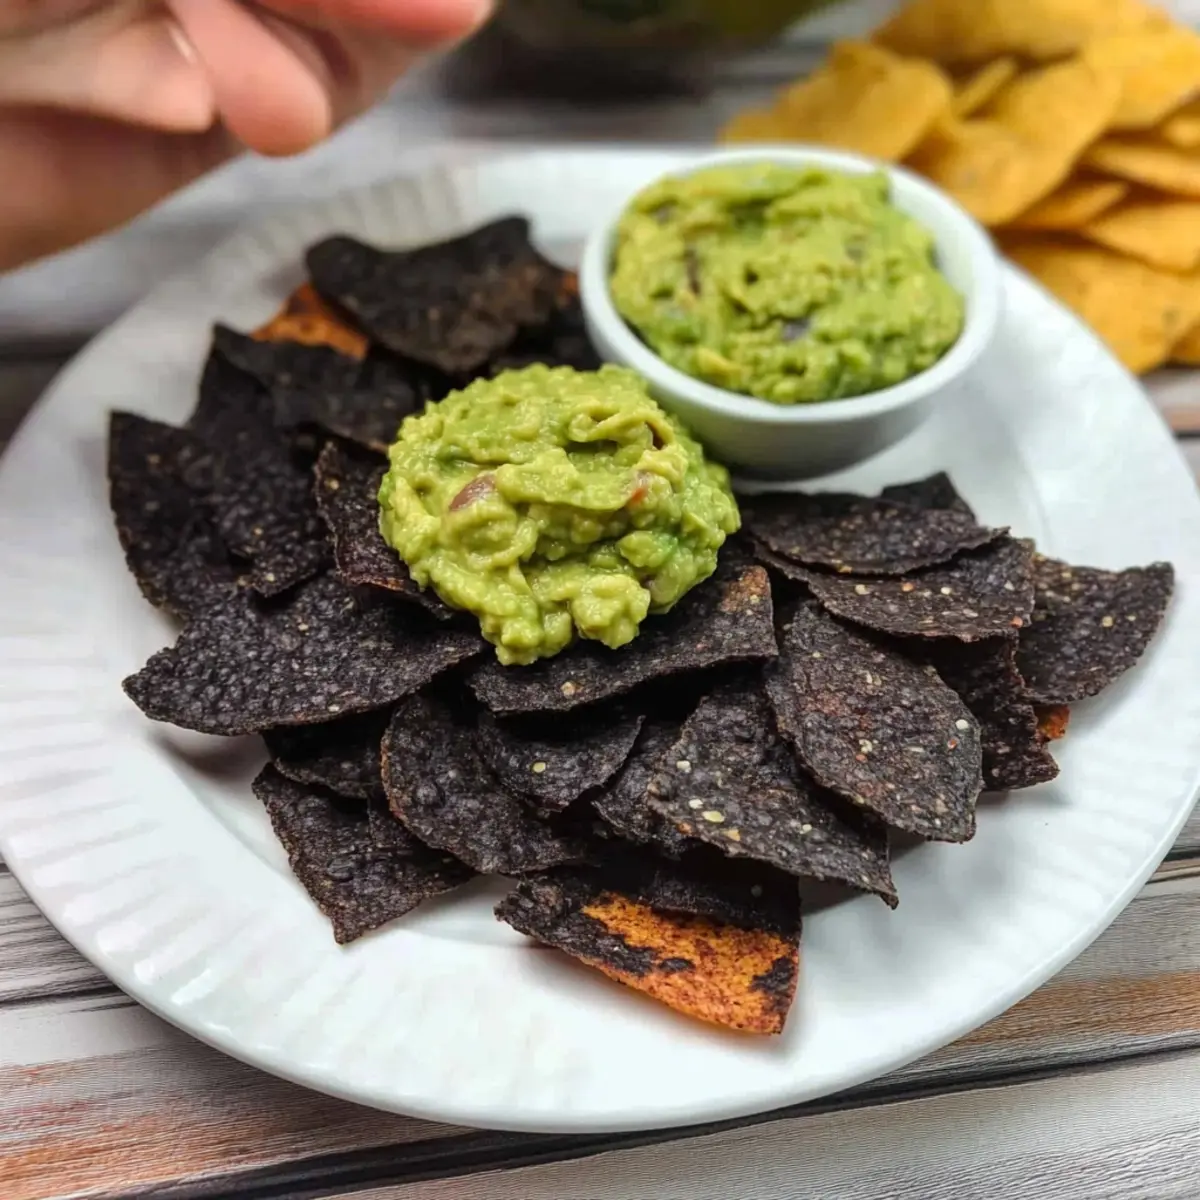
As I reached for a bag of chips one afternoon, I couldn’t shake the feeling that there had to be a healthier way to enjoy my snack cravings. That’s when I discovered my secret weapon: homemade Black Bean Chips. With just four simple ingredients, these gluten-free and vegan delights offer a satisfying crunch that rivals traditional potato chips, making them perfect for dipping in guacamole or enjoying solo. Not only are they quick to prepare, but they’re also packed with protein, turning snack time into a guilt-free pleasure. Whether you’re looking to impress guests or just craving a wholesome treat, these chips are sure to bring a smile to your face. Curious how to whip up this delicious, healthy snack in your own kitchen? Let’s dive in!
Why Choose Black Bean Chips?
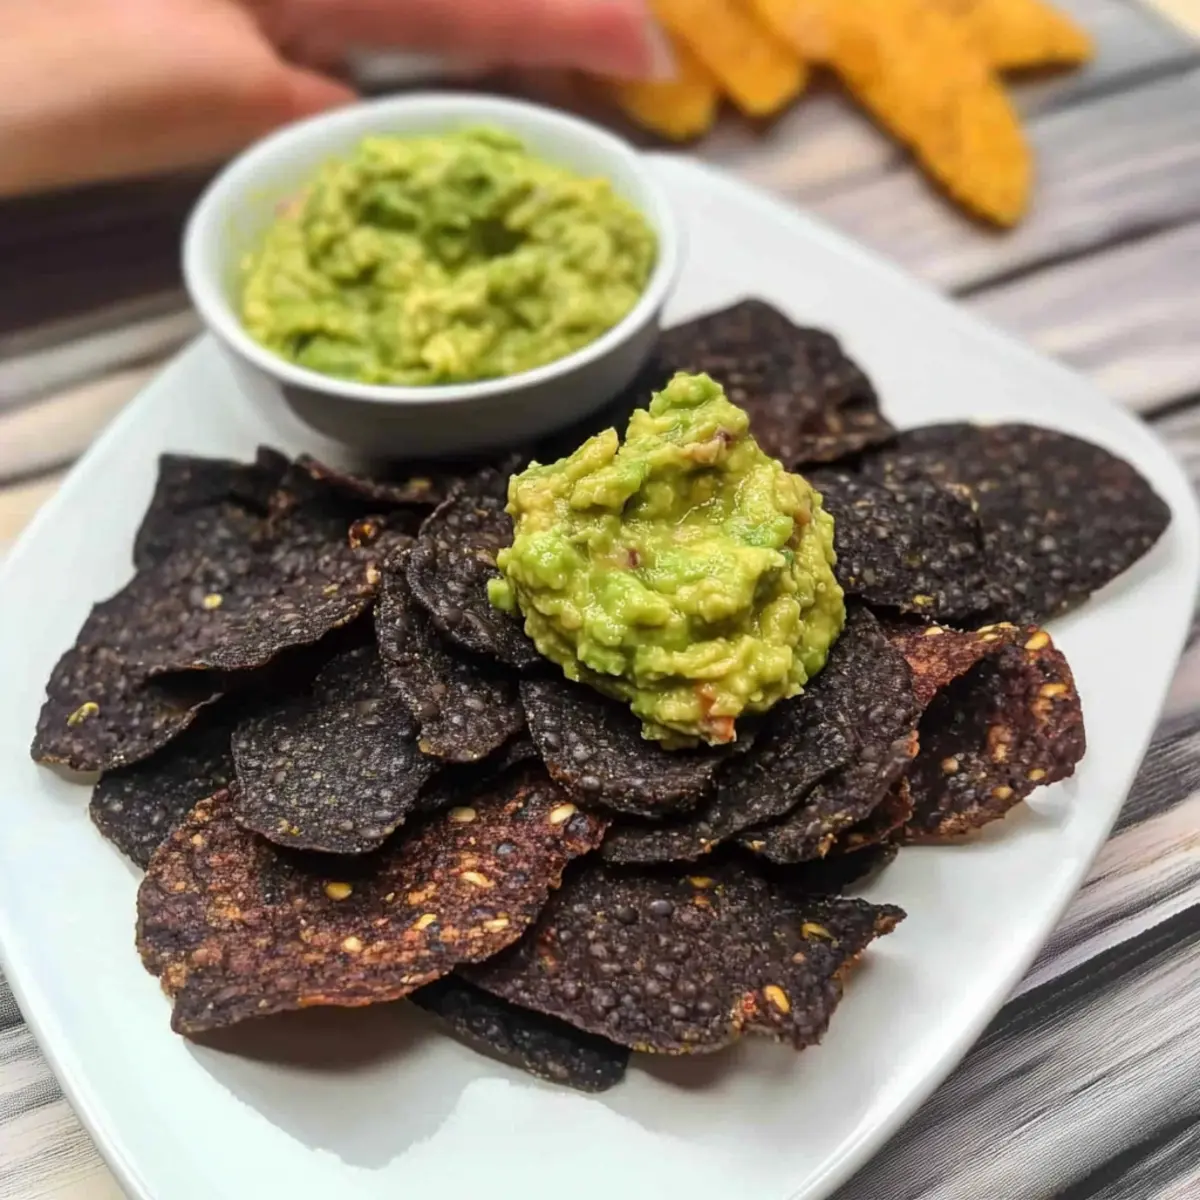
Deliciously Crunchy: These black bean chips offer a satisfying crunch that will leave you wanting more.
Nutritious Goodness: Packed with protein and made from wholesome ingredients, they’re a guilt-free snack option for any health-conscious individual.
Quick and Simple: With just four ingredients and minimal prep time, you’ll have delicious homemade chips ready to enjoy in no time.
Versatile Pairing: Perfect for dipping in your favorite salsa or homemade guacamole, making them a hit at any gathering!
Customizable Flavor: Feel free to experiment with spices to create unique flavor combinations that suit your palate. You’ll love the endless variety these chips can provide!
Black Bean Chips Ingredients
For the Chips
- Black Bean Flour – Provides the base for the chips, offering a gluten-free option loaded with protein. To make, simply grind dry black beans in a blender until fine.
- Avocado Oil – Adds moisture and helps achieve crispiness. Other oils with a high smoke point can be used; avoid olive oil for cooking as it has a lower smoke point.
- Water – Hydrates the flour-like substance to form a batter. Adjust the amount for desired consistency—aim for a slightly runny batter.
- Sea Salt – Enhances flavor. Adjust to taste; start with half a teaspoon and add more if needed.
Feel free to gather these ingredients, and get ready to create your delicious Black Bean Chips!
Step‑by‑Step Instructions for Black Bean Chips
Step 1: Preheat the Oven
Start by preheating your oven to 350°F (175°C). While the oven warms up, prepare your baking sheets by lining them with parchment paper. This will ensure your delicious black bean chips won’t stick during baking and will help achieve a crispy finish.
Step 2: Make Black Bean Flour
If you’re using whole black beans, measure out half a cup and place them in a powerful blender. Blend until you achieve a fine flour consistency, which usually takes about 1-2 minutes. This homemade black bean flour is the star of your black bean chips, providing protein and a gluten-free base.
Step 3: Mix Dry Ingredients
In a medium-sized mixing bowl, combine the black bean flour with half a teaspoon of sea salt. Stir the mixture well using a fork to evenly distribute the salt. This step is essential for ensuring your black bean chips are flavorful and the base is thoroughly seasoned before adding any liquids.
Step 4: Add Moisture
Pour in two tablespoons of avocado oil into the flour mixture and mix until well incorporated. Then, gradually add half a cup of water, stirring continuously until the mixture forms a slightly runny batter. This consistency is perfect for spreading and will yield crunchy, delightful black bean chips.
Step 5: Scoop the Batter
Using a teaspoon, carefully scoop portions of the batter onto your lined baking sheets. Make sure to leave enough space between each scoop to allow the batter to spread while baking. This spacing is critical for achieving the perfect chip texture without them sticking together.
Step 6: Flatten the Chips
With a fork, gently press down on each scoop of batter, spreading it into a thin layer. Aim for a thickness of about 1/8 inch for optimal crispiness. This step will ensure that your black bean chips cook evenly and develop that satisfying crunch.
Step 7: Bake the Chips
Place the baking sheets in the preheated oven and bake the black bean chips for 10 minutes. After this initial time, carefully flip each chip using a fork to ensure even baking on both sides. Return them to the oven for an additional 8-10 minutes or until they are crispy and golden brown.
Step 8: Cool and Enjoy
Once baked, remove the black bean chips from the oven and allow them to cool completely on the baking sheets. As they cool, they will become firmer—this step is key to achieving that delightful crunch you’re aiming for! Enjoy them as is or pair with your favorite salsa or guacamole.
Black Bean Chips Variations & Substitutions
Feel free to get creative with your black bean chips—they’re as versatile as they are delicious!
-
Chickpea Flour: Swap black bean flour for chickpea flour for a nutty flavor and slightly different texture. You’ll love the change of pace!
-
Oil-Free: Omit the avocado oil for a lighter version. Just handle carefully; the chips may stick without oil but you’ll still get that crunch!
-
Spicy Kick: Add chili powder or cayenne pepper for a delightful heat. You can adjust the amount based on your spice preference!
-
Sweet Twist: For a dessert-style chip, incorporate a bit of cinnamon and sugar. Dip in yogurt for a unique treat that feels indulgent yet healthy.
-
Herbal Infusion: Mix in dried herbs like oregano or thyme to elevate the flavor profile. The herbs can bring a wonderful aroma and taste to your chips.
-
Cheesy Flavor: Sprinkle nutritional yeast into the batter for a cheesy taste without the dairy. It’s perfect for those craving a savory snack!
-
Cornmeal Crunch: Combine black bean flour with a touch of fine cornmeal for added texture and flavor. This will give your chips a rustic feel that’s truly unique.
And if you’re thinking about serving them with something special, don’t forget a bowl of homemade guacamole or your favorite salsa for an irresistible snacking experience!
Make Ahead Options
These black bean chips are perfect for meal prep enthusiasts looking to save time during hectic weeknights! You can prepare the batter up to 24 hours in advance; simply mix the black bean flour, water, avocado oil, and salt in the bowl, and then refrigerate it. This prevents the mixture from drying out and allows the flavors to meld beautifully. When you’re ready to bake, just scoop and flatten the batter on the baking sheets as directed, then pop them in the oven for that crispy, golden delight. To maintain their crunch, store the baked chips in an airtight container at room temperature for up to 3 days—they will be just as delicious and ready for snacking!
What to Serve with Black Bean Chips?
Elevate your snacking experience with a delightful array of companions that perfectly complement the crunch of these healthy chips.
-
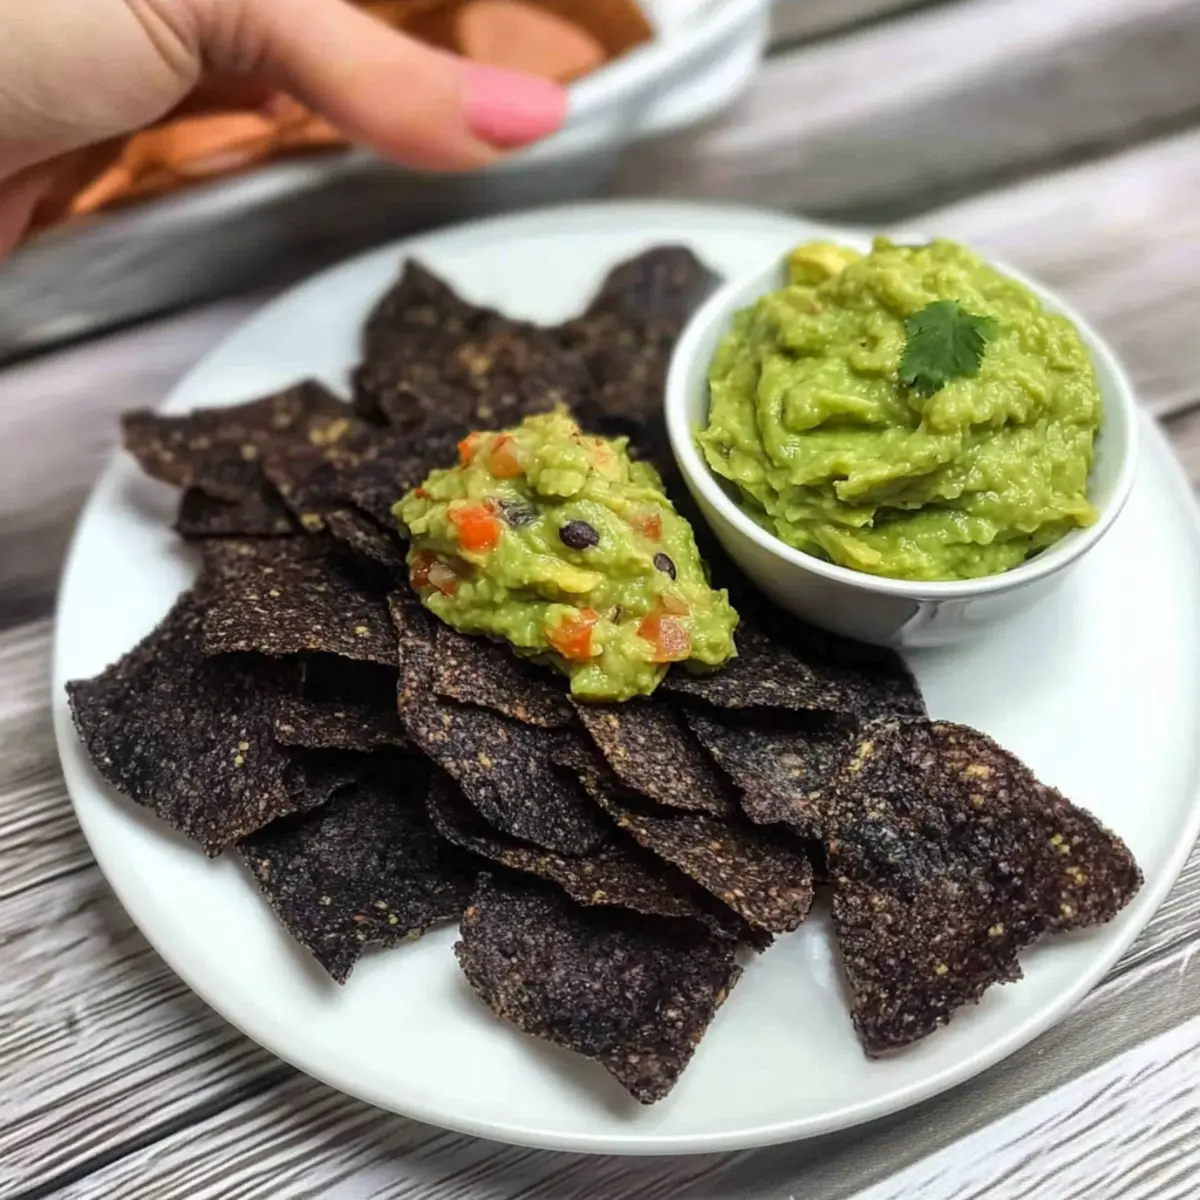
Creamy Guacamole:
A classic pairing, the rich creaminess of guacamole balances the crispy texture, creating an irresistibly satisfying bite. -
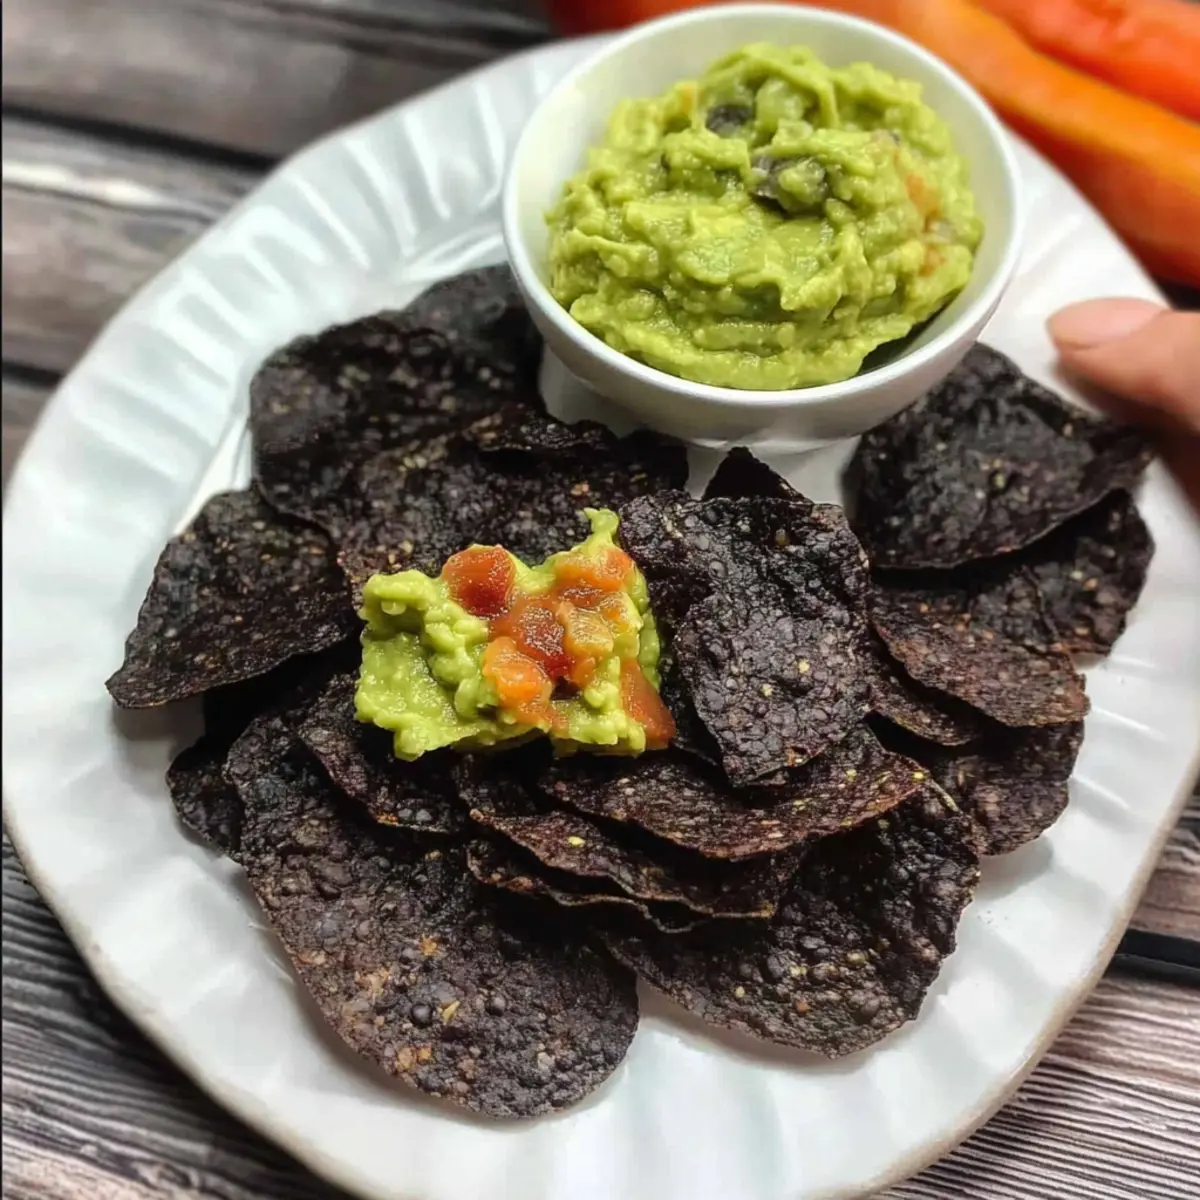
Fresh Salsa:
Bright, zesty salsa adds a burst of flavor, enhancing the savory notes of the black bean chips for a refreshing combination. -
Spicy Hummus:
The creaminess of hummus combined with a kick of spice marries well with the crunch of the chips, offering a unique flavor profile. -
Zesty Lime Wedges:
Squeeze fresh lime over your black bean chips to add a punch of acidity that enhances their flavor and keeps things vibrant. -
Creamy Spinach Dip:
This rich dip pairs beautifully with the savory chips, providing a luscious contrast that will leave your taste buds dancing. -
Tomato Basil Bruschetta:
Topping your chips with this herby mixture brings a fresh, juicy element, adding layers of deliciousness to your snack. -
Chilled White Wine or Sparkling Water:
Enjoy your chips with a crisp white wine or a refreshing sparkling water to balance and elevate the overall snacking experience. -
Dark Chocolate Shavings:
For a surprising sweet finish, top your black bean chips with a sprinkle of dark chocolate shavings; the combo of savory and sweet is heavenly!
How to Store and Freeze Black Bean Chips
Room Temperature: Keep your black bean chips in a single layer in an airtight container. Enjoy them within 3 days for optimal crispness.
Freezer: For longer storage, freeze the chips in a single layer on a baking sheet, then transfer to an airtight container. They can last up to 2 months, but reheating will be necessary.
Reheating: To revive the crispiness, reheat the frozen black bean chips in the oven at 350°F (175°C) for 5-7 minutes. This will help restore their delightful crunch and enhance flavor.
Expert Tips for Black Bean Chips
-
Oil-Free Option: If you prefer your black bean chips oil-free, simply omit the oil. Be cautious as the chips may stick; consider using a non-stick baking mat instead.
-
Spice it Up: Enhance the flavor by adding spices like garlic powder, cumin, or smoked paprika to the batter. This adds delightful depth to your chips.
-
Thin is Best: For optimal crispiness, flatten the batter to about 1/8 inch thick. Thicker chips can turn out chewy instead of crunchy.
-
Cool Completely: Allow the chips to cool fully on the baking sheet. They will become crispier as they sit, enhancing that satisfying crunch after baking.
-
Storage Awareness: Store your black bean chips in a single layer in an airtight container to keep them from getting soggy. Enjoy them within three days for best freshness.
Black Bean Chips Recipe FAQs
How do I select the right black bean flour?
Absolutely! When choosing black bean flour, look for a fine consistency and a rich dark color. The flour should have a pleasant, earthy aroma, indicating freshness. Check the packaging for the expiry date to ensure you’re using a quality product.
How should I store leftover black bean chips?
To keep your black bean chips fresh and crispy, store them in an airtight container at room temperature for up to 3 days. Make sure to place them in a single layer to avoid sogginess. If they start to lose their crunch, you can pop them back in a 350°F (175°C) oven for a few minutes to revive their crispiness.
Can I freeze black bean chips?
Yes! For extended storage, you can freeze your black bean chips. Lay them out in a single layer on a baking sheet and freeze until solid (about 1-2 hours). Once frozen, transfer the chips to an airtight container or freezer bag. They will stay good for up to 2 months. When you’re ready to enjoy them again, simply reheat in the oven at 350°F (175°C) for about 5-7 minutes to regain that delightful crunch.
What should I do if my chips are chewy instead of crispy?
Very! If your black bean chips are chewy, it may be due to them being too thick. For future batches, aim for a thickness of about 1/8 inch when flattening the batter. If they’ve already been baked, simply return them to the oven for a few more minutes until they reach your desired crispiness. Letting them cool on the baking sheet will also help them firm up.
Are black bean chips safe for those with gluten allergies?
Absolutely! Black bean chips are a great gluten-free snack option. As they are made from black bean flour, they do not contain any wheat or gluten. However, it’s always best to check the label if you’re using store-bought flour to ensure it’s certified gluten-free, just to be safe!
Crispy Black Bean Chips: A Healthy Snack You’ll Love
Ingredients
Equipment
Method
- Preheat your oven to 350°F (175°C) and line baking sheets with parchment paper.
- If using whole black beans, measure out half a cup and blend in a powerful blender until fine flour consistency is achieved.
- In a mixing bowl, combine black bean flour and sea salt. Mix well using a fork.
- Add avocado oil to the mixture and incorporate. Gradually add water while stirring until you have a slightly runny batter.
- Scoop portions of the batter onto the lined baking sheets ensuring space for spreading.
- Flatten each scoop with a fork to about 1/8 inch thickness for optimal crispiness.
- Bake in the preheated oven for 10 minutes. Flip chips and bake for an additional 8-10 minutes until crispy.
- Remove from oven and let cool completely on the baking sheets before enjoying.
Leave a Reply