
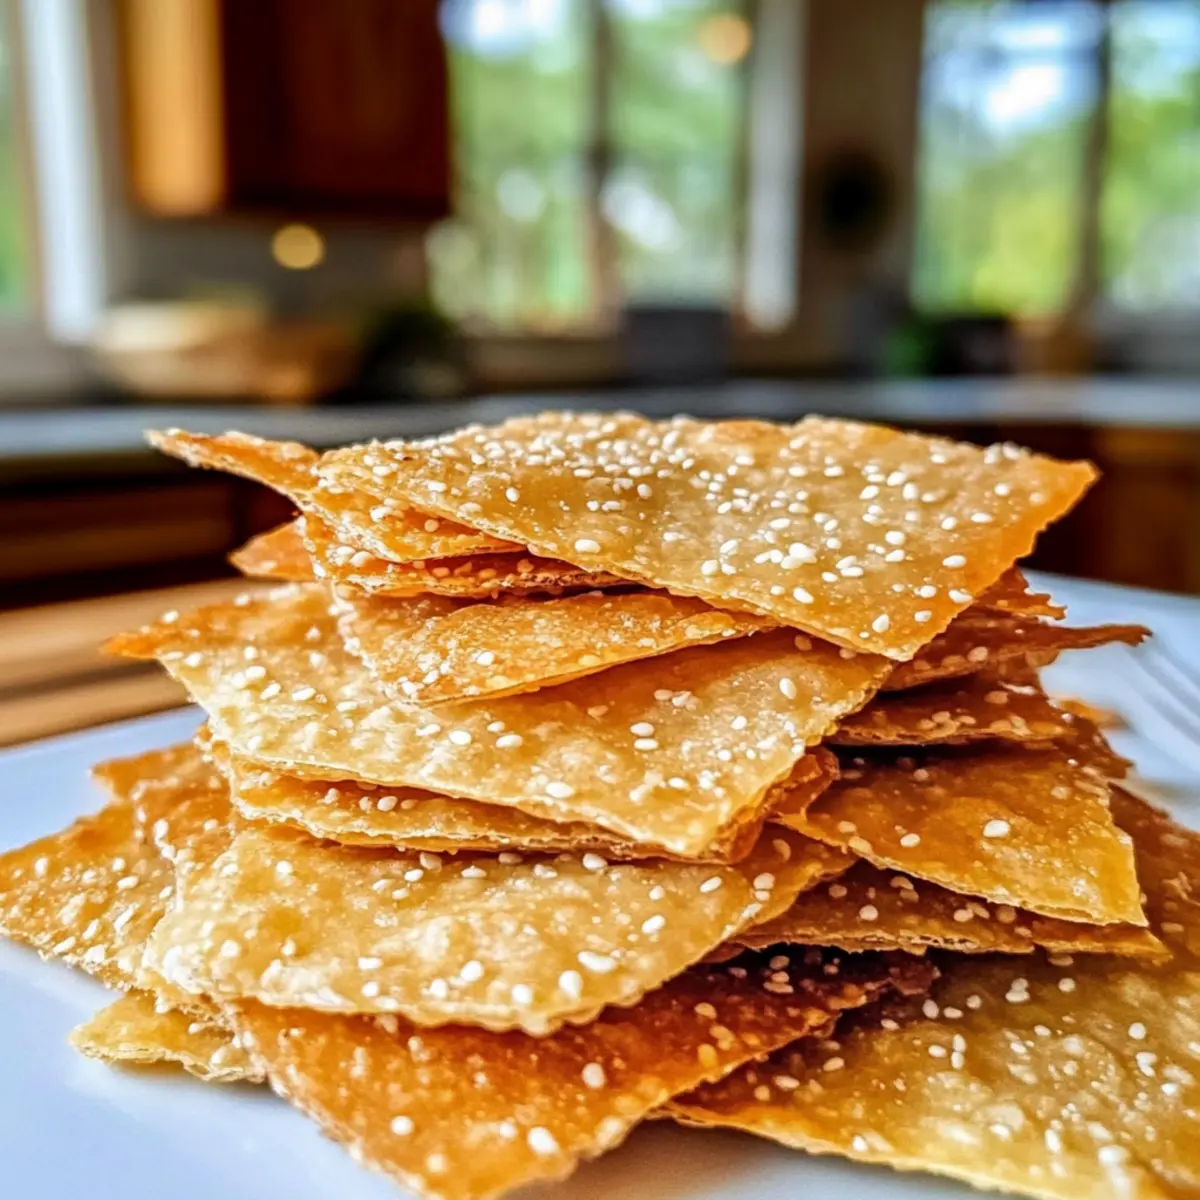
As I took my first bite of these Chickpea Flour Crackers, I couldn’t help but grin at the delightful crunch that met my taste buds. This recipe transforms humble chickpea flour into a gluten-free snack that’s not only high in protein but also incredibly versatile. Whether you’re snacking alone or impressing guests at a gathering, these homemade crackers are a perfect go-to. Plus, they are quick and easy to make—ideal for those of us who crave a healthy option without dedicating hours in the kitchen. With endless seasoning possibilities, you can customize them to suit your mood or pantry. Ready to spice up your snacking game? Let’s dive into the simple steps for crafting these irresistible treats!
Why are Chickpea Flour Crackers a Game Changer?
Healthy Snacking Made Easy: These Chickpea Flour Crackers are an irresistible guilt-free option that packs a protein punch while being gluten-free.
Versatile Appeal: They can be customized with your choice of flavors, making them perfect for any occasion, whether you’re dipping them in hummus or pairing with cheese spreads.
Quick Preparation: With just a few simple steps, you’ll whip up a batch in no time, making them a hassle-free alternative to store-bought snacks.
Crowd-Pleasing Crunch: Every bite delivers a satisfying crunch that everyone—friends, family, or your own craving self—will love! Make them for your next gathering or enjoy them solo for a nutritious snack.
Plus, you can explore more tasty options in our guide on making healthy snacks that will keep you energized throughout the day!
Chickpea Flour Crackers Ingredients
For the Base
• Chickpea Flour – Provides a nutty flavor and a gluten-free base for your crackers.
• Olive Oil – Adds moisture and richness to the dough for a satisfying texture.
• Water – Hydrates the mixture to form a pliable dough.
For the Seasoning
• Garlic Powder – Enhances flavor with a savory depth; fresh minced garlic can intensify it.
• Onion Powder – Adds subtle sweetness and earthiness; finely chopped fresh onion can be a substitute.
• Smoked Paprika – Introduces a warm, smoky flavor; regular paprika or chili powder works for a different twist.
• Salt – Elevates all the flavors; feel free to use sea salt or kosher salt interchangeably.
Optional Toppings
• Sesame Seeds – Offers a delightful crunch and nutty flavor.
• Fresh Herbs – Adds freshness; any preferred herbs (like thyme or rosemary) can elevate the taste.
Enjoy creating your Chickpea Flour Crackers with these carefully selected ingredients that promise to satisfy your snack cravings!
Step‑by‑Step Instructions for Chickpea Flour Crackers
Step 1: Preheat the Oven
Begin by preheating your oven to 350°F (175°C). While the oven warms up, line a baking sheet with parchment paper to prevent the crackers from sticking. This preparation will ensure that your Chickpea Flour Crackers bake evenly and achieve that desired crispiness.
Step 2: Combine the Ingredients
In a medium mixing bowl, combine chickpea flour, olive oil, water, garlic powder, onion powder, smoked paprika, and salt. Stir the mixture until it forms a soft, cohesive dough. If the dough feels too dry, gradually add a splash more water until it reaches the right consistency, ensuring a perfect balance of flavors.
Step 3: Roll Out the Dough
Once your dough is ready, place it between two sheets of parchment paper. Using a rolling pin, roll it out to a thin layer, about 1-2 mm thick. This step is crucial, as a uniform thickness will help the Chickpea Flour Crackers cook evenly and achieve that satisfying crunch!
Step 4: Cut the Crackers
After rolling out the dough, remove the top layer of parchment paper. Use a sharp knife or pizza cutter to cut the dough into squares or rectangles, making sure they are well-defined. Transfer these pieces onto the lined baking sheet. Optionally, sprinkle sesame seeds or fresh herbs on top for added flavor and visual appeal.
Step 5: Bake the Crackers
Place the baking sheet in the preheated oven and bake the crackers for 15-20 minutes. Keep a close eye on them, as you want them to turn golden and firm. The visual cue of a slight browning indicates that your Chickpea Flour Crackers are nearing perfection, offering that beloved crunch.
Step 6: Cool and Store
Once baked, remove the crackers from the oven and let them cool completely on the baking sheet. This cooling process is essential to maintain their crispness. Once cooled, store your delicious Chickpea Flour Crackers in an airtight container, where they can stay fresh and crunchy for up to a week.
Make Ahead Options
These Chickpea Flour Crackers are fantastic for meal prep, allowing you to create healthy snacks in advance! You can prepare the dough and store it in the refrigerator for up to 24 hours before rolling and baking. Simply mix the chickpea flour, olive oil, water, and seasonings, then wrap the dough tightly in plastic wrap to maintain moisture. When you’re ready to serve, roll out the dough, cut it into your desired shapes, and bake as directed. This time-saving approach ensures you’ll have fresh, crunchy crackers just when you need them, making snack time a breeze for busy weeknights!
What to Serve with Crunchy Chickpea Flour Crackers
Elevate your snacking experience with perfect pairings that complement the nutty flavors and satisfying crunch of these delicious crackers.
- Hummus: A classic pairing, creamy hummus adds a rich texture and flavor that balances the crispness of the crackers.
- Tzatziki Sauce: The cool, tangy notes of tzatziki bring a refreshing lift, making each bite a delightful experience.
- Guacamole: This rich and smooth avocado dip introduces a creamy element that pairs beautifully with the crunch.
- Cheese Spreads: Creamy goat cheese or tangy feta spread onto these crackers creates a sophisticated appetizer for gatherings.
- Fresh Veggies: Sliced cucumbers, cherry tomatoes, or bell peppers provide a crunchy, refreshing contrast, uplifting your snacking experience.
- Olives: A bowl of marinated olives adds a salty, briny flavor that beautifully complements the blandness of the crackers while enhancing their taste.
- Chutneys or Salsas: Sweet or spiced chutneys introduce layers of flavor, making your crunchy snack an adventure for your taste buds.
- Wine Pairing: A light white wine or bubbly sparkling water will enhance the flavors of your chickpea flour crackers and offer a refreshing finish.
- Dairy-Free Yogurt Dip: For a creamy, zesty option, a plant-based yogurt dip with herbs can be a delightful twist, perfectly complementing the crackers.
- Dark Chocolate: For a sweet ending, pair a piece of dark chocolate for a surprising yet delightful contrast to the savory crackers.
Chickpea Flour Crackers Variations & Substitutions
Feel free to let your imagination run wild as you customize these delicious crackers with different flavors and textures!
-
Herb-Infused: Add finely chopped fresh herbs like rosemary or thyme directly into the dough for a burst of flavor. The aromatic profiles will take your snacking experience to a whole new level.
-
Dairy-Free: Incorporate nutritional yeast into the mix for a cheesy flavor without the dairy. This little twist will delight your taste buds and keep your snack vegan-friendly.
-
Spicy Kick: Mix in chili powder or cayenne for a fiery version! The added heat will awaken your palate and transform your crackers into a bold snack for adventurous eaters.
-
Sweet Twist: For a dessert-like experience, use cinnamon instead of spices and serve with honey or a sweet dip. It’s a delightful change that will surprise your friends during snack time.
-
Nutty Crunch: Toss in some sunflower seeds or pumpkin seeds into the dough for added texture and nutrition. The extra crunch complements the chickpea flavor beautifully.
-
Mediterranean Flair: Replace smoked paprika with za’atar spice blend for Mediterranean vibes. This flavorful mix will elevate your crackers to pair perfectly with dips like baba ganoush or tzatziki.
-
Cheezy Garlic: Use a blend of garlic powder and nutritional yeast for a combination that tantalizes the taste buds! This variation mimics the umami taste of cheesy garlic bread.
-
Flavor Variety: Don’t hesitate to experiment with other seasoning blends or spices you have on hand. A dash of curry powder or a sprinkle of Italian herbs can create unique variations that keep your snack time exciting.
Feel inspired? Explore more healthy choices like homemade energy bars or discover how to master bring your favorite dips to the table for an unforgettable snacking experience!
Expert Tips for Chickpea Flour Crackers
-
Even Thickness: Ensure uniform thickness when rolling out the dough to avoid uneven baking; this guarantees that all crackers become perfectly crispy.
-
Watch the Oven: Bake until golden brown; pulling them out too early can leave you with a chewy texture instead of the desired crunch.
-
Season Well: Don’t skimp on spices and seasonings; they are key to elevating your Chickpea Flour Crackers from bland to bursting with flavor.
-
Storage Savvy: Store in an airtight container at room temperature to keep them crisp for up to one week; moisture is the enemy of crunch!
-
Experiment: Feel free to try out different spices and toppings—let your creativity shine! Spice blends like za’atar or adding seeds can customize your crackers beautifully.
How to Store and Freeze Chickpea Flour Crackers
Room Temperature: Store your Chickpea Flour Crackers in an airtight container at room temperature for up to 1 week. This helps maintain their delicious crispness.
Fridge: If you’ve got leftover crackers, keeping them in the fridge can extend their life, but they may lose some crunch. Aim to consume them within 5 days.
Freezer: To freeze, place cooled crackers in a single layer in an airtight container or freezer bag. They can last for up to 3 months. When ready to enjoy, simply reheat in the oven at 350°F (175°C) for a few minutes to regain their crunch.
Reheating: For best results, reheat your crackers in the oven instead of the microwave to ensure they stay crispy. Enjoy snacking!
Chickpea Flour Crackers Recipe FAQs
What should I look for when selecting chickpea flour?
When selecting chickpea flour, choose a fine, light-colored flour free from dark spots or clumps. Freshness is key; check the expiration date. If possible, opt for organic flour for a better taste and nutritional profile.
How long can I store Chickpea Flour Crackers?
You can store your Chickpea Flour Crackers in an airtight container at room temperature for up to 1 week. If you prefer longer storage, they can be kept in the fridge for about 5 days, though this may cause them to lose some crispness.
Can I freeze Chickpea Flour Crackers, and how do I do it?
Absolutely! To freeze your crackers, place them in a single layer in an airtight container or freezer bag, ensuring as much air as possible is removed. They can be frozen for up to 3 months. When you’re ready to enjoy them, simply reheat in a preheated oven at 350°F (175°C) for a few minutes until crispy.
What can I do if my crackers are too soft?
If your crackers turn out too soft, it might be due to underbaking or uneven thickness. Make sure to bake until golden and crispy and roll the dough evenly for a consistent texture. If they become soft after storage, a quick reheat in the oven can bring back their crunch!
Are Chickpea Flour Crackers suitable for my gluten-free diet?
Yes! These Chickpea Flour Crackers are naturally gluten-free, making them a perfect snack choice for those with gluten sensitivities or celiac disease. However, always check your additional ingredients (like the oil and seasonings) to ensure they are also gluten-free.
Can I make these crackers pet-friendly?
If you’re considering a pet-friendly version, leave out the garlic and onion powders, as they can be harmful to pets. Instead, you can flavor the dough with simple herbs, ensuring your furry friends can safely enjoy a small piece!
Chickpea Flour Crackers: Crunchy, Healthy & Full of Flavor
Ingredients
Equipment
Method
- Preheat your oven to 350°F (175°C) and line a baking sheet with parchment paper.
- In a mixing bowl, combine chickpea flour, olive oil, water, garlic powder, onion powder, smoked paprika, and salt until a soft dough forms.
- Roll out the dough between two sheets of parchment paper to about 1-2 mm thick.
- Cut the rolled dough into squares or rectangles and place them on the lined baking sheet.
- Bake for 15-20 minutes until golden and firm.
- Remove from oven and let cool completely on the baking sheet.
Leave a Reply