
While raiding the pantry for a late-night snack, I stumbled upon a treasure: the perfect blend of creamy and indulgent flavors waiting to become my go-to dessert. Enter this delicious Chocolate Protein Pudding! Not only does it satisfy those sweet cravings, but it packs in an impressive 20 grams of protein per serving—a blend of nourishment and delight in each bite. This quick dessert not only fits seamlessly into busy weeknights, but it also allows for creative customizations, from luscious toppings to dietary-friendly options. Ready to transform your evenings with a guilt-free sweet treat? Let’s whip up a bowl of this creamy goodness together!

Why Is This Pudding a Game-Changer?
Quick and Easy: This Chocolate Protein Pudding comes together in just minutes, making it the perfect choice for busy weeknights or when you need a late-night snack.
Nutritious Delight: Each serving delivers a whopping 20g of protein, making it an ideal post-workout treat to refuel without the guilt.
Customizable Toppings: Get creative! Top it with fresh berries, whipped cream, or even a drizzle of nut butter to elevate your dessert experience.
Gluten-Free Option: Made with accessible ingredients, this pudding can easily cater to gluten-free diets by simply switching to arrowroot starch!
Satisfies Cravings: You’ll love how its rich, chocolatey flavor satisfies your sweet tooth while keeping calories in check—perfect for anyone looking to indulge smartly! For more tasty and healthy dessert options, check out my Vanilla Chia Pudding with Cinnamon or some Soft Batch Chocolate cookies!
Chocolate Protein Pudding Ingredients
• Get ready to whip up this delightful treat!
For the Base
- Milk (200ml) – This provides a creamy foundation; substitute with almond or oat milk for a dairy-free delight.
- Chocolate Protein Powder (30g) – A chocolatey boost of protein; opt for whey or plant-based varieties based on your preference.
- Whitakers Dark Chocolate (40g, chopped) – A decadent addition for rich flavor and sweetness; feel free to swap for dairy-free chocolate if desired.
- Cocoa Powder (1 tbsp) – Enhances the pudding’s chocolate intensity; choose unsweetened for best results.
- Cornflour (1 tbsp) – Helps thicken the pudding; arrowroot starch can be a great gluten-free substitute.
For Added Flavor
- Maple Syrup or Honey (1 tbsp, optional) – A touch of sweetness for those who like a little extra; adjust to taste for your ideal level of sweetness.
- Vanilla Extract (½ tsp) – Elevates the flavor profile; pure vanilla gives the best results.
- Salt (Pinch) – Balances sweetness and deepens the flavor.
For Toppings (Optional)
- Chocolate Shavings – A touch of elegance to delight the eyes as well as the palate.
- Fresh Berries – A pop of color and freshness; raspberries or strawberries are great choices.
- Greek Yogurt or Whipped Cream – For a creamy finish that complements the rich chocolate.
- Cocoa Powder or Crushed Nuts – For an extra layer of texture and taste.
Dive into this luxurious Chocolate Protein Pudding experience, and treat yourself to a deliciously healthy dessert!
Step‑by‑Step Instructions for Chocolate Protein Pudding
Step 1: Warm the Milk
In a medium saucepan, pour in 200ml of milk and place it over medium heat. Stir occasionally and monitor closely until the milk is warm but not boiling, about 3–5 minutes. This step is crucial for ensuring the chocolate protein pudding mixes smoothly, so look for steam rising without any bubbles forming.
Step 2: Mix Dry Ingredients
While the milk warms, grab a mixing bowl and whisk together 30g of chocolate protein powder, 1 tablespoon of cocoa powder, 1 tablespoon of cornflour, and a pinch of salt. This combination will serve as the foundation of your chocolate protein pudding, so ensure there are no lumps to create a silky texture later on.
Step 3: Create a Smooth Paste
Once the milk is warm, scoop out a few tablespoons and gradually mix them into the dry ingredients in your bowl. Stir until you have a smooth paste free of lumps. This step helps to incorporate the dry ingredients into the warm liquid without clumping, making it easier to combine with the rest of the milk.
Step 4: Combine Mixtures
Pour the smooth paste back into the saucepan with the remaining warm milk, stirring constantly with a whisk or spatula. Ensure that every bit of the paste mixes in well as it helps to thicken the chocolate protein pudding. Cook this mixture for about 3–5 minutes, or until you see it begin to thicken slightly, achieving a velvety consistency.
Step 5: Add Flavorings
Once the pudding has thickened, remove the saucepan from the heat. Stir in the 40g of chopped Whitakers Dark Chocolate, ½ teaspoon of vanilla extract, and 1 tablespoon of maple syrup or honey, if using. Keep mixing until the chocolate is completely melted and incorporated, leaving you with a rich and shiny chocolate protein pudding base.
Step 6: Chill the Pudding
Carefully pour the pudding mixture into individual ramekins or glasses. Allow it to cool for a few minutes before placing them in the refrigerator. Chill for at least 1 hour, or until the pudding is set to your desired consistency. This cooling period is essential for firming up the chocolate protein pudding.
Step 7: Serve with Toppings
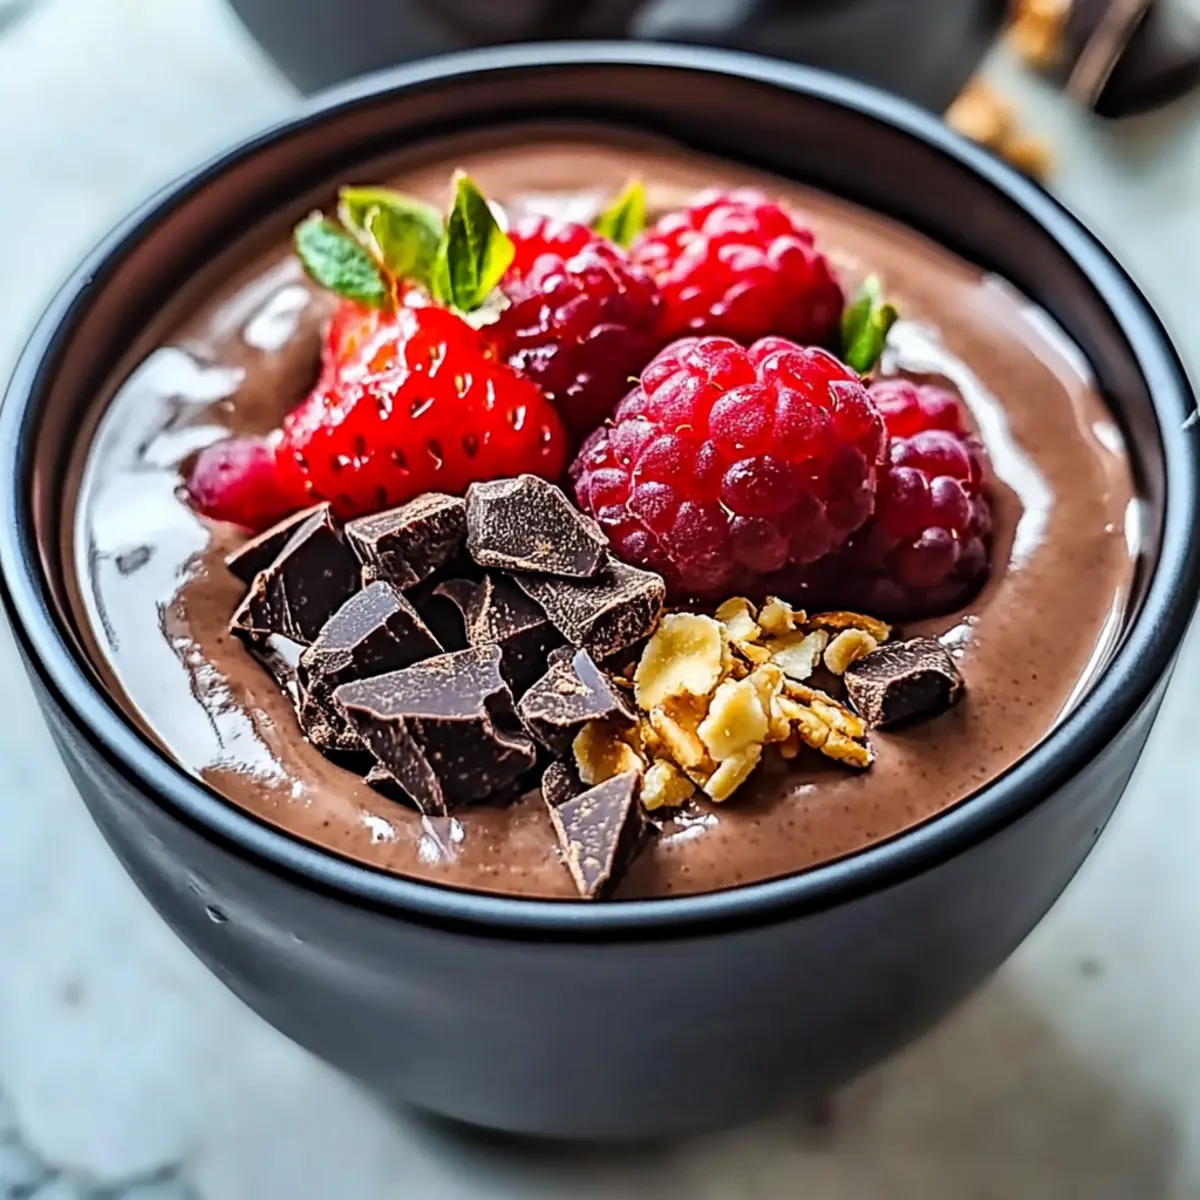
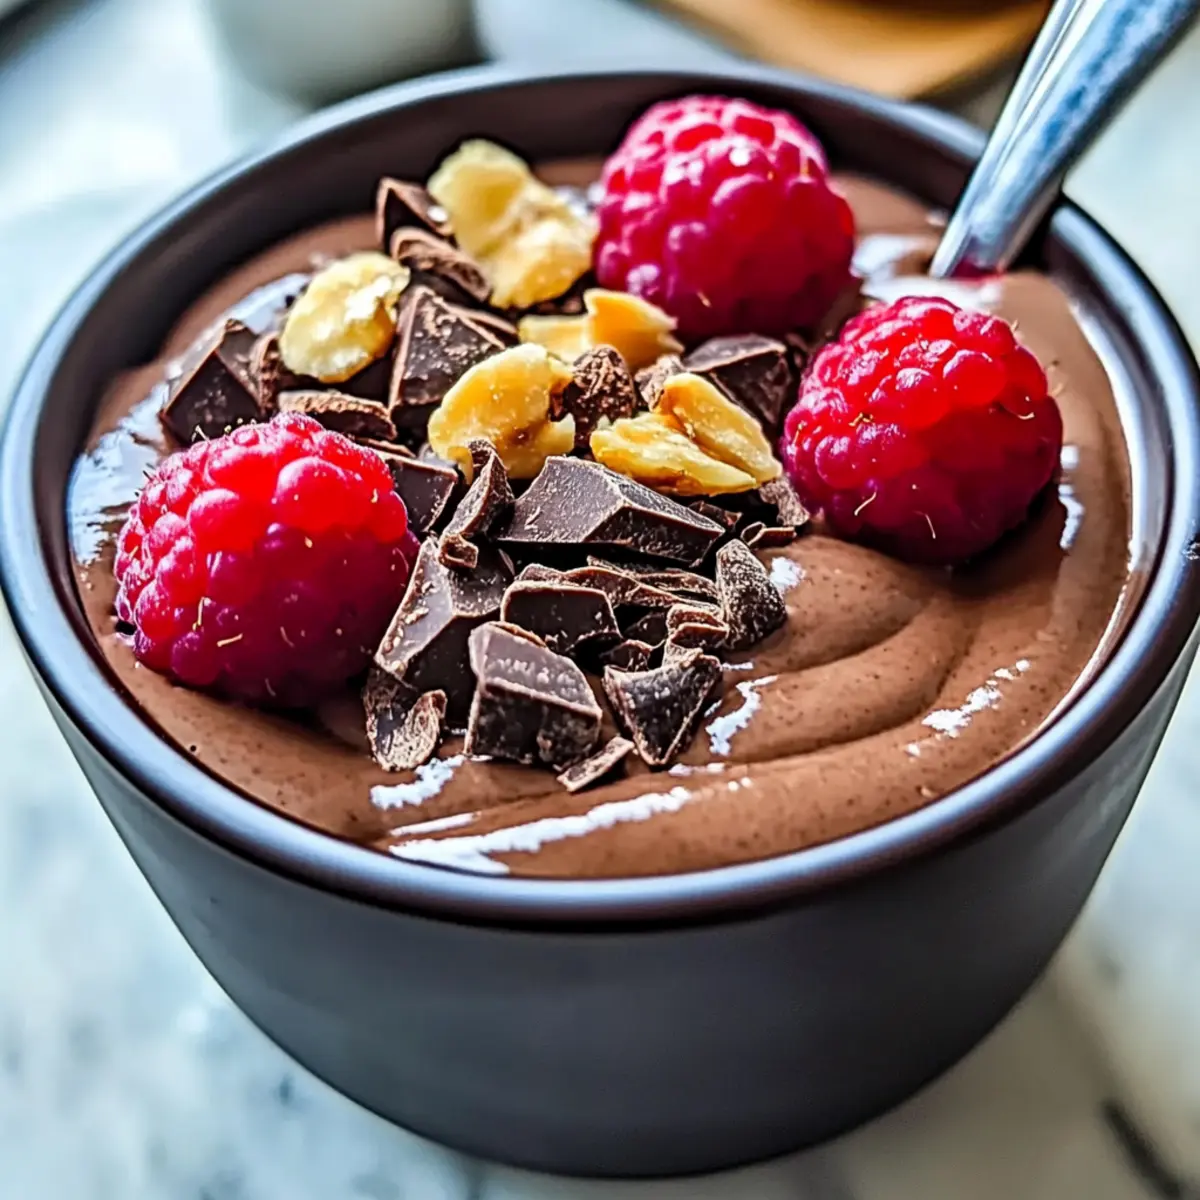
Once your chocolate protein pudding is set, take it out of the refrigerator and unveil its creamy goodness. If desired, garnish with toppings such as chocolate shavings, fresh berries, or a dollop of Greek yogurt for a touch of indulgence. This final step not only enhances flavor but also adds visual appeal to your delicious treat.
Expert Tips for Chocolate Protein Pudding
Avoid Lumps: Ensure the dry ingredients are thoroughly whisked with the warm milk to create a smooth mixture—this helps achieve the perfect texture.
Chill Time Matters: Refrigerate the pudding for at least one hour to let it set properly. Don’t rush this step for the best results!
Storage Wisdom: Keep the pudding in an airtight container in the refrigerator for up to 3 days. If using dairy milk, avoid freezing.
Customizable Flavor: Feel free to experiment with different protein powders or add flavor extracts like almond for a unique twist on the chocolate protein pudding.
Topping Talk: Elevate your dessert by topping with fresh berries or a sprinkle of cocoa. A little creativity goes a long way!
How to Store and Freeze Chocolate Protein Pudding
Fridge: Store the Chocolate Protein Pudding in an airtight container for up to 3 days to maintain its creamy texture and flavor.
Freezer: If you want to keep it longer, freeze portions in airtight containers for up to 1 month. Defrost overnight in the fridge before enjoying.
Reheating: For best results, gently reheat the pudding in the microwave, stirring occasionally, until just warm. Enjoy as a cozy dessert!
Note: Avoid freezing if using dairy milk, as it may separate upon thawing. Opt for plant-based versions for freezing.
Chocolate Protein Pudding: Variations & Substitutions
Customize your delightful dessert experience with these tempting twists and alternatives to the classic chocolate protein pudding!
- Dairy-Free: Swap the milk for almond or oat milk to make this pudding completely dairy-free. It retains its creamy texture while accommodating dietary preferences.
- Flavor Swap: Use vanilla protein powder instead of chocolate for a lighter flavor profile. This will give your pudding a unique twist while still delivering on protein.
- Fruity Addition: Blend in some ripe banana or avocado for a fruity touch that adds natural sweetness and creaminess. Both options not only enhance the flavor but boost the nutritional value as well!
- Nutty Richness: Stir in a tablespoon of almond or peanut butter. This adds a delightful nuttiness and creaminess to the pudding, making it even more indulgent.
- Cocoa Kick: For more intense chocolate flavor, add an extra tablespoon of cocoa powder. This will deepen the chocolate richness without adding significant calories.
- Spicy Chocolate: Infuse your pudding with a pinch of cayenne pepper or cinnamon for a surprising kick. This will warm up your palate and create a delightful contrast to the sweetness.
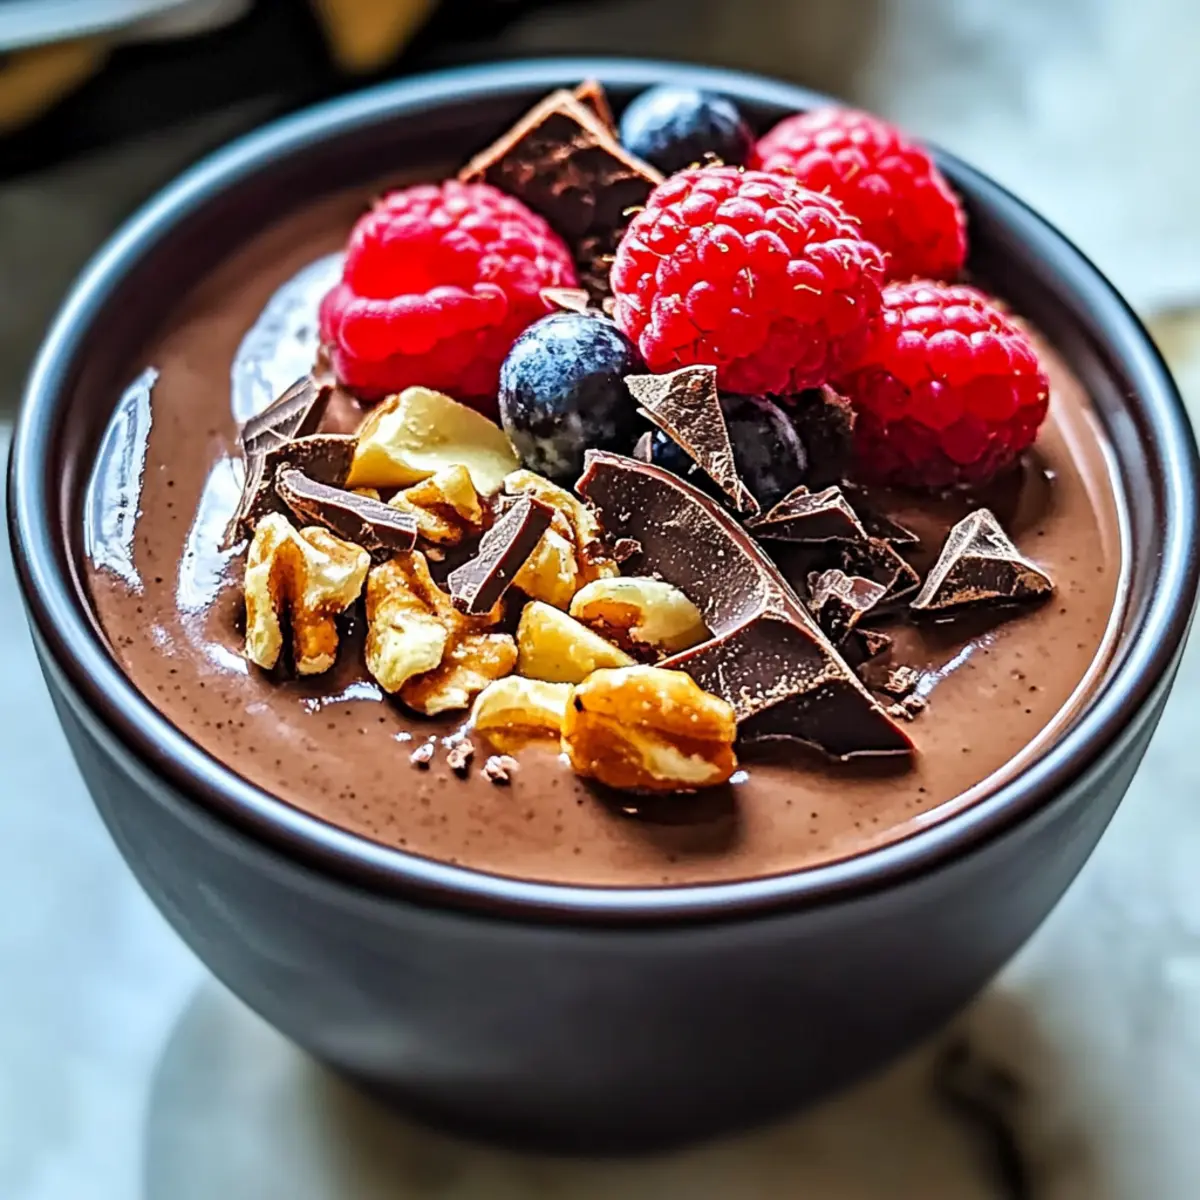
- Crunch Factor: Top with crushed nuts or granola for added texture. This contrast between creamy pudding and crunchy toppings takes the dessert to the next level.
- Protein Boost: To amp up the protein content, mix in a dollop of Greek yogurt. It elevates the creaminess while providing an extra protein punch—perfect for a post-workout treat!
With these variations, you can make your Chocolate Protein Pudding truly your own! Want more tempting recipes? Don’t forget to check out my Whipped Hot Chocolate or indulge in a decadent French Chocolate Flan. Enjoy experimenting!
Make Ahead Options
These Chocolate Protein Pudding cups are a fantastic option for busy home cooks looking to save time! You can prepare the entire pudding mixture up to 24 hours in advance. Simply follow the recipe up to the chilling step, pour the mixture into your ramekins or glasses, and refrigerate them right away. This not only ensures the flavors meld beautifully, but it also lets the pudding set perfectly, so it’s just as delicious when you’re ready to serve. To maintain quality, store them covered tightly with plastic wrap or in an airtight container. When it’s time to enjoy, simply add your favorite toppings, and you’ll have a nutritious dessert ready to impress with minimal effort!
What to Serve with Chocolate Protein Pudding
Satisfy your cravings with these delightful pairings that elevate your dessert experience beyond the ordinary.
- Fresh Berries: Juicy strawberries, blueberries, or raspberries add a burst of freshness and a touch of acidity that complements the rich pudding beautifully.
- Whipped Cream: A dollop of homemade whipped cream adds a light, airy contrast, making each spoonful an indulgent delight.
- Crushed Nuts: Walnuts or almonds provide a satisfying crunch, enhancing the pudding’s creaminess with nutty flavors that balance sweetness perfectly.
- Dusting of Cocoa Powder: Sift some cocoa powder on top for an extra layer of chocolate intensity; simple yet sophisticated!
- Banana Slices: Slices of ripe banana bring natural sweetness and a creamy texture, blending wonderfully with the chocolate richness.
- Coffee: A cup of coffee or espresso can be the perfect companion, bringing a bitter note that contrasts with the sweetness of the pudding.
Imagine the perfect evening—savoring your Chocolate Protein Pudding, topped with fresh berries and a drizzle of honey, paired with a warm drink. It’s comfort food at its finest!
Chocolate Protein Pudding Recipe FAQs
How do I select the right chocolate for my pudding?
Absolutely! For the best flavor, look for high-quality chocolate with at least 70% cocoa content. If you’re aiming for a dairy-free option, choose a dark chocolate brand that explicitly states it’s dairy-free. I often recommend using Whitakers Dark Chocolate for its rich, smooth taste, but any similar chocolate will work wonders!
How should I store my Chocolate Protein Pudding?
To keep your Chocolate Protein Pudding fresh, store it in an airtight container in the refrigerator. It will stay delicious for up to 3 days. Just be sure to cover it well, as it can absorb odors from other foods. If you’re planning to enjoy it later in the week, always check for any changes in texture or smell before diving back in.
Can I freeze Chocolate Protein Pudding?
Yes, you can! If you’re using plant-based milk, you can freeze your pudding for up to 1 month. To freeze, simply portion it into airtight containers and label them with the date. When you’re ready to enjoy some, defrost overnight in the fridge. Give it a gentle stir before serving to regain its creamy texture. Avoid freezing if you use dairy milk, as it might separate when thawed.
What should I do if my pudding is too runny?
If your Chocolate Protein Pudding turns out runny, don’t worry! Simply return it to the saucepan and heat it gently on low, stirring continuously. To thicken it further, you can mix 1 teaspoon of cornstarch with a bit of cold milk, then whisk this mixture back into the pudding as it heats. Keep stirring until it thickens to your desired consistency—this typically takes just a few minutes!
Is this recipe suitable for special diets?
Very! This Chocolate Protein Pudding is naturally gluten-free if you use cornflour or arrowroot starch as a thickener. If you have lactose intolerance or follow a vegan diet, simply substitute dairy milk for almond or oat milk, and use dairy-free chocolate. Plus, you can adjust the sweetness by opting for maple syrup or omitting it entirely. Enjoy without worry!
What are some good toppings for my pudding?
Get creative with your toppings! Some great options include fresh berries for a juicy contrast, a dollop of Greek yogurt or whipped cream for creaminess, and chocolate shavings for added decadence. You can even drizzle with nut butter for a protein boost. The more the merrier when it comes to toppings, so feel free to mix and match according to your taste!
Decadent Chocolate Protein Pudding That's Guilt-Free Indulgence
Ingredients
Equipment
Method
- Warm the Milk: In a medium saucepan, pour in 200ml of milk and heat over medium until warm.
- Mix Dry Ingredients: In a mixing bowl, whisk together the chocolate protein powder, cocoa powder, cornflour, and salt.
- Create a Smooth Paste: Mix a few tablespoons of warm milk into the dry ingredients to make a smooth paste.
- Combine Mixtures: Pour the paste back into the saucepan with the remaining milk, stirring constantly.
- Add Flavorings: Once thickened, remove from heat and stir in chopped chocolate, vanilla extract, and maple syrup or honey.
- Chill the Pudding: Pour into ramekins or glasses and refrigerate for at least 1 hour.
- Serve with Toppings: Garnish with toppings and enjoy your delicious treat!
Leave a Reply