
If you crave a little indulgence without the guilt, I have just the solution for you: Oreo Protein Balls. These delightful bites combine the beloved flavors of Oreo cookies with a healthy twist, making them a perfect no-bake treat that comes together in just ten minutes. With the added benefit of being high in protein and gluten-free, they’re ideal for those busy days when you need a quick pick-me-up or a post-workout snack. Imagine reaching for these creamy, delectable treats that not only satisfy your sweet tooth but also nourish your body. So, let’s dive into this simple recipe that promises to keep your taste buds happy and your health goals on track. Are you ready to roll up your sleeves and whip up a batch?
Why are Oreo Protein Balls a must-try?
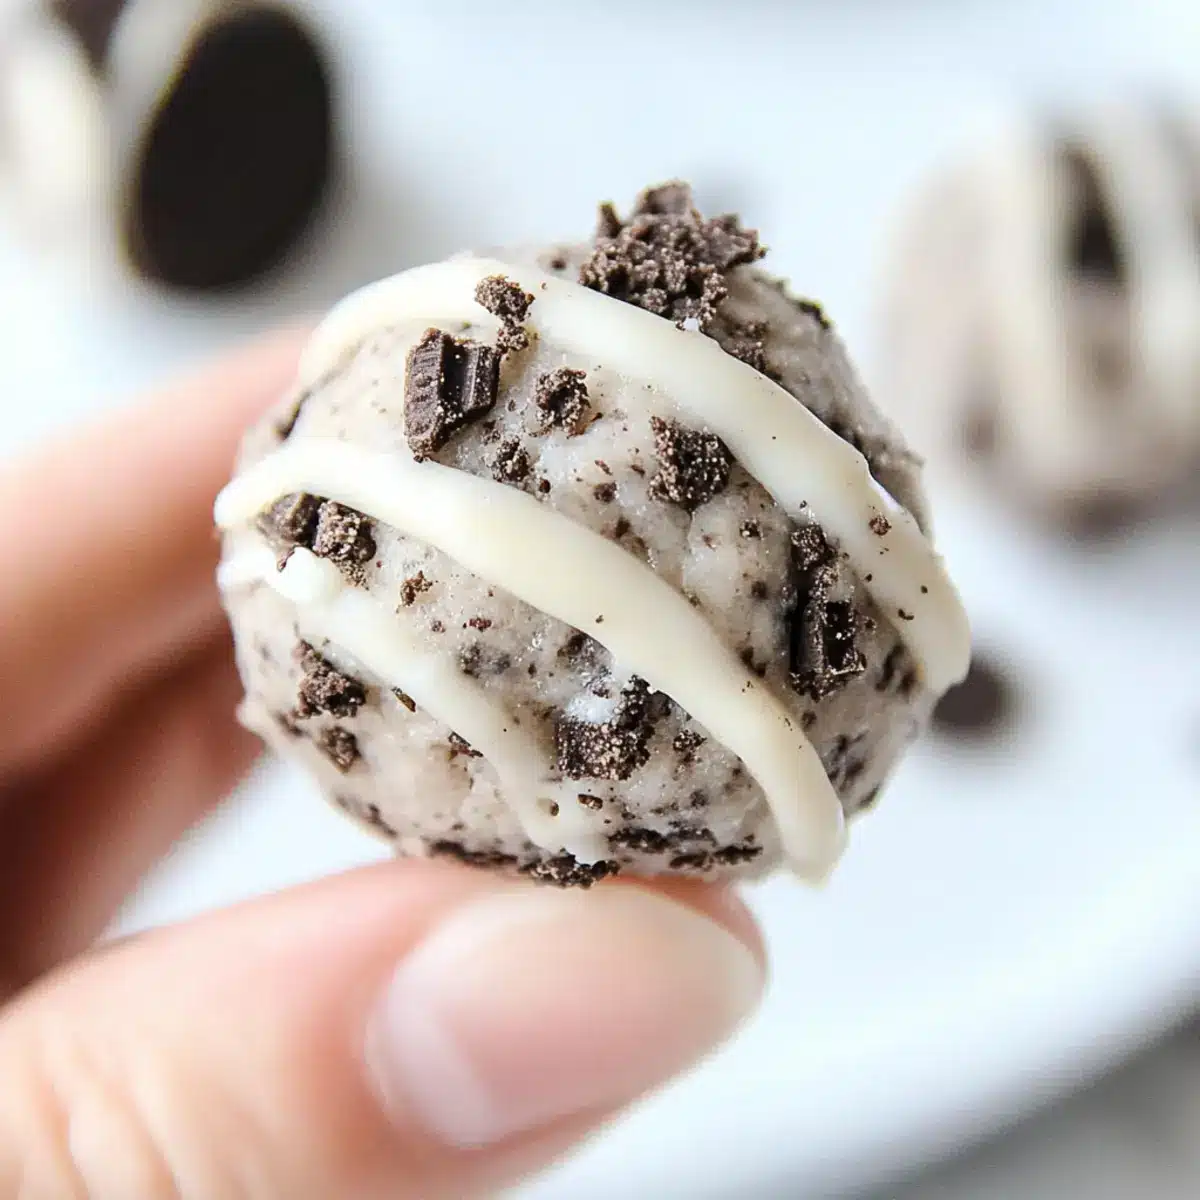
Absolutely delicious: Each bite of these creamy Oreo protein balls bursts with the rich flavor of your favorite cookies, satisfying cravings without the guilt.
Quick & Easy: With just six simple ingredients and ten minutes of prep time, you can have a delightful snack ready in no time.
Nutritious Twist: Packed with protein, these treats make a hearty post-workout snack while keeping you full and satisfied.
Versatile Ingredients: Feel free to customize! Substitute with your favorite protein powder or try different cookies for a unique spin.
Crowd-Pleaser: Perfect for parties or as an afternoon treat, everyone will love these guilt-free indulgences. Pair them with Protein Pudding Indulge for a balanced snack!
Oreo Protein Balls Ingredients
For the Batter
• Vanilla Protein Powder – A delicious way to boost protein content; feel free to substitute with any preferred protein powder.
• Coconut Flour – Provides great structure and texture; if unavailable, oat flour works too but may change the consistency.
• Monk Fruit Sweetener or Sugar – Adds the perfect touch of sweetness; you can use other granulated sweeteners like erythritol for a lower carb option.
• Cream Cheese – Brings creaminess and richness to the mix; opt for low-fat or vegan cream cheese for a healthier spin.
• Oreo Cookies – Imparts that signature Oreo flavor and delightful crunch; using gluten-free Oreos makes this treat friendly for dietary restrictions.
• White Chocolate Chips (optional) – For drizzling on top, they add a luscious sweet finish; skip them for a lower calorie snack.
These Oreo Protein Balls are not just tasty treats; they’re a guilt-free way to indulge!
Step‑by‑Step Instructions for Oreo Protein Balls
Step 1: Chop Oreo Cookies
Begin by finely chopping the Oreo cookies using a sharp knife or a food processor. Aim for a mix of fine crumbs and larger chunks to create a delightful texture in your Oreo protein balls. This step should take about 3–5 minutes, and the cookies should resemble a mixture of dust and small pieces, ultimately enhancing the flavor and crunchiness of your treats.
Step 2: Mix Dry Ingredients
In a large mixing bowl, combine the vanilla protein powder, coconut flour, and your chosen sweetener. Use a whisk or spoon to blend these dry ingredients thoroughly until they are uniformly mixed together. This should take about 2 minutes. A well-combined mixture ensures that each bite of your Oreo protein balls is consistently flavored and sweetened.
Step 3: Incorporate Cream Cheese
Next, add the cream cheese to the dry mixture. Using a spatula or your hands, mix until everything is fully combined, ensuring no lumps remain. If the mixture appears too thick, consider adding a splash of almond milk, just until smooth and workable. This blending process should take around 2–3 minutes, resulting in a creamy and cohesive batter that’s easy to shape.
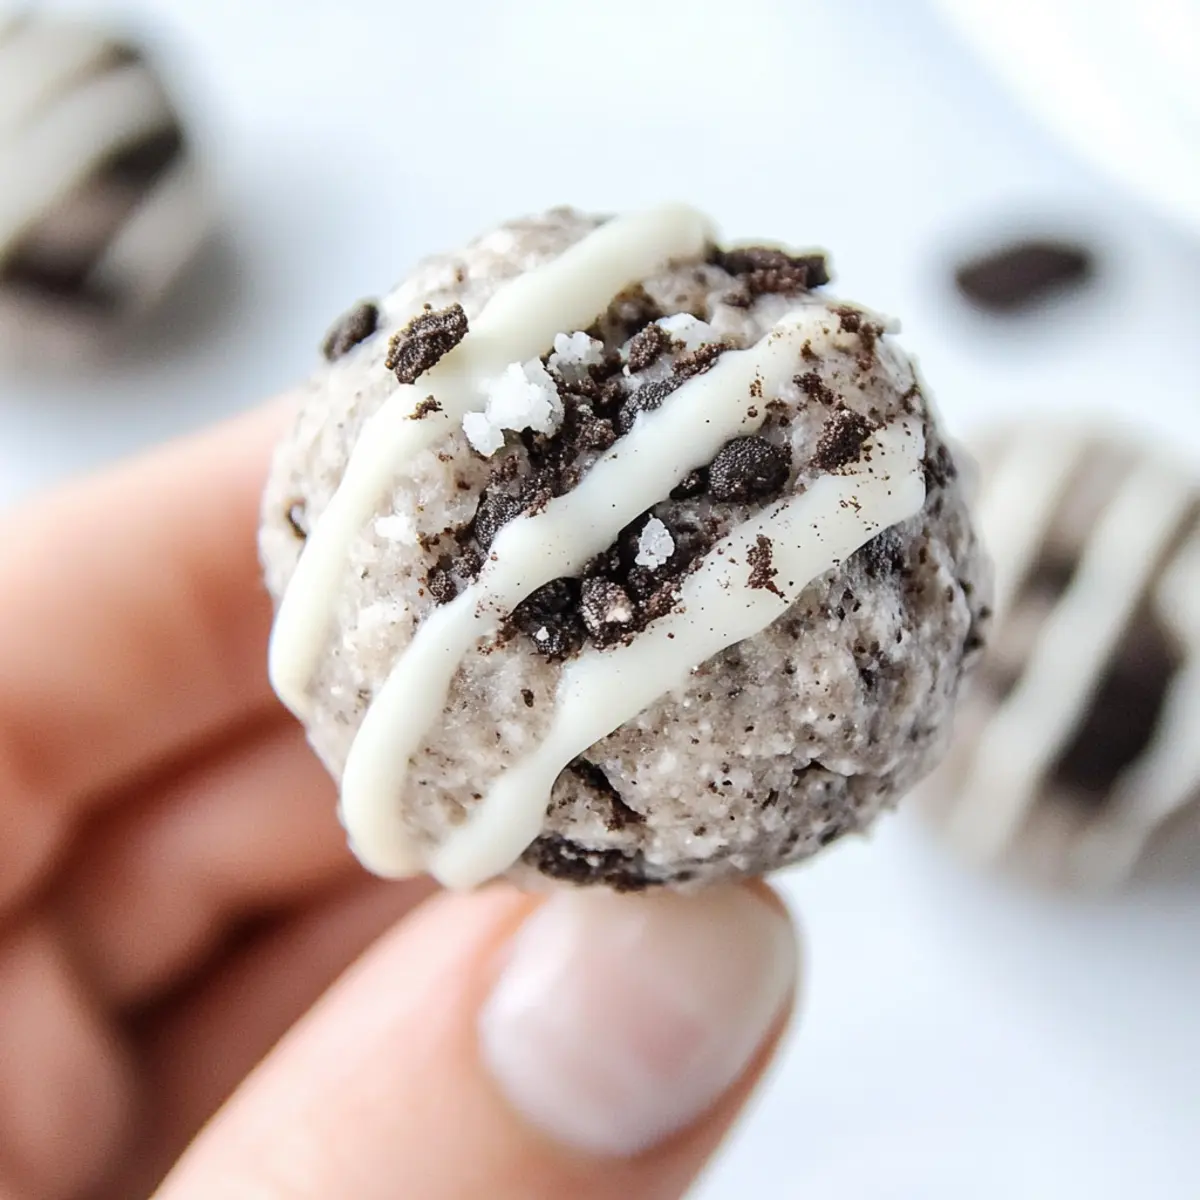
Step 4: Form the Protein Balls
Once your mixture is ready, use your hands to scoop out tablespoon-sized portions and roll them into balls. Place these formed balls on a baking sheet lined with parchment paper for easy cleanup. Aim for about 15 balls total, ensuring they are compact yet slightly soft to the touch. This step should take around 5 minutes, and the visual cue is achieving a uniform size that looks deliciously inviting.
Step 5: Chill to Set
Transfer the baking sheet with the rolled Oreo protein balls into the refrigerator and let them chill for at least 15 minutes. This chilling time allows the flavors to meld and the texture to firm up. After 15 minutes, check that they are slightly firmer to the touch, making them easier to enjoy without falling apart during bites.
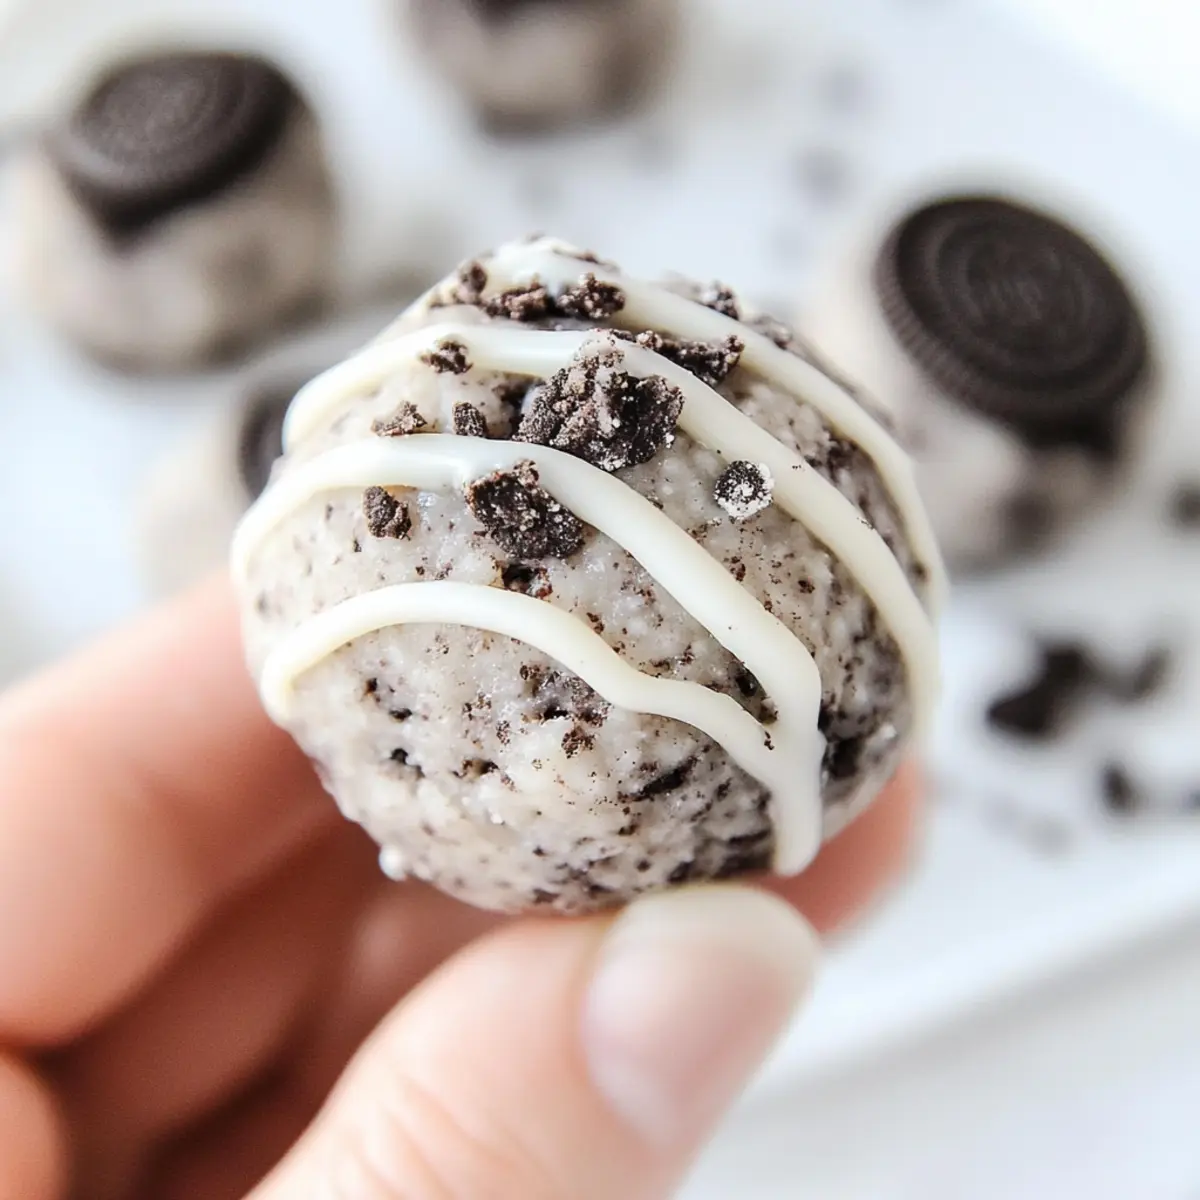
Step 6: (Optional) Drizzle with White Chocolate
If desired, melt the white chocolate chips in a microwave-safe bowl in 15-second intervals, stirring in between until smooth and melted. Once melted, drizzle the chocolate over the chilled Oreo protein balls using a spoon or a piping bag for precision. This step adds a luxurious touch to your tasty treats, taking about 5 minutes to beautifully finish your Oreo protein balls.
What to Serve with Oreo Protein Balls?
Imagine curling up with a cozy snack that complements the indulgent flavors of your creamy, chocolatey treats.
- Fresh Berries: Juicy strawberries or blueberries bring a burst of freshness that contrasts beautifully with the creamy richness of the protein balls.
- Nutty Granola: A sprinkle of crunchy granola adds texture and pairs well with the smoothness of the Oreo bites. Enjoy a satisfying crunch with every bite!
- Greek Yogurt Parfait: Layer Greek yogurt with fruits and a drizzle of honey for a delightful contrast, creating a fulfilling snack that’s both creamy and refreshing.
- Chocolate Almond Milk: This silky drink not only complements the chocolate flavor of the protein balls but also enhances the protein content in your snack time.
- Coconut Chips: These crunchy, lightly sweet chips add a tropical twist that plays wonderfully with the cookies’ flavors and textures.
- Peanut Butter Dip: A creamy peanut butter dip offers a wonderful nutty contrast, deepening the flavor experience while boosting protein intake. Simply mix with a bit of honey for added sweetness!
- Chia Seed Pudding: Utterly creamy and full of nutrients, chia pudding brings a healthy element to your snacking, making it delightful and satisfying at the same time.
How to Store and Freeze Oreo Protein Balls
Fridge: Store your Oreo protein balls in an airtight container in the refrigerator for up to 5–7 days. This keeps them fresh and ready for a quick snack.
Freezer: For longer storage, freeze the protein balls in a single layer on a baking sheet, then transfer to a freezer-safe container. They can last up to 3 months this way.
Reheating: When ready to enjoy, thaw in the fridge or at room temperature. If frozen, allow them to sit for about 30 minutes before serving for the best texture.
Wrap Well: To maintain freshness and prevent freezer burn, ensure that the container is tightly sealed or wrap individual balls in plastic wrap before freezing.
Expert Tips for Oreo Protein Balls
• Texture Matters: Ensure the mixture isn’t too wet; too much moisture can lead to soggy balls. Adjust with coconut flour to achieve the right consistency.
• Sweetness Level: For a less sweet treat, feel free to reduce or even omit the sweetener. This helps maintain a subtle flavor while keeping it healthy.
• Storage Solution: Store your Oreo protein balls in the fridge for up to 5–7 days, or freeze them for longer shelf life—ideal for quick snacking anytime!
• Variation Flexibility: Experiment by using chocolate-flavored protein powder for a richer taste, or swap out Oreo cookies for nut-based or sugar-free varieties.
• Efficient Mixing: Using a food processor can greatly speed up the mixing process and ensure a consistent texture throughout your Oreo protein balls.
Make Ahead Options
These Oreo Protein Balls are a fantastic choice for meal prep, saving you time during busy weekdays! You can prepare the Oreo cookie mixture and form the balls up to 24 hours in advance. Simply chop the Oreo cookies, mix with the dry ingredients, and incorporate the cream cheese. After forming the balls, place them on a baking sheet and refrigerate them to maintain their freshness. When you’re ready to enjoy, drizzle them with melted white chocolate (if desired) just before serving for that indulgent finish. This way, you’ll have delicious, protein-packed snacks at your fingertips, perfect for any craving!
Oreo Protein Balls Variations & Substitutions
Unlock endless delicious possibilities by customizing your Oreo protein balls to fit your taste and dietary needs!
- Chocolate Protein Powder: Use chocolate-flavored powder instead of vanilla for a rich, chocolatey delight.
- Alternative Cookies: Swap Oreos for chocolate chip or peanut butter cookies for new flavor profiles; think outside the cookie box!
- Nutty Crunch: Add chopped nuts like almonds or walnuts for a satisfying crunch and extra nutrition.
- Fruit Frenzy: Incorporate dried fruits like cranberries or raisins for a burst of sweetness and additional fiber.
- Vegan Option: Replace cream cheese with dairy-free cream cheese or nut butters like almond or cashew for a vegan-friendly twist.
- Texture Twist: Mix in some oats for a chewier texture and additional health benefits; oats are a great source of fiber.
- Spicy Kick: Add a dash of cayenne pepper or chili powder to the mix for a surprising twist that elevates the flavor profile.
- Drizzled Delight: Try a dark chocolate drizzle instead of white chocolate for a decadent finish that adds depth.
These versatile swaps allow you to make the most of your snacks. If you’re looking for more ways to enjoy snacks, you won’t want to miss these indulgent Butterfinger Balls Decadent or the creamy Broccoli Cheese Balls for perfect party treats!
Oreo Protein Balls Recipe FAQs
How should I choose the best Oreos for this recipe?
Look for Oreos that are fresh and free from any visible damage. If you prefer gluten-free options, make sure to choose gluten-free Oreo cookies. The freshness of the cookies will enhance the flavor and texture of your Oreo protein balls, providing that satisfying crunch you love!
What’s the best way to store Oreo protein balls?
Store your Oreo protein balls in an airtight container in the fridge for about 5–7 days. This keeps them fresh and delicious! If you want to save them for longer, you can freeze them—they will last up to 3 months in the freezer. Just ensure they’re well-wrapped to prevent freezer burn.
Can I freeze Oreo protein balls? If so, how?
Absolutely! To freeze your Oreo protein balls, first place them in a single layer on a baking sheet and freeze until solid—about 1-2 hours. Then, transfer them to a freezer-safe container or resealable bag for up to 3 months. When you’re ready to snack, just let them thaw in the fridge or at room temperature for about 30 minutes before enjoying!
What if my mixture is too dry or too wet?
If your mixture feels too dry, add a splash of almond milk or a little extra cream cheese to help bind the ingredients together. On the other hand, if it’s too wet, sprinkle in some more coconut flour gradually until you reach a workable consistency. Feel free to knead the mixture with your hands for an even blend!
Are there any dietary considerations with these treats?
Yes! It’s important to note that these Oreo protein balls contain dairy due to the cream cheese. For those with dairy allergies, a vegan cream cheese alternative is a great choice. Additionally, if you’re concerned about sugar intake, opting for monk fruit sweetener or erythritol can help keep these snacks low-carb while still delicious.
Oreo Protein Balls - Decadent No-Bake Treats You’ll Love!
Ingredients
Equipment
Method
- Chop the Oreo cookies finely using a sharp knife or food processor, mixing fine crumbs with larger chunks for texture.
- In a large bowl, mix the vanilla protein powder, coconut flour, and chosen sweetener until evenly blended.
- Add cream cheese to the dry mixture and combine until fully mixed, adding almond milk if needed for consistency.
- Scoop tablespoon-sized portions of the mixture and roll them into balls, placing them on a baking sheet lined with parchment paper.
- Refrigerate for at least 15 minutes to allow the flavors to meld and firm up the texture.
- If desired, melt the white chocolate chips and drizzle over the chilled Oreo protein balls.
Leave a Reply